
Next Level Racing GTElite Motion Kit Manual
PDF manual · 26 Pages
English



Quick check
Incorrect answer, please try again.
Chat with your Next Level Racing GTElite Motion Kit manual using AI
Get instant AI answers from your Next Level Racing GTElite Motion Kit manual
Ask anything about the Next Level Racing GTElite Motion Kit. Answers come from this manual, with the pages they are based on.
Ask a Question
Do you recommend GTElite Motion Kit?
Yes NoFrequently Asked Questions
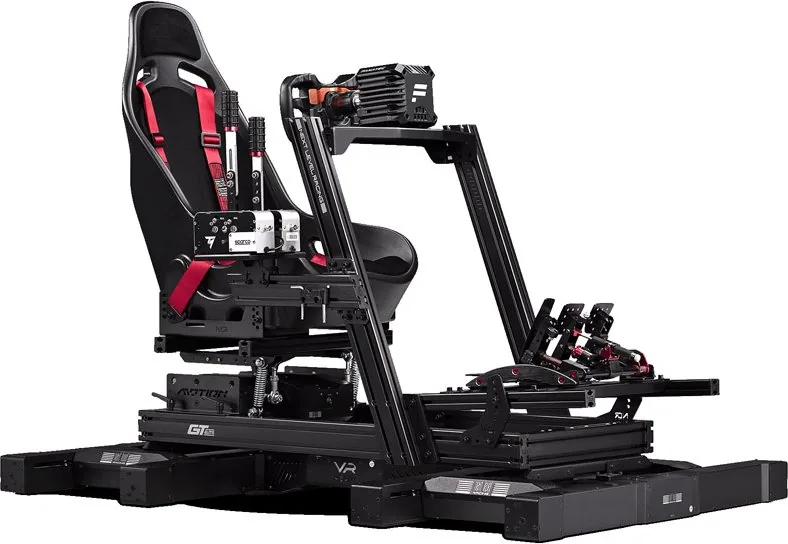
This kit upgrades your GTELITE racing seat to integrate with motion systems like the NLR Motion V3. It provides the necessary brackets and hardware to convert your existing setup for motion feedback use without needing a full new frame.
Is this answer helpful?
Yes, the assembly instructions require you to uninstall the current GTELITE seat brackets and bolts securing the sliders to access the base members for the new motion bracket installation.
Is this answer helpful?
No, the safety warnings strictly advise against using power tools. Over tightening can damage the parts and the aluminum frame. Manual tightening with Allen keys is required for safety and precision.
Is this answer helpful?
T-nuts must be installed from the ends of the extrusion. You cannot slide them into the middle of the channel. Ensure they click into place within the correct slot before bolting them.
Is this answer helpful?
Yes, the kit supports recommended, higher, and inverted mounting locations. Taller users around 170cm or above may use higher settings, while shorter users around 160cm can use inverted positions.
Is this answer helpful?
Yes, if you require support or have doubts, you should contact their friendly team via email at [email protected]. They can provide assistance with the installation instructions.
Is this answer helpful?
Yes, the instructions cover the NLR Traction Plus platform setup. You can attach this platform to the base members after securing the motion components for total immersion.
Is this answer helpful?
Advantages and Disadvantages
Advantages

- Comprehensive manual and video instructions included for guidance
- Compatible with GTELITE seat frames for seamless integration
- Includes necessary hardware like T-nuts and various bolts
- Adjustable mounting options provided for different user heights
- Enhances immersion with NLR Motion V3 system support
Disadvantages

- Requires disassembly of existing seat bracket system
- Installation of T-nuts requires careful placement from channel ends
- Power tools are prohibited to prevent frame damage
- Assembly process can be time-consuming for first-time builders
- Sharp edges on extrusion pieces require careful handling
Product Specification
Type
Racing Simulator, Flight Simulator
Compatibility
Next Level Racing Elite Cockpits, Next Level Racing Motion Platform V3, Next Level Racing Traction Plus Platform
Color
black
Note
This makes the Elite Cockpit compatible with the Next Level Racing Motion V3 Platform and the Traction Plus Platform.
Note #2
Supported body height: 47.24-76.77 inches. Supported maximum body weight: 330.69 lbs
Product Description
Next Level Racing Elite Motion Adaptor Upgrade Kit
Transforming Your Simulation Setup
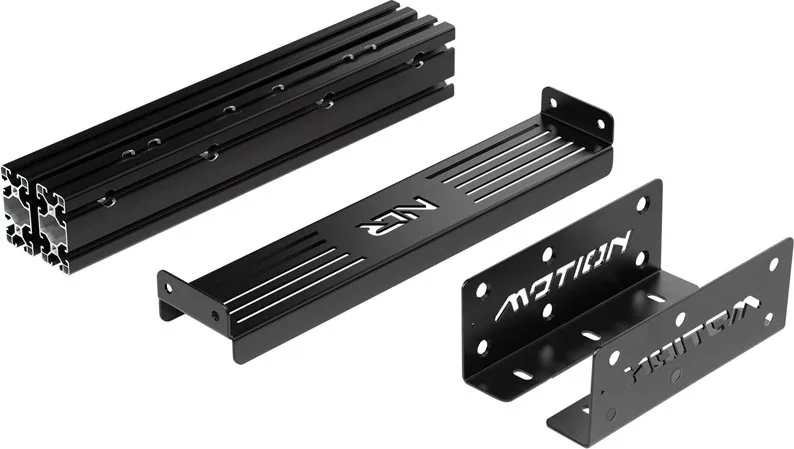
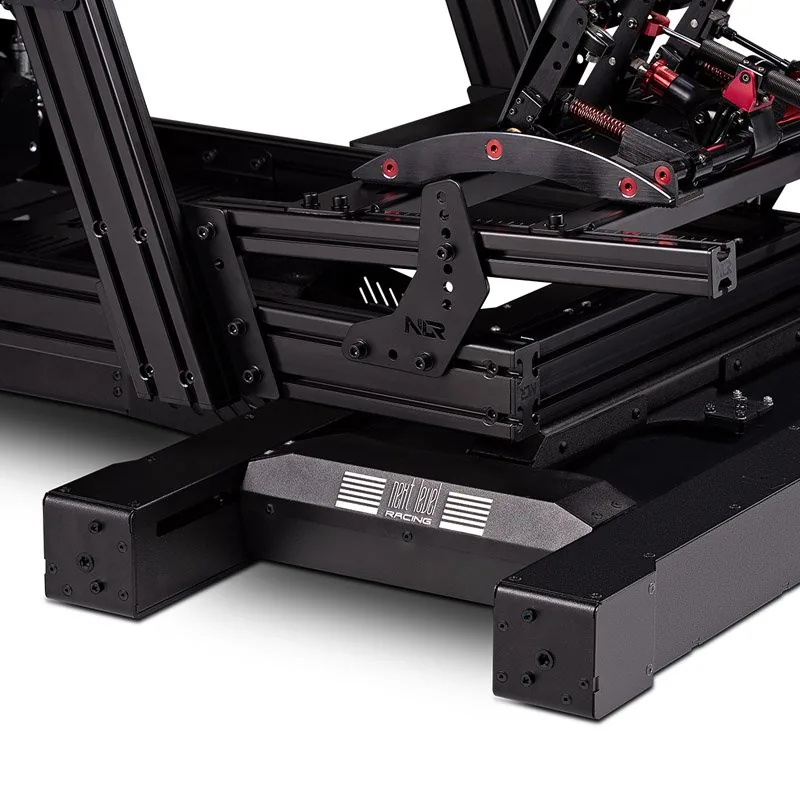
Introducing the Next Level Racing Elite Motion Adaptor Upgrade Kit Manual, your essential guide to elevating your sim racing experience. This kit allows enthusiasts to integrate advanced motion technology into their existing GTELITE frames effectively. It transforms how you feel every corner, turn, and acceleration event in virtual racing. You start by unpacking the box carefully. It contains metal motion brackets, a variety of M8 bolts, and essential T-nuts for secure mounting within the aluminum structure. You also receive high quality Allen keys for precise tightening during assembly. The process begins with removing your current GTELITE seat brackets systematically from your rig. You must uninstall specific bolts securing the sliders to the base members. Then remove the ratchet handles from the base members completely. This clears sufficient space for the new motion components to be installed properly. Next step involves installing T-nuts into the extrusion channels accurately. They must be pushed from the ends, not the middle of the channel. This ensures threads remain accessible for assembly without blockage. Align the steel end caps with threaded holes on slider ends. Use the M8 countersunk bolts provided in the kit. This secures the slider members firmly in place for stability. Motion bracket installation follows these steps outlined. There are options for recommended mounting positions based on height. Taller users can utilize higher location settings. Shorter users might prefer inverted mounting solutions. This flexibility ensures comfort for everyone regardless of height. The NLR Motion V3 assembly aligns with T-nuts precisely. Secure the seat slider assemblies after alignment is verified. You can also attach the Traction Plus platform later. It adds another layer of immersion for the cockpit. Follow the video instructions available online for visual aid. Safety is crucial during the entire build process. Do not use power tools under any circumstances. Over tightening damages the aluminum frame significantly. Be careful of sharp aluminum edges on pieces. Work on a level flat surface. Plan cable management clips placement early in the process. Avoid crossing threads on bolts. Contact support at the provided email address if issues arise. The manual ensures a successful setup for you. Enjoy the next level of realism this provides. This upgrade makes your rig stand out competitively. Build with care and enjoy racing fully. Note that small parts pose a choking hazard for children. Ensure all components are stored safely away from reach.
Final Assembly Notes
Completing this build optimizes your product fully. Support is available if you have doubts. Consult the assembly video link. Plan your cable management early. Lay out and build on a level surface. Avoid forcing parts together. Ensure T-nuts are correctly placed within the extrusion.
Search for 67,706 Manuals online


Type-in Brand or Model