
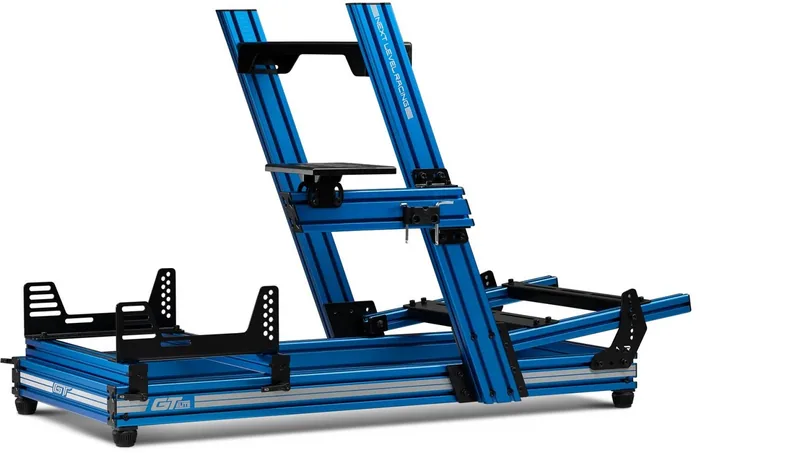
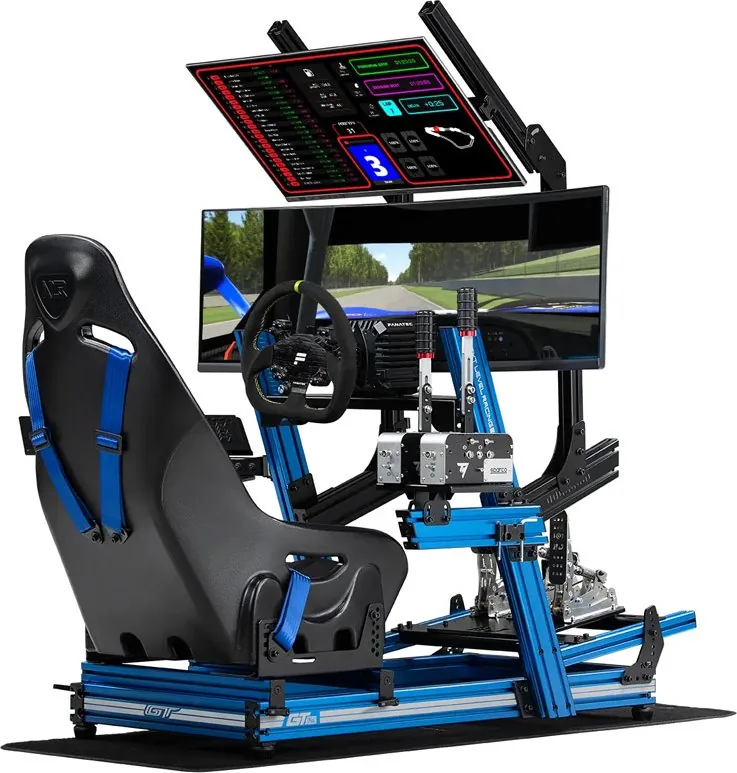
Next Level Racing GTElite Ford GT Wheel Plate Edition Manual
PDF manual · 28 Pages
English



Quick check
Incorrect answer, please try again.
Chat with your Next Level Racing GTElite Ford GT Wheel Plate Edition manual using AI
Get instant AI answers from your Next Level Racing GTElite Ford GT Wheel Plate Edition manual
Ask anything about the Next Level Racing GTElite Ford GT Wheel Plate Edition. Answers come from this manual, with the pages they are based on.
Ask a Question
Do you recommend GTElite Ford GT Wheel Plate Edition?
Yes NoFrequently Asked Questions
No, the manual states the GTElite is a 2 person build. It is recommended to have a partner assist especially when moving the complete cockpit to ensure safety and alignment.
Is this answer helpful?
Avoid this. The warning advises not to use power tools as over-tightening can damage the frame. Hand tighten the M8 bolts using the provided Allen keys.
Is this answer helpful?
No, the manual explicitly states electronics are not included. You must purchase your own wheel, pedals, and shifter to complete your racing setup.
Is this answer helpful?
Follow the diagrams in the manual or the video. Red dots indicate placement on the outside of the base or specific channels for pedals and seat sliders.
Is this answer helpful?
Yes, a video instruction is available via the link bit.ly/nlrbuild in the manual. Scan the QR code on the manual to access visual guidance.
Is this answer helpful?
Contact [email protected]. The team is available for support if you require further help or consultation during the build process.
Is this answer helpful?
Yes, install the 4 x T-Nuts on the Right Vertical Extrusion. The manual shows steps for both left and right setups, but typically the left is standard.
Is this answer helpful?
Advantages and Disadvantages
Advantages

- Strong aluminum extrusion frame with height adjustable feet for stability and comfort across different floor types.
- Highly adjustable wheel plate and pedal arms with alignment lines for precise ergonomics tailored to your body type.
- Included assembly video and manual with clear diagrams to simplify the two-person build process and ensure correct setup.
Disadvantages

- Assembly requires two people and careful attention to avoid cross-threading bolts or damaging the frame with power tools.
- The frame may have sharp edges requiring caution during handling, and it does not include electronics so additional purchases are needed.
- T-nut placement must be strictly followed during the build process to ensure structural integrity and proper mounting of all components.
Product Specification
Type
Racing simulator
Dimensions
32.48x34.06x58.27in (WxHxD)
Weight
76.06lbs
Color
black, blue
Material
Metal (Aluminum, Carbon Steel), Plastic
Product Description
Next Level Racing GT Elite Simulator Cockpit: Building Your Ultimate Rig
Are you eager to start racing? The Next Level Racing GT Elite Simulator Cockpit, specifically the Ford GT Wheel Plate Edition, offers a comprehensive manual to guide your journey. By following this instruction booklet, you fully optimize your product and prepare for an immersive experience. The manual covers assembly from start to finish, ensuring a sturdy and stable racing rig. Construction requires a level surface to begin. The GTElite is a two-person build, emphasizing safety when moving the complete cockpit. Lay out all parts before you start. The warning section advises against using power tools for assembly. Over-tightening can damage your frame. Instead, use the provided Allen keys. Ensure T-Nuts are correctly placed within the extrusion channels. These aluminum extrusions form the skeleton. Be aware of sharp edges on the pieces.
Assembly begins with base members. Slide T-Nuts into the outside channels of Left and Right Base Members. Placement is crucial for pedal support, wheel posts, and seat sliders. Align the threaded holes on Front and Rear Base Members and secure with M8 Bolts. The height of the foot can be adjusted only when installed. Depress the alignment tab at the back before installing cable clips to avoid installation issues. The wheel plate installation involves sticky felt pads to prevent scratches. Align the plate with T-Nuts and adjust height using the level provided. For pedals, install adjustment fins and align to the T-Nuts. The shifter installation allows for a left side or right side setup. Install T-Nuts into the outer channel of the vertical post depending on your preference. The shifter arm must have four T-Nuts on the outside to allow the Tool Kit Holder installation.
The seat assembly features sliders and ratchet handles. Align the front and rear seat slider assemblies with the base T-Nuts. For taller users, use the over-hanging seat bracket configuration. Align the slots with the T-Nuts. For shorter users, use alternate pedal installation steps. A Butt-kicker mount pole attaches here for motion feedback. Aluminum extrusion tips advise installing cable clips at the location you would like them during the build. Leaving installation to the end can present issues. Place end caps to the corner of extrusion. Align tabs to the first hole. Finish with the second tab. This ensures a clean look. The parts list includes numerous M8 bolts and washers. Follow the instructions strictly to avoid frustration.
Notes regarding the product:
- Do not use power tools. Hand tighten bolts to avoid stripping.
- Electronic components are not included in the box.
- Contact [email protected] for additional assistance if needed.
- Join the Discord or Facebook community for user support.
- Scan the QR code for the video instruction link.
Search for 67,706 Manuals online


Type-in Brand or Model