
Multicomp Raspberry Pi Touchscreen Enclosure Manual
PDF manual · 1 Pages
English


Quick check
Incorrect answer, please try again.
Chat with your Multicomp Raspberry Pi Touchscreen Enclosure manual using AI
Get instant AI answers from your Multicomp Raspberry Pi Touchscreen Enclosure manual
Ask anything about the Multicomp Raspberry Pi Touchscreen Enclosure. Answers come from this manual, with the pages they are based on.
Ask a Question
Do you recommend Raspberry Pi Touchscreen Enclosure?
Yes NoFrequently Asked Questions
It is designed for a Raspberry Pi Model B setup paired with a 7-inch touchscreen. The enclosure helps combine the screen and board into one compact, organized unit for displays, kiosks, and similar projects.
Is this answer helpful?
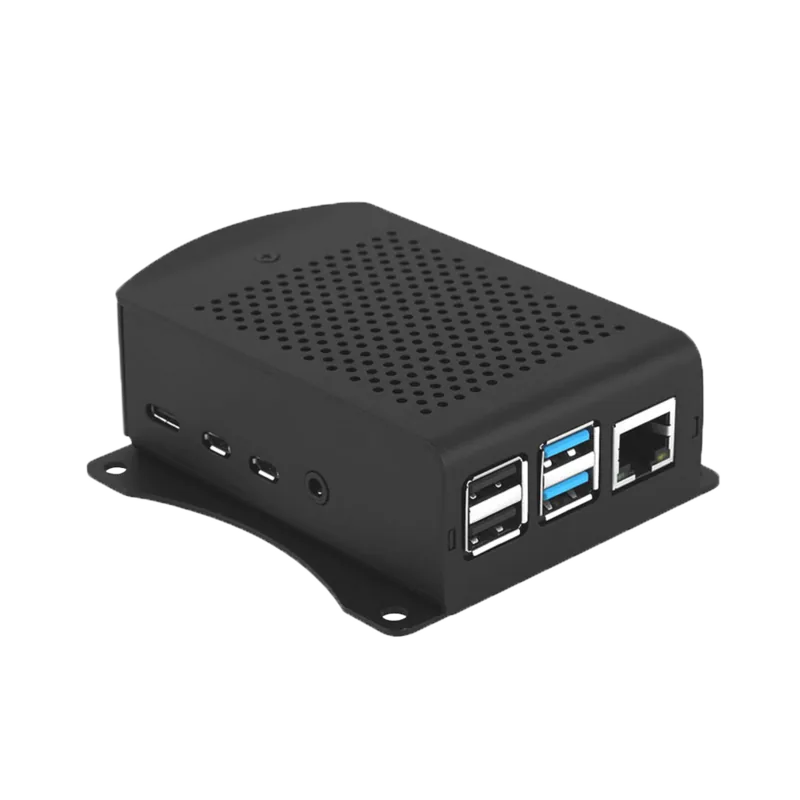
Yes. The enclosure includes USB cutouts on the appropriate side, so ports remain reachable after assembly. This makes it easier to connect accessories without opening the case again.
Is this answer helpful?
Assembly is straightforward, but it should be done carefully. The screen, ribbon cable, and screw alignment all need attention. If you follow the fitting sequence closely, the process is manageable for most users.
Is this answer helpful?
They should be tightened only until secure. Over-tightening can put unnecessary pressure on the screen or enclosure and may affect the fit. Gentle, even fastening is the safest approach.
Is this answer helpful?
The ribbon cable needs to slot correctly into the back section of the enclosure so the screen sits properly. Correct cable routing helps avoid strain and supports a clean final assembly.
Is this answer helpful?
The protective film should stay on during fitting and be removed near the end of assembly. This helps protect the screen and enclosure while you position the parts and insert the screws.
Is this answer helpful?
Advantages and Disadvantages
Advantages

- Fits the Raspberry Pi 7" touchscreen setup neatly for a more integrated build.
- USB-side cutouts help keep ports accessible after installation.
- Black finish gives the project a clean, professional appearance.
- Designed for a tidy cable route with the display ribbon cable housed inside.
- Simple assembly steps make it suitable for home or workshop projects.
Disadvantages

- Assembly requires care, especially when aligning the screen and ribbon cable.
- Over-tightening the screws can damage components or affect the fit.
- Compatibility is focused on specific Raspberry Pi Model B touchscreen setups.
- Protective film must be removed at the right stage, adding one extra step.
Product Specification
Platform
Raspberry Pi
Suitable for
Raspberry Pi 1 B+, Pi 2 Model B, Pi 3 Model B/3 Model B+
Color
black
Material
Polystyrene (HIPS)
Dimensions (WxHxD)
8.40x2.03x5.16in
Power supply
external
Features
Wall mount
Product Description
Multicomp Raspberry Pi Case for Model B and 7" Touchscreen, Black
A clean enclosure for compact touchscreen builds
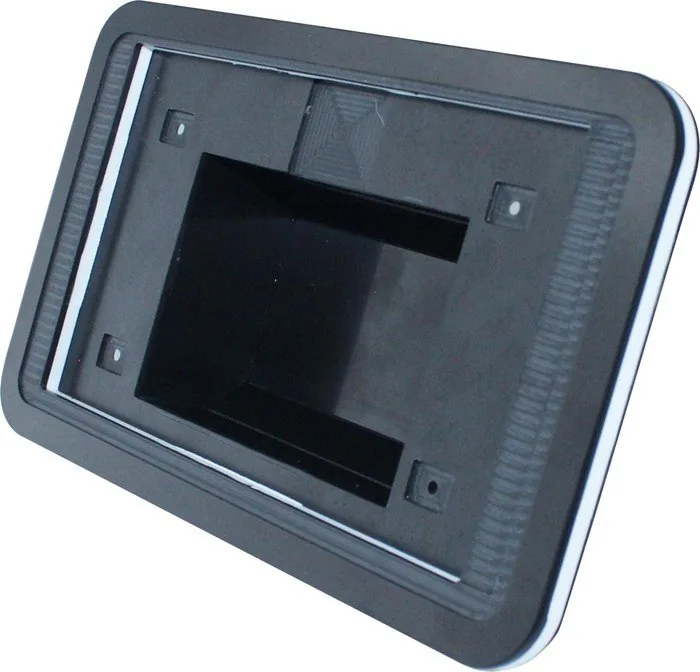
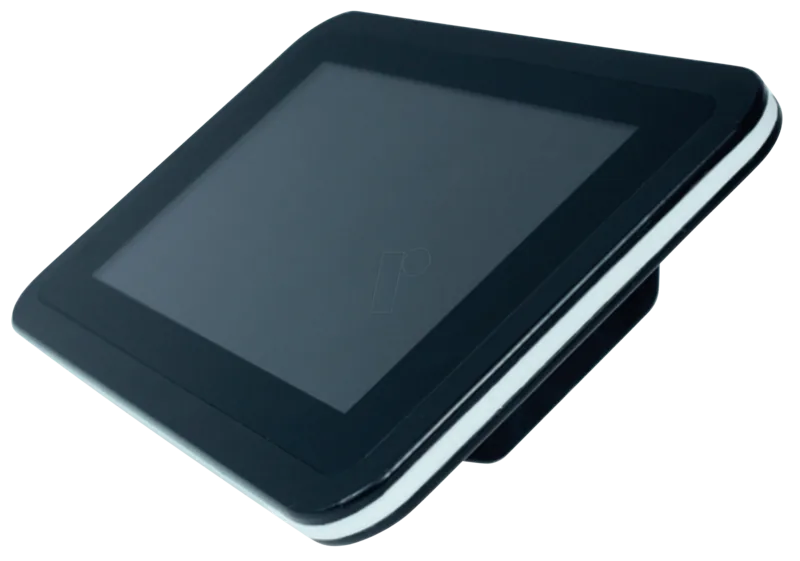
The Multicomp Raspberry Pi Case for Model B and 7" Touchscreen is designed for makers who want a neat, practical, and polished finish for their Raspberry Pi setup. With its black styling and molded shape, it brings a more refined look to a project while helping keep the display and board securely housed together. It is a strong choice for kiosks, control panels, learning stations, or any Raspberry Pi build where the screen needs to be part of the same compact unit.
What makes this enclosure appealing is the way it supports both function and appearance. The case is shaped to work with the Raspberry Pi 7" touchscreen assembly, and the fitting process is straightforward when followed carefully. The rear section is positioned so the display ribbon cable can sit correctly inside the back box, while the front of the enclosure aligns with the screen and board. This helps create a stable, integrated setup rather than a loose collection of parts.
Thoughtful design for everyday use
The enclosure includes cutouts that match the USB side of the Raspberry Pi, which is especially useful when you need access to ports without removing the device from the case. The double recess design on the front also helps guide correct placement, making the final fit more precise. Once assembled, the case presents a tidy profile that feels well suited to desk use or permanent installations.
Assembly is simple, but it does require care. The screen should be placed on a steady surface with the protective film still on, and the supplied screws should be inserted without over-tightening. That small detail matters because it helps protect the screen and ensures the assembly sits properly. After the enclosure is secured, removing the protective film reveals the finished look and gives the display a clean, ready-to-use appearance.
Why it stands out
This case is best appreciated as a practical finishing touch. It does not try to be flashy; instead, it focuses on reliable fit, sensible access, and a clean visual result. For users who want a Raspberry Pi touchscreen build that looks organized and feels complete, this black enclosure offers exactly that. It balances protection and accessibility while keeping the overall footprint compact.
Notes
- Check compatibility before assembly.
- Handle the ribbon cable gently during fitting.
- Tighten screws only until secure, not beyond.
Search for 67,706 Manuals online


Type-in Brand or Model