
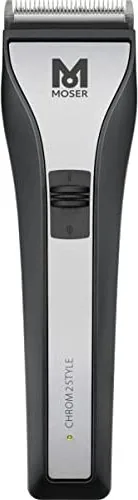
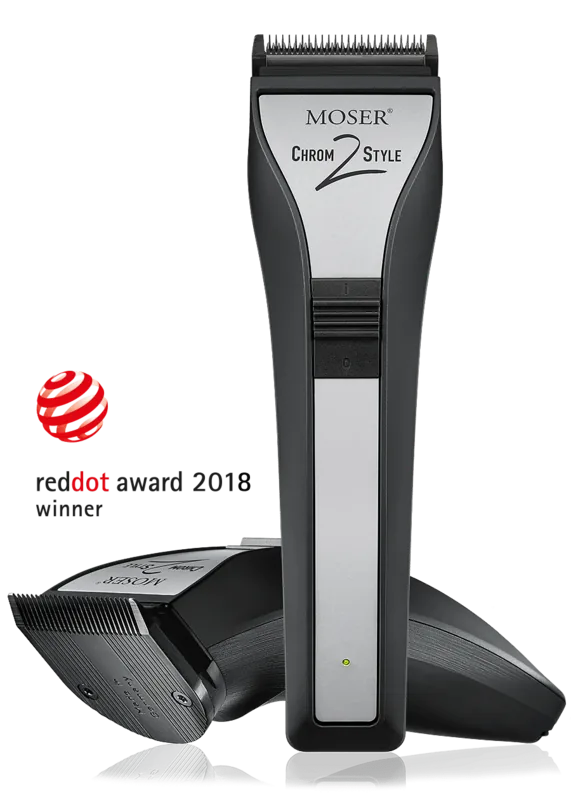
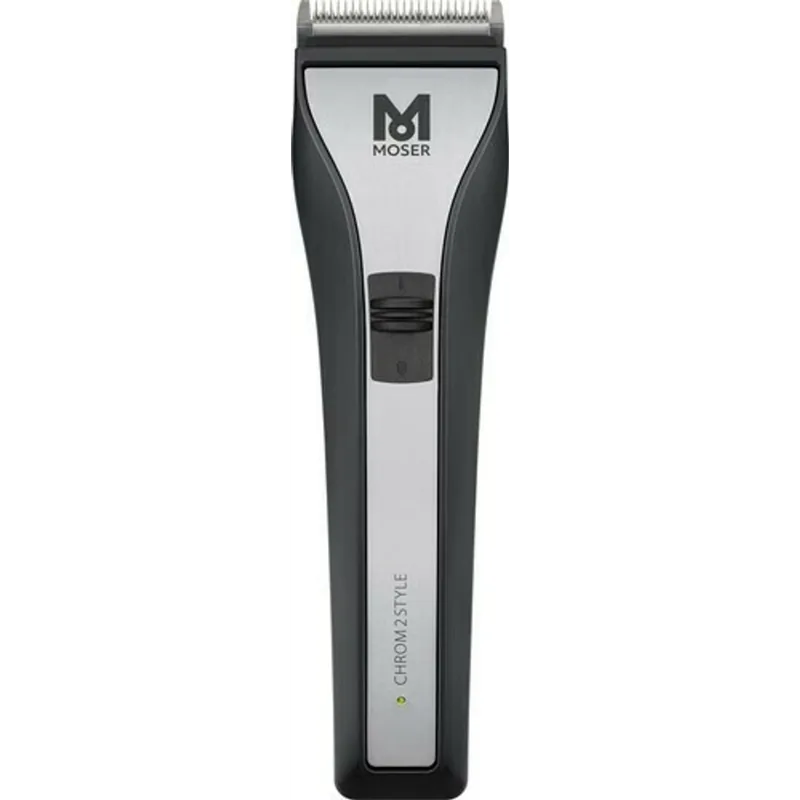
Moser Chrom2Style Manual
PDF manual · 88 Pages
English



Quick check
Incorrect answer, please try again.
Chat with your Moser Chrom2Style manual using AI
Get instant AI answers from your Moser Chrom2Style manual
Ask anything about the Moser Chrom2Style. Answers come from this manual, with the pages they are based on.
Chrom2Style Maintenance Schedule
If cutting performance deteriorates despite regular cleaning and oiling after long use, replace the blade set.
Remove attachment comb, lift blade set, and remove hair residues with cleaning brush and cleaning lever. Keep charging contacts clean.
Oil the blade set with recommended oil after every few uses to ensure good cutting performance and long life.
Free maintenance reminders
Timed to your purchase date. Always free, unsubscribe anytime.
Ask a Question
Do you recommend Chrom2Style?
Yes NoFrequently Asked Questions
On a full charge the lithium-ion battery provides up to approximately 120 minutes of operation, assuming the blade set is clean and properly oiled. Heavy or poorly maintained blades can reduce runtime significantly.
Is this answer helpful?
The indicator shows charge level: constant green indicates 100%–20%, rapid green blinking indicates 20%–5%, and constant red indicates 5%–0%. If the indicator blinks red, check for a blocked or stuck blade and contact service if the issue persists.
Is this answer helpful?
No. Permanent mains operation is not recommended because the adapter cable is not designed for continuous mechanical stress. Mains use is only advised for short periods when the battery is empty.
Is this answer helpful?
Always switch off and disconnect before cleaning. Remove the comb, lift out the blade set, brush out hairs with the cleaning brush, engage the cleaning lever for trapped hairs, wipe the housing with a soft damp cloth, and oil the blade frequently with manufacturer-recommended blade oil.
Is this answer helpful?
First clean and oil the blade set thoroughly. If performance does not improve the blade set may be worn or damaged and should be replaced. Inspect for damaged tooth tips and avoid excessive pressure during cutting.
Is this answer helpful?
A complete charge takes about 80 minutes using the supplied adapter and charging stand, after which the capacity indicator will show a steady green light to signal a full charge.
Is this answer helpful?
Follow local regulations under the EU WEEE directive: discharge batteries before disposal and hand in the appliance and batteries at municipal collection points or recycling centers. Do not dispose of the device with household waste.
Is this answer helpful?
Advantages and Disadvantages
Advantages

- Cord/cordless flexibility with up to 120 minutes runtime for uninterrupted trims.
- Compact, lightweight design (178 x 48 x 51 mm; ~275 g) for comfortable handling.
- Integrated cutting-length adjustment (0.7–3 mm) plus optional combs up to 25 mm.
- Intelligent charging management prevents battery overcharging; clear LED charge indicators.
- Easy maintenance: removable blade set, cleaning brush, and recommended blade oil.
Disadvantages

- Adapter cable not designed for continuous mains operation—mains use only short-term.
- Blade performance and battery life depend on frequent cleaning and oiling.
- Some combs are optional and may not be included with all models.
- Charging time is relatively long (approx. 80 minutes) for full charge.
- Troubleshooting may require service center intervention; do not self-repair.
Product Specification
Type
Hair clipper
Operating mode
Mains operation, Battery operation (Li-ion)
Color
black, silver
Cutting lengths
0.03-0.12 in
Cutting widths
1.81 in
Attachments
4x Comb attachment (0.12 in, 0.24 in, 0.35 in, 0.47 in)
Special features
automatic voltage adjustment (110-230V), charging indicator light, charge status display
Operating time
2h
Charging time
80min
Scope of delivery
Charger, Charging station, 4x attachment, Cleaning brush, Oil
Product Description
Moser Chrom2Style Manual — Quick Overview
The Moser Chrom2Style Manual covers the Cord/Cordless Hair Clipper Type 1877, a versatile grooming tool designed for professional and home use. This model features a DC motor driven blade set, a lithium-ion battery with approximately 80 minutes charging time and up to 120 minutes runtime, and a compact ergonomic housing (178 x 48 x 51 mm, ~275 g). The kit typically includes a charging stand, plug-in transformer (Adapter 6000), multiple attachment combs (1.5–25 mm optional), a cleaning brush, and blade oil.
Key Features and Operation
The manual explains safety and preparatory steps: read all safety notices before first use, retain documentation, and observe voltage ratings. The device can be charged either in its charging stand or directly via the adapter. The charge-status indicator shows battery levels with green (100–20%), rapid green blink (20–5%), and red (5–0%). An intelligent charging management prevents overcharging; the device enters power-saving modes after brief inactivity.
Cutting length is adjustable via an integrated lever in the blade set with five positions from 0.7 mm to 3 mm. Optional comb attachments expand trimming lengths up to 25 mm. The manual details comb attachment/removal, recommended short-term mains use only (the adapter cable is not intended for permanent mains operation), and safe switching on/off procedures.
Maintenance and Care
Maintenance guidance emphasizes safety (disconnect before cleaning), avoidance of immersion in water, and prohibition of aggressive solvents. Regular cleaning with the supplied brush, frequent oiling of the blade set, and keeping charging contacts clean are required for sustained performance. Instructions cover blade-set removal/replacement (easy snap-in/snap-out), and an EASY CLEANING routine to remove trapped hair between blades.
Troubleshooting & Disposal
The manual lists common faults: poor cutting or pulling (clean/oil or replace blade), skin injury (reduce pressure or replace damaged blade), short battery runtime (clean/oil blade or replace aging battery), and indicator issues (check seating in charger, clean socket, verify power supply). If the red blink persists, contact authorized service; never attempt self-repair. Disposal instructions follow WEEE rules: discharge batteries, return device to municipal collection or recycling centers, and recycle packaging.
Notes
- Device meets EU Electromagnetic Compatibility Directive 2014/30/EU and Machinery Directive 2006/42/EC.
- Attachment combs may vary by model and are optional accessories.
- For persistent faults contact the manufacturer’s service centers for PDF manuals, CE declarations, spare parts, or repairs.
Search for 67,706 Manuals online


Type-in Brand or Model