
Moon 600i v2 Manual
PDF manual · 21 Pages
English



Quick check
Incorrect answer, please try again.
Chat with your Moon 600i v2 manual using AI
Get instant AI answers from your Moon 600i v2 manual
Ask anything about the Moon 600i v2. Answers come from this manual, with the pages they are based on.
600i v2 Maintenance Schedule
Remove cables and push them back in to clean contacts. Ensure plugs and sockets are free of dirt and corrosion with the unit turned off.
Use a 6A fast blow (3AG) for 120V versions or 3A fast blow (3AG) for 230V versions. Never bypass or use incorrect values.
Ask a Question
Do you recommend 600i v2?
Yes NoFrequently Asked Questions
It features five inputs total. One is a fully-balanced XLR input called B1. The remaining four are single-ended RCA inputs labeled S1 through S4. You can configure each with custom labels or bypass features.
Is this answer helpful?
SimLink allows two-way communication between Moon components. It synchronizes brightness levels and standby modes across connected devices. It also allows input switching based on source component actions.
Is this answer helpful?
It uses M-eVOL2 technology with a precision optical encoder. This avoids physical contact with resistors, preventing noise and wear over time. There are 530 unique steps for precise volume adjustment.
Is this answer helpful?
Yes. You can change the RC-5 system codes via the setup menu to suit custom installation needs or universal remote controls. This helps manage multiple components efficiently.
Is this answer helpful?
The unit delivers 125 watts per channel into 8 ohms. It reaches 250 watts per channel into 4 ohm loads. The design ensures high current speed for better dynamics.
Is this answer helpful?
Yes. Performance improves during the first 400 hours of listening due to the break-in of high-quality electronic parts. Keep it powered up for best results.
Is this answer helpful?
Advantages and Disadvantages
Advantages

- Dual-mono design ensures complete channel independence for superior sound separation and low interference.
- M-eVOL2 volume control provides 530 steps with no signal degradation during adjustment over time.
- SimLink technology enables seamless communication between compatible Moon components for syncing.
- Proprietary MOON Bipolar Output transistors deliver unprecedented gain linearity and accurate bass.
- Balanced XLR inputs minimize noise and interference for cleaner and more dynamic audio signals.
Disadvantages

- Unit is heavy and requires significant ventilation space to maintain optimal operating temperature.
- Setup requires manual configuration via front panel which can be time-consuming for some users.
- Remote control battery life decreases significantly when backlighting feature is frequently activated.
- Price point places it in the high-end category compared to standard integrated amp competitors.
- Specific fuse types are required for different voltage regions to prevent damage to unit.
Product Specification
Channels
2
Power per Channel
125W (8 Ohms), 250W (4 Ohms)
Audio Connections
4x Stereo Line In (RCA), Stereo Line In (XLR), Tape Out (RCA)
Power Consumption
45W Standby
Dimensions
18.74x3.94x18.11 in (WxHxD)
Weight
46.30 lbs
Product Description
Explore the Moon 600i v2 Audio Experience
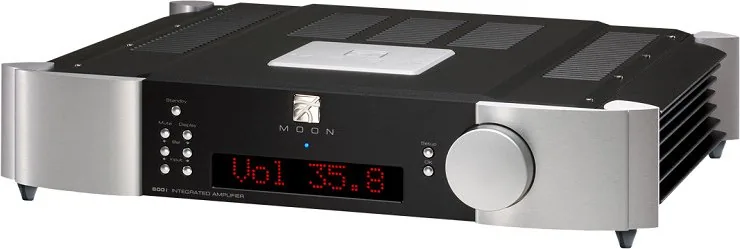
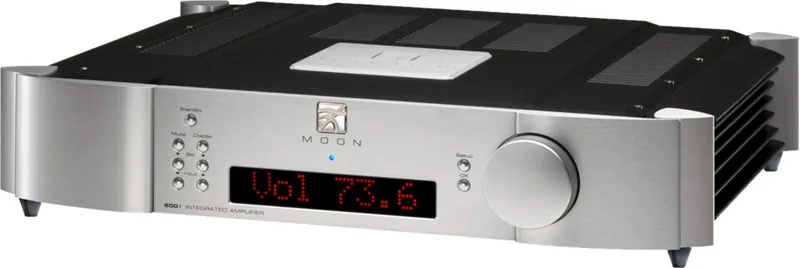
The Moon 600i v2 represents a pinnacle of audio engineering designed for serious enthusiasts seeking dual-mono performance. This integrated amplifier delivers high-end specifications within an elegant chassis that serves as a centerpiece for any listening room. Engineers spared no effort to ensure musical accuracy and emotional impact.
Design Philosophy
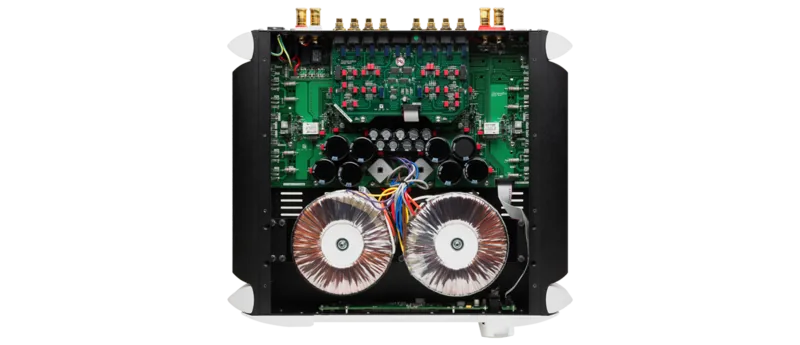
Inside, the dual-mono design ensures each channel operates completely independently. The chassis and power switch are the only shared parts. This separation minimizes crosstalk and interference. A proprietary no overall feedback circuit design eliminates phase errors and transient intermodulation distortion. The unit features ultra rigid construction to minimize external vibrations affecting sound.
Power and Output
The amplifier utilizes custom toroidal transformers for improved power transfer. It drives loads with 125 watts per channel into 8 ohms. The power supply capacitance is substantial at 80,000µF. This setup provides increased current speed and better dynamics during complex musical passages. Class A power output to 5 watts ensures efficiency at low listening levels.
Volume and Control
The M-eVOL2 volume control is a standout feature. It uses metal-film resistors selected by a precision optical encoder. There are no moving parts in the signal path. Users enjoy 530 unique volume settings without sonic degradation. The volume knob allows 0.1dB or 1.0dB adjustments depending on rotation speed.
Connectivity
Five inputs are available for your source components. One input uses balanced XLR connectors labeled B1. The other four use RCA connectors. SimLink allows for two-way communication between compatible Moon components. You can configure inputs to control trigger outputs or change labels. An RS-232 port supports custom installation setups. The MiND app integration offers remote control via Apple devices. Line outputs can be set as fixed or variable levels.
Installation
Proper ventilation is critical due to heat generation during hard driving. Place the unit on a solid level surface. Do not block air flow. The unit is heavy so ensure your stand supports the weight. For detailed installation procedures, users consult the Moon 600i v2 Manual during initial setup to ensure correct placement. Keep electrical equipment out of reach of children. Use high quality interconnect cables for best sonic performance. Avoid placing near heat sources like radiators.
Conclusion
This equipment captures the power and emotion of music faithfully. With robust construction and advanced circuitry, it ensures faithful sound reproduction. The break-in period of 400 hours allows electronic parts to settle. Enjoy years of listening pleasure with this refined amplifier. The warranty protects your investment against defects. Keep batteries away from children for safety.
Search for 67,706 Manuals online


Type-in Brand or Model