
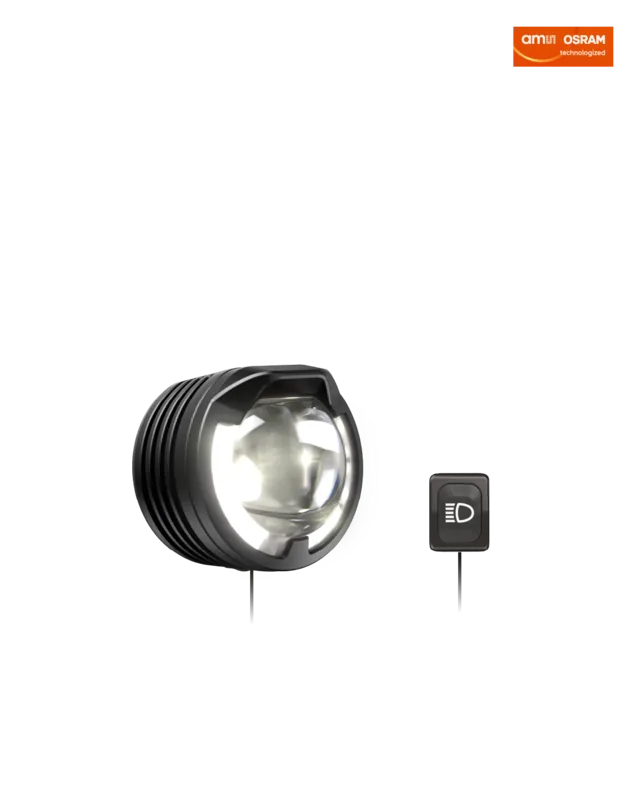
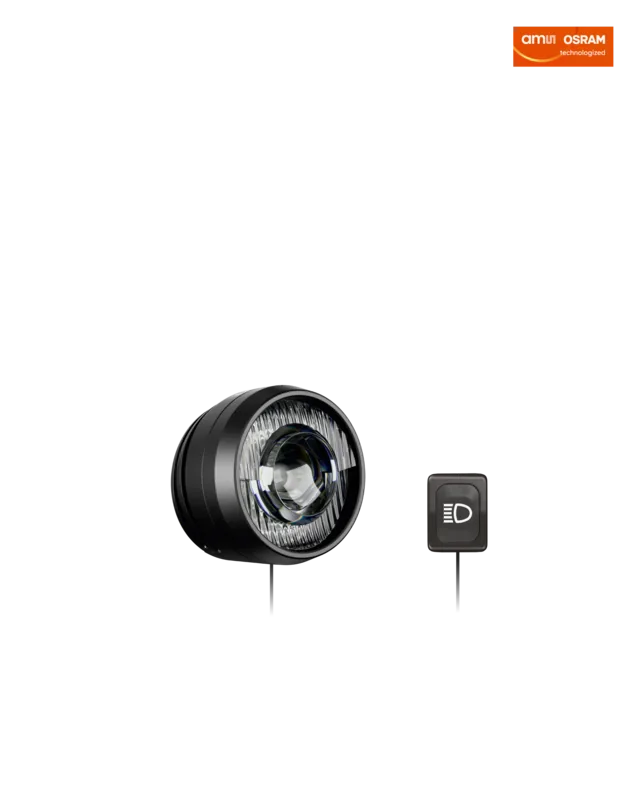
Lupine SL SF StVZO Manual
PDF manual · 11 Pages
English



Quick check
Incorrect answer, please try again.
Chat with your Lupine SL SF StVZO manual using AI
Get instant AI answers from your Lupine SL SF StVZO manual
Ask anything about the Lupine SL SF StVZO. Answers come from this manual, with the pages they are based on.
SL SF StVZO Maintenance Schedule
If the light source or any LED is defective, the entire headlight must be replaced. Do not attempt repair.
Do not use a strong water jet or heavy detergent to clean the lamp.
Ask a Question
Do you recommend SL SF StVZO?
Yes NoFrequently Asked Questions
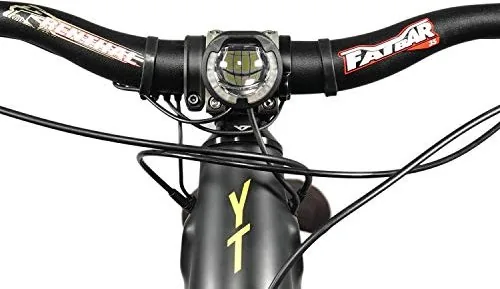
Yes, the installation instructions describe replacing one of the existing Bosch holder arms with the supplied SL holder arm and using the original Bosch holder screws (max torque 1 Nm). Then the SL head is attached to the Bosch display using the included screws and a T15 Torx.
Is this answer helpful?
The brightness sensor is activated and automatically switches between daytime running mode and low beam. You can set the reaction delay to about 3 seconds (factory) or 16 seconds. Low beam power is configurable between 8 W and 16 W depending on your selected setting.
Is this answer helpful?
Green means low beam is activated. No remote light usually indicates the lamp is off or daytime running mode is active. Blue means the high-beam function is activated. The remote also lets you switch between daytime running and low beam when configured.
Is this answer helpful?
The low-beam cone must be tilted so that its center is at least half the height at 5 meters compared to the exit point from the headlamp. You may need to adjust the inclination of the mounting arms, and final aiming should ensure other road users are not dazzled.
Is this answer helpful?
The components are waterproof and the lamp meets IP68 protection. It is not suitable for underwater use (it is not a diving lamp). Avoid strong water jets or harsh detergents when cleaning.
Is this answer helpful?
In case of defect, the light source must be replaced generally. That includes situations where only a single LED has failed. Replacement or repair is only available through Lupine, and improper repairs are not intended.
Is this answer helpful?
Sensor calibration must be done only in the assembled state. Calibrate only outdoors, and avoid artificial light or reflective objects nearby. Incorrect calibration can significantly impair the light's functionality and switching behavior.
Is this answer helpful?
Advantages and Disadvantages
Advantages

- StVZO-focused lighting with up to 1300 lumens max and a dedicated low-beam/high-beam workflow.
- Brightness sensor automates switching between daytime running mode and low beam with adjustable delay.
- Wired remote provides clear mode switching and status indication via colored illumination.
- IP68-rated waterproof components for reliable performance in harsh conditions.
Disadvantages

- If an LED fails, the entire headlamp must be replaced (not just the faulty LED).
- Not suitable for underwater use even though protection is IP68.
- Sensor calibration must be done correctly outdoors when assembled.
Product Specification
Type
Front light
Colors
black
Max. light output
1300lm
Light source
18x Osram Compact CL LED
Light mode
Continuous light
Power supply
12V (E-Bike)
Mounting
Bracket
Dimensions
1.93x1.97x1.89in
Weight
0.22 lb
Special features
waterproof, StVZO compliant
Product Description
Lupine SL SF Bosch StVZO Front light Manual
Bright, StVZO-approved visibility for e-bikes
The Lupine SL SF Bosch StVZO Front light Manual brings powerful, precise illumination to compatible e-bikes. Built around an efficient lens system and strong light output (up to 1300 lumens max), it is designed to meet StVZO requirements and deliver a beam with clear focus on the road.
A key part of the SL SF experience is how it handles everyday riding: it blends a sensor-controlled daytime running mode with low-beam support, helping you remain visible during changing light conditions. When you need more reach, the system supports high-beam operation via a wired remote.
Sensor modes and remote control you can feel
The integrated brightness sensor automatically switches between daytime running light and low beam. Depending on your chosen delay setting, the transition can be configured to react within either about 3 seconds (factory) or up to 16 seconds.
Operation is straightforward: the wired button provides instant changes. The remote lighting offers quick status cues. Green indicates low beam is active. Blue indicates high beam is active. If the remote does not light up, the light is off or daytime running mode is running.
Mounting height matters too. The light cone should be aimed so that, at 5 meters, the center of the low-beam projection is at about half the height compared to its exit from the headlamp. Proper aiming helps prevent glare for other road users.
Durable, water-resistant design with practical ownership notes
All SL components are waterproof and suited for harsh conditions with an IP68 protection class. However, the unit is not intended for underwater use. The housing may heat up during operation, so maintain safe distance from flammable materials.
For care, avoid strong water jets and harsh detergents. If a defect occurs, the device instructions are clear: if a LED (or the light source) fails, the entire headlamp must be replaced. Even partial LED failures are treated as headlamp replacements, and repair or replacement is handled by Lupine.
Installation highlights
Mounting typically starts by swapping one of the existing Bosch holder arms for the supplied SL holder arm, using the original Bosch screws (max torque 1 Nm). The SL head is secured with TX15 screws, and the fork or stem mounting is attached using the included hardware. If you use the sensor calibration feature, calibrate only when assembled and only outdoors, not under artificial light or near reflective objects.
Key results
- Up to 1300 lumen max output with StVZO approval support, designed for safe road illumination.
- Sensor-controlled switching between daytime running light and low beam, with configurable 3 s or 16 s delay.
- Wired remote status: green for low beam, blue for high beam, unlit for off/DRL.
- IP68-rated waterproof components for harsh weather, but not for underwater use.
Notes
For safety and legality, always aim the beam correctly so other traffic is not dazzled. Keep a spare light available, since the system can potentially fail unexpectedly.
Search for 67,706 Manuals online


Type-in Brand or Model