Manual.ly Logo

Keter Darwin 6x8 Manual

0.0 · 0 Ratings

PDF manual · 76 Pages

English

M: OA-GPT-5-NAN
page

/ 76

Loading...
de7597447361a687464d921e06b445d5f6a6 page 46
70
• The shed is intended for storage purposes only. It is not designed for habitation.
• It is strongly recommended to secure the shed to an immovable object or anchor to the ground by drilling holes in the shed floor (at the pre-marked locations)
and inserting proper screws into the ground (screws are not included).
• Do not attempt assembly on windy or cold days.
• Periodically check the shed to ensure that it is stable and that the site is level.
• Be careful when handling parts with steel edges.
• When assembling or handling the shed, use only those tools listed in the user manual.
• Avoid using a lawnmower or mechanical scythe near the shed.
• Wear safety goggles and always follow the manufacturer’s instructions when using power tools.
• Wash the shed with a garden hose or a mild detergent solution. Do not use a sti brush or abrasive cleaners, including degreasers and oil- or acetone-based
cleaning materials, as these may stain or damage the shed.
• Do not store hot items, such as recently used grills and blowtorches, and volatile chemicals in the shed.
• Avoid placing heavy items against the walls, as this may cause distortion.
• Keep the roof clear of accumulated snow and leaves. Large amounts of snow on the roof can damage the shed, making it unsafe to enter.
• Wind direction is an important factor to consider when determining the location of the shed. Reduce exposure to the wind, in general, and of the door side in
particular. Keep doors closed and locked when the shed is not in use to prevent wind damage.
• Do not stand on the roof.
• Consult your local authorities to check if permits are required to erect the shed.
CARE AND SAFETY GUIDELINES
• L'abri a été conçu uniquement à des fins de stockage. Il n'a pas été conçu à des fins d'habitation.
• Il est fortement recommandé de sécuriser l'abri à un objet inamovible ou de le fixer au sol en creusant des trous dans le sol de l'abri (aux emplacements
marqués) et d'insérer les vis adaptées dans le sol (vis non incluses).
• N’essayez pas de réaliser le montage par jour venteux ou froid.
• Vérifiez de temps en temps la tenue de l'abri afin de garantir sa stabilité et la mise à niveau du site, sur lequel il est posé.
• Manipulez les pièces présentant des bords en acier avec précaution.
• Lors de l'assemblage ou de la manipulation de l'abri, utilisez seulement les outils listés dans le mode d'emploi.
• Évitez d'utiliser une tondeuse à gazon ou une faux mécanique à proximité de l'abri.
• Portez des lunettes de sécurité et suivez toujours les instructions du fabricant lors de l'utilisation d'outils électriques.
• Lavez l'abri à l'aide d'un tuyau d’arrosage de jardin ou d'un détergent non abrasif. N'utilisez pas une brosse dure ou de nettoyants abrasifs, y compris les
dégraissants et les solutions de nettoyage à base d'acétone ou d'huile, car ils peuvent tacher ou endommager l'abri.
• Ne stockez pas d'objets chauds, tels qu'un grill ou un chalumeau récemment utilisé, ou des produits chimiques volatiles dans l'abri.
• Évitez de placer des objets lourds contre les murs de votre abri, cela peut entraîner une déformation.
• Entretenez le toit pour éviter l'accumulation de neige ou de feuilles. Une grande quantité de neige sur le toit peut endommager l'abri, rendant périlleux l'accès
à l'intérieur.
• La direction du vent est un facteur important à prendre en compte lors du choix de la localisation de l'abri. Réduisez l'exposition au vent, en général, et surtout
pour le côté de la porte. Maintenant les portes fermées et verrouillées lorsque l'abri n'est pas utilisé, afin d'éviter tout dégât dû au vent.
• Ne montez pas sur le toit.
• Consultez les autorités de votre localité pour vérifier la nécessité de disposer d'un permis pour ériger l'abri.
INSTRUCTIONS DE SÉCURITÉ ET D'ENTRETIEN
• La cobertizo está diseñada solo para el almacenamiento de productos. No está diseñada para habitar en ella.
• Se recomienda encarecidamente fijar la cobertizo a un objeto inamovible o anclarla al suelo taladrando agujeros en el suelo de la cobertizo (en los lugares
premarcadas para ello), e insertando tornillos adecuados en el suelo (los tornillos no están incluidos).
• No intente montarlo en días de viento o cuando haga frío.
• Compruebe la cobertizo periódicamente para asegurarse de que es estable y de que el lugar es uniforme.
• Tenga cuidado al manejar las partes con bordes de acero.
• Al montar o manipular la cobertizo, use solamente las herramientas enumeradas en el manual del usuario.
• Evite usar un cortacésped o un cortacésped cerca de la cobertizo.
• Lleve gafas de seguridad y siga siempre las instrucciones del fabricante al utilizar herramientas eléctricas.
• Lave la cobertizo con una manguera de jardín o con un detergente suave.
• No utilice un cepillo rígido ni limpiadores abrasivos, incluyendo desengrasantes y materiales de limpieza basados en petróleo o acetona, ya que todos ellos
pueden manchar o dañar la cobertizo.
• No guarde objetos calientes, como sopletes usados recientemente, ni elementos químicos volátiles.
• Evite situar objetos pesados contra las paredes, ya que esto puede causar deformación.
• Mantenga el techo limpio de nieve y hojas acumuladas. Una gran cantidad de nieve en el tejado puede dañar el cobertizo, haciendo que sea inseguro entrar.
• La dirección del viento es un factor importante a tener en cuenta al determinar la ubicación del cobertizo. Reduzca la exposición al viento en general y al lateral
de la puerta en particular. Mantenga las puertas cerradas y bloqueadas cuando no utilice el cobertizo para evitar daños del viento.
• No se ponga de pie sobre el techo.
• Consulte con sus autoridades locales y son necesarios permisos para levantar el cobertizo.
ADVERTENCIA SOBRE EL CUIDADO Y LA SEGURIDAD
• Der Gartenschuppen dient einzig und allein der Lagerung von Gegenständen. Der Schuppen ist nicht für Wohnzwecke ausgelegt.
• Es wird dringend empfohlen, den Schuppen an einem unbeweglichen Gegenstand zu befestigen oder Mithilfe von Löchern im Schuppenboden im Boden zu
verankern (die Bohrungen müssen an den vormarkierten Stellen erfolgen), wobei geeignete Schrauben zu verwenden sind (Schrauben sind nicht im
Lieferumfang enthalten).
• Führen Sie den Aufbau nicht an windigen oder kalten Tagen durch.
• Überprüfen Sie den Schuppen regelmäßig auf Stabilität und stellen Sie sicher, dass der Standort eben ist.
• Seien Sie vorsichtig, wenn Sie mit Teilen hantieren, die Stahlkanten aufweisen.
• Für Aufbau und Handhabung des Schuppens verwenden Sie bitte nur Werkzeuge, die in der Aufbauanleitung aufgelistet sind.
• Vermeiden Sie den Einsatz von Rasenmäher und maschineller Sense im direkten Umfeld des Schuppens.
• Tragen Sie eine Schutzbrille und befolgen Sie bei Verwendung von Elektrowerkzeugen immer die Anweisungen des Herstellers.
• Reinigen Sie den Schuppen mit einem Gartenschlauch und einem milden Reinigungsmittel. Verwenden Sie auf keinen Fall eine harte Bürste und Scheuer- oder
Entfettungsmittel sowie öl- oder azetonhaltige Reinigungsmittel, da diese Flecken verursachen oder den Schuppen beschädigen könnten.
PFLEGE - UND SICHERHEITSHINWEISE
OPTION | OPTION | OPCIÓN | OPTION | OPTIE | OPZIONE | OPÇÃO
Securing the shed to a foundation
Fixer l’abri sur une fondation
Fixez l’abri à la fondation en perçant des trous dans le sol aux endroits pré-marqués et en insérant des vis adéquates dans la fondation (vis non fournies).
Asegurar el cobertizo a un cimiento
Absichern des schuppens an ein fundament
Het schuurtje op het fundament vastzetten
Assicurare la casetta alle fondamenta
Fixar o abrigo numa fundação
Fije el cobertizo a los cimientos perforando agujeros en el suelo del cobertizo en los lugares previamente marcados y atorníllelo a los cimientos utilizando los tornillos
adecuados (los tornillos no están incluidos).
Bringen Sie den Schuppen auf dem Fundament an, indem Sie an den Markierungen Löcher in den Schuppenboden bohren und diesen mit passenden Schrauben auf
dem Fundament festschrauben (Schrauben nicht enthalten).
Bevestig het schuurtje aan de fundering door op de aangegeven plaatsen gaten te boren in de vloer van het schuurtje en het schuurtje aan de fundering te schroeven
met behulp van passende schroeven (schroeven niet inbegrepen).
Ancorare la casetta alle fondamenta forando il pavimento nelle posizioni indicate e applicando apposite viti (viti non incluse).
Afixe o abrigo à base abrindo buracos no chão nos locais previamente assinalados e aparafusando-o à mesma utilizando parafusos adequados (os parafusos não estão
incluídos).
Ax the shed to the foundation by drilling holes in the shed floor at the pre-marked locations and screwing it into the foundation using appropriate screws (screws
not included).

Chat with your Keter Darwin 6x8 manual using AI

Get instant AI answers from your Keter Darwin 6x8 manual

Ask anything about the Keter Darwin 6x8. Answers come from this manual, with the pages they are based on.

Darwin 6x8 Maintenance Schedule

Periodically
Check shed stability and level site

Verify the shed is stable and the site remains level.

Show in the manual (page 70)
As needed
Clean shed with hose or mild detergent

Wash using a garden hose or mild detergent. Do not use stiff brushes or abrasive cleaners.

Show in the manual (page 70)
As needed
Clear roof of snow and leaves

Keep the roof clear of accumulated snow and leaves to prevent damage.

Show in the manual (page 70)
M: QW-35-FL

Ask a Question

0/1000

Do you recommend Darwin 6x8?

Yes No

Frequently Asked Questions

A

The shed's external footprint is approximately 244 cm by 183 cm (96” x 72”), giving a compact but practical storage area appropriate for garden tools, bikes and seasonal items.

Is this answer helpful?

A

Yes. A level, sturdy foundation is recommended — concrete or a constructed wooden base provides the best stability and long-term performance. The manual advises leveling the ground and building a suitable base prior to assembly.

Is this answer helpful?

A

Assembly requires two people. Basic hand tools listed in the manual are sufficient; power tools may be used but follow safety guidelines (wear eye protection). Parts are coded for easier identification during assembly.

Is this answer helpful?

A

Clean with a garden hose and mild detergent. Avoid abrasive brushes or harsh solvents (oil- or acetone-based cleaners) that can stain or damage the material. Regularly remove leaves and snow from the roof.

Is this answer helpful?

A

Yes. Keter provides a 10-year limited warranty covering defects in manufacturing or materials. The warranty excludes normal wear and tear, damage from misuse, storms or improper assembly. Register online to activate warranty benefits.

Is this answer helpful?

A

Anchoring is strongly recommended for safety and stability. The manual shows pre-marked floor locations for screws, but anchors/screws are not included and must be obtained separately to suit your foundation.

Is this answer helpful?

A

No. The Darwin shed is intended for storage only and is not designed or warranted for habitation or commercial/public use; misuse can void the warranty.

Is this answer helpful?

M: OA-GPT-5-NAN

Advantages and Disadvantages

Advantages

  • Durable, recyclable polymer construction resists rot and rust for low maintenance.
  • Compact 6x8 footprint fits small to medium yards while providing useful storage capacity.
  • Clear labeling of parts and step-by-step manual streamline assembly when two people are available.
  • Neutral gray finish integrates well with many outdoor designs and landscaping styles.
  • 10-year limited warranty covers manufacturing defects (registration recommended).
VS

Disadvantages

  • Assembly requires two people, time and a prepared concrete or wooden foundation.
  • Screws/anchors for securing to foundation are not included and must be sourced separately.
  • Warranty excludes damage from misuse, weather disasters, normal wear, or incorrect assembly.
  • Roof can accumulate snow—requires periodic clearing to prevent damage.
  • Not suitable for habitation; limited to storage use only.
M: OA-GPT-5-NAN

Product Specification

Color

grey

Material

Plastic

Roof shape

Gable roof

Door

1x swing door

Window

1x window, skylight

Special features

lockable, ventilated, weatherproof, weather-resistant, UV-resistant

Overall dimensions (incl. roof overhang)

74.80x87.01x96.06in (WxHxD)

Total area (incl. roof overhang)

49.94 sq ft

Weight

207.23 lb

Scope of delivery

Base frame

M: OA-GPT-54-NAN

Product Description

Keter Darwin 6x8 Garden Shed gray — Overview

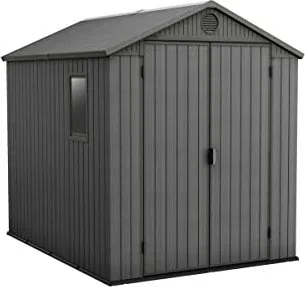
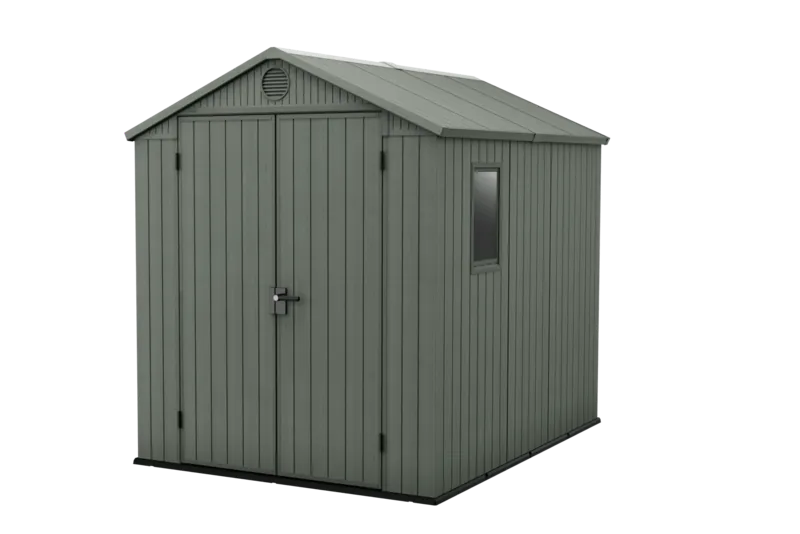
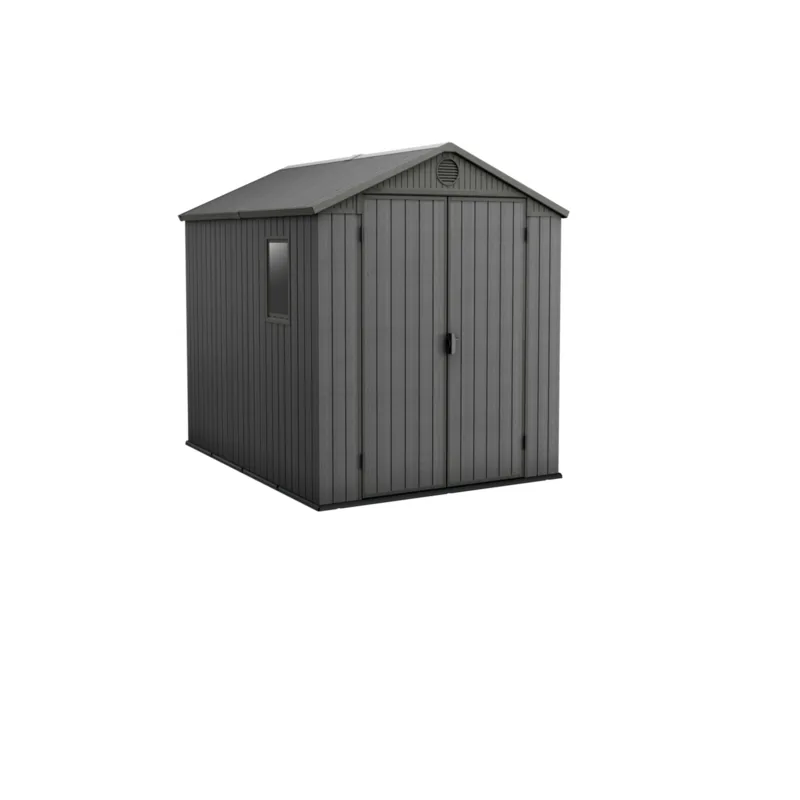
The Keter Darwin 6x8 Garden Shed in gray is a durable, low-maintenance storage solution ideal for homeowners seeking organized outdoor space. Built from high-quality, recyclable materials, this resin-style shed combines weather resistance with a wood-like appearance and a compact footprint suited for gardens, patios, and backyards. With external floor measurements roughly 244 x 183 cm (96” x 72”), it offers practical capacity for tools, lawn equipment, bikes, and seasonal items while remaining unobtrusive.

Key features and what to expect

Durability and materials: Constructed from robust, recyclable polymers and reinforced metal parts where needed, the Darwin resists rot, rust and many common weather-related issues associated with timber sheds. The gray finish provides a neutral look that blends with most landscapes.

Assembly and site preparation: Assembly requires two people and a level, prepared foundation — concrete or timber bases are recommended. Parts are labeled and the manual details a step-by-step process (fasteners, panels, roof and door assemblies) and suggests allowing external access around the assembly site. Standard hand tools are required; power tools should be used with safety gear and caution.

Storage design and usability: The shed includes a wide double door for easy access, configurable window placement, and modular internal space for shelving or hanging systems. The roof should be kept clear of heavy snow; avoid placing very heavy items against walls to prevent distortion.

Care, safety and warranty: Clean with a garden hose and mild detergent; avoid abrasive cleaners or solvents. Do not store hot items or volatile chemicals. Secure the shed to a foundation using appropriate anchors (screws not included). Manufacturer offers a 10-year limited warranty covering defects in materials or workmanship, with exclusions for normal wear, misuse, weather disasters and noncompliant assembly.

Quick notes

  • Recommended foundation: concrete or wooden base for stability.
  • Assembly: requires two people and careful adherence to manual steps.
  • Maintenance: wash with mild detergent; avoid abrasive cleaners and oil/acetone-based products.
  • Safety: wear eye protection when using tools; do not stand on the roof; clear snow and debris regularly.
  • Warranty: 10-year limited warranty; register online to activate.

Final thought

The Keter Darwin 6x8 Garden Shed gray is a practical, low-maintenance storage option that balances capacity, durability and style for residential outdoor storage needs, provided it is assembled on a prepared, level base and maintained according to the care guidelines.

M: OA-GPT-5-NAN

© Copyright 2026 Manual.ly