
Karcher Battery Power 18/25 Manual
PDF manual · 84 Pages
English



Quick check
Incorrect answer, please try again.
Chat with your Karcher Battery Power 18/25 manual using AI
Get instant AI answers from your Karcher Battery Power 18/25 manual
Ask anything about the Karcher Battery Power 18/25. Answers come from this manual, with the pages they are based on.
Battery Power 18/25 Maintenance Schedule
Inspect the battery terminals and charging contacts regularly to ensure they are free from soiling.
If the charging contacts are found to be dirty during inspection, clean them to ensure proper connectivity.
Inspect the ventilation slits of the charger for accumulation of dust or dirt.
Clean the ventilation slits if dirt is detected during inspection to maintain proper airflow.
If battery packs have been in storage for a long period, recharge them occasionally to maintain health.
Ask a Question
Do you recommend Battery Power 18/25?
Yes No
maxime62
7 months ago
Is the product worth the higher price point given its build quality?
Frequently Asked Questions
Yes, the BC 18 V model listed in the text is part of a series that includes a 36V variant. However, you must ensure the charger voltage matches the battery voltage exactly. Do not mix 18V and 36V chargers with incompatible battery types.
Is this answer helpful?
If the display remains blank two minutes after starting the charge, the battery pack is likely defective or completely dead beyond recovery. You should disconnect it immediately and dispose of it according to local regulations.
Is this answer helpful?
No, the charger is strictly for indoor use in dry environments. It must not be exposed to rain, water streams, or humid conditions to avoid electrical hazards and damage.
Is this answer helpful?
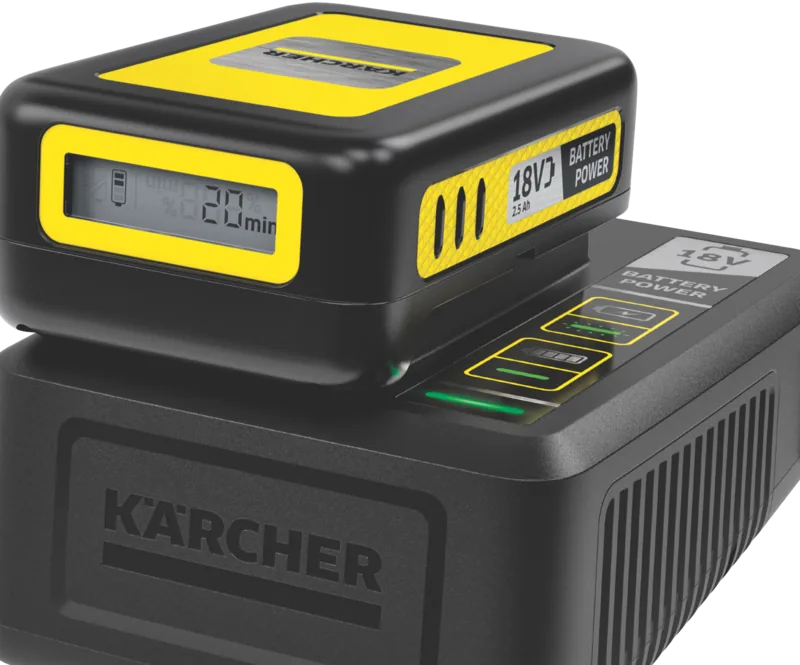
When the battery is fully charged, the indicator lamp will glow solid green instead of blinking, and the battery display will show 100% remaining capacity.
Is this answer helpful?
Children aged eight and older may operate the device only under direct supervision or after being properly instructed on safety risks by an adult responsible for their safety.
Is this answer helpful?
Advantages and Disadvantages
Advantages

- Compatible with both 18V and 36V Karcher Battery Power systems
- Clear visual indicators show charging status and completion
- Supports wall mounting for space-saving storage
- Minimal maintenance required for long-term reliability
- Safe design prevents overcharging of fully loaded batteries
Disadvantages

- Charger cannot be used with non-Karcher brand batteries
- Requires specific temperature range between 4 and 40 degrees Celsius
- Not suitable for outdoor use in wet or rainy conditions
- Display may not activate if battery capacity is completely depleted
- Must be unplugged manually to stop energy consumption after full charge
Product Specification
Type
Starter Kit
Charger
Battery Power 18V
Battery
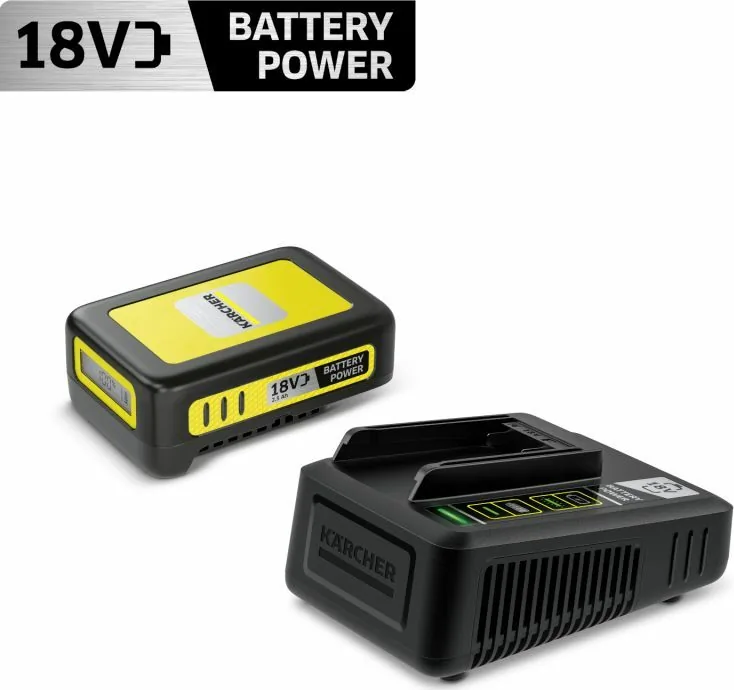
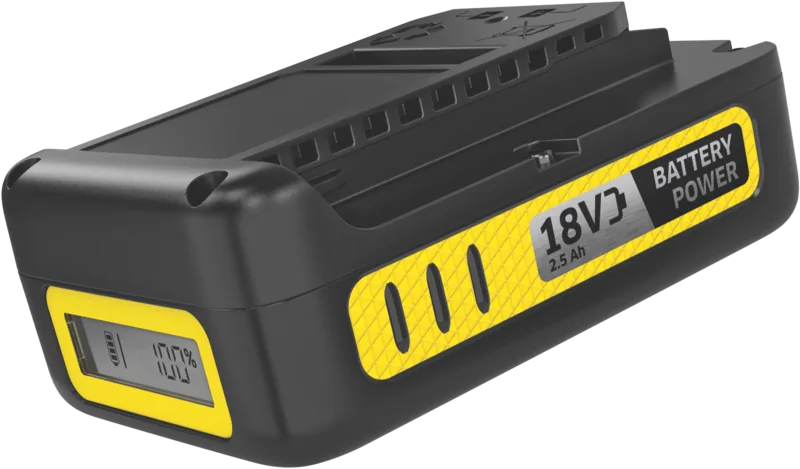
1x Battery (18V, 2.5Ah, Li-Ion)
Product Description
Karcher Battery Power 18/25 Starter Set: The Ultimate Charging Solution
The Karcher Battery Power 18/25 Starter Set is designed for professionals and homeowners who demand reliability and efficiency from their power tools. This comprehensive manual guides you through the safe and effective operation of the BC 18 V charger, ensuring your Li-Ion battery packs remain in top condition. Whether you are tackling a small home repair or a large construction project, having a reliable charging station is essential for uninterrupted workflow.
This starter set features a robust charger capable of handling both 18V and 36V battery platforms within the Karcher Battery Power system. The device is engineered with safety as a priority, incorporating clear indicators to monitor charging status. When connected, a green blinking light signals active charging, while a solid green light confirms a full charge. The integrated display on compatible battery packs provides real-time updates on remaining charge time, allowing you to plan your work sessions effectively.
Safety is paramount when dealing with electrical equipment. The manual emphasizes strict adherence to voltage compatibility, ensuring that only batteries matching the charger's specifications (18V or 36V) are used. It also highlights critical precautions regarding environmental conditions, such as avoiding use in wet or dusty areas to prevent short circuits or damage. Users are advised to inspect cables and contacts regularly for wear and tear, ensuring a clean and secure connection every time.
Maintenance of the unit is minimal, requiring only occasional cleaning of the charging contacts and ventilation slots to ensure optimal performance. The device supports wall mounting, offering flexibility in storage and accessibility. By following the guidelines in this manual, users can extend the lifespan of their battery packs and maintain the high performance expected from Karcher products. Remember to always dispose of damaged batteries responsibly and never attempt to repair the charger yourself unless you are a qualified technician.
Important Notes
- Always check the voltage type before connecting any battery pack.
- Do not leave the charger unattended during the initial charging phase.
- Store the device in a dry indoor environment to prevent moisture damage.
Search for 67,706 Manuals online


Type-in Brand or Model
Rodrigo Lind
7 months ago
Does the battery indicator display remaining charge time accurately?
Manual.ly
7 months ago
Yes, the device features a digital display that shows the current battery level and estimates the minutes required to reach a full charge. This allows users to monitor charging progress precisely.