
Joy-iT 5MP Camera Manual
PDF manual · 9 Pages
English



Quick check
Incorrect answer, please try again.
Chat with your Joy-iT 5MP Camera manual using AI
Get instant AI answers from your Joy-iT 5MP Camera manual
Ask anything about the Joy-iT 5MP Camera. Answers come from this manual, with the pages they are based on.
Ask a Question
Do you recommend 5MP Camera?
Yes No
Lupe Stracke
6 months ago
How quickly does the seller ship items after purchase?

SuscipitSimilique25
6 months ago
Is the seller reliable and does the product meet expectations?

Manual.ly
6 months ago
Yes, based on customer feedback, the seller is highly regarded for their reliability and the product consistently meets or exceeds buyer expectations. Many users have described the experience as 'all good' and praised the seller's performance.
Frequently Asked Questions
Connect the camera module to the CSI interface on your Raspberry Pi using the provided ribbon cable. Ensure the connector faces the correct way and click it firmly into place. No other connections are needed.
Is this answer helpful?
Use the console command raspistill -o image.jpg. This will save the picture to your user directory named image.jpg. You can customize the filename as needed.
Is this answer helpful?
Yes, you can record video using the raspivid command. For example, raspivid -o video.h264 -t 10000 records a ten-second video. The file is saved in the user directory.
Is this answer helpful?
No, the device is not waterproof. Do not use it in rain, humid rooms, or under water. It must be kept dry and protected from moisture to prevent damage.
Is this answer helpful?
If you are using the latest Raspbian software, drivers are pre-installed. You only need to enable the camera interface via the raspi-config menu settings.
Is this answer helpful?
You can return old devices to JOY-iT Europe GmbH or drop them off at local collection points. Contact support for a free return stamp if shipping back to them.
Is this answer helpful?
Advantages and Disadvantages
Advantages

- High-resolution 5MP sensor captures detailed images and videos
- Direct CSI connection requires no external power or extra cables
- Easy setup using built-in raspi-config tool
- Compatible with standard Linux commands like raspistill and raspivid
- Complies with EU safety and environmental regulations
Disadvantages

- Requires manual command line usage for basic operations
- Not suitable for outdoor use without additional waterproof housing
- Privacy laws restrict filming public areas or neighbors
- No built-in storage; relies on connected SD card space
- Setup requires basic familiarity with Raspberry Pi terminal
Product Specification
Manufacturer
Various
Type
Camera (5MP, 1024x768, Omnivision OV5647, fixed focus)
Platform
Universal
Connection
MIPI CSI
Power Supply
via Host
Dimensions (WxDxH)
0.98x0.35x0.94 in
Product Description
Discover the Joy-iT Camera Module for Raspberry Pi
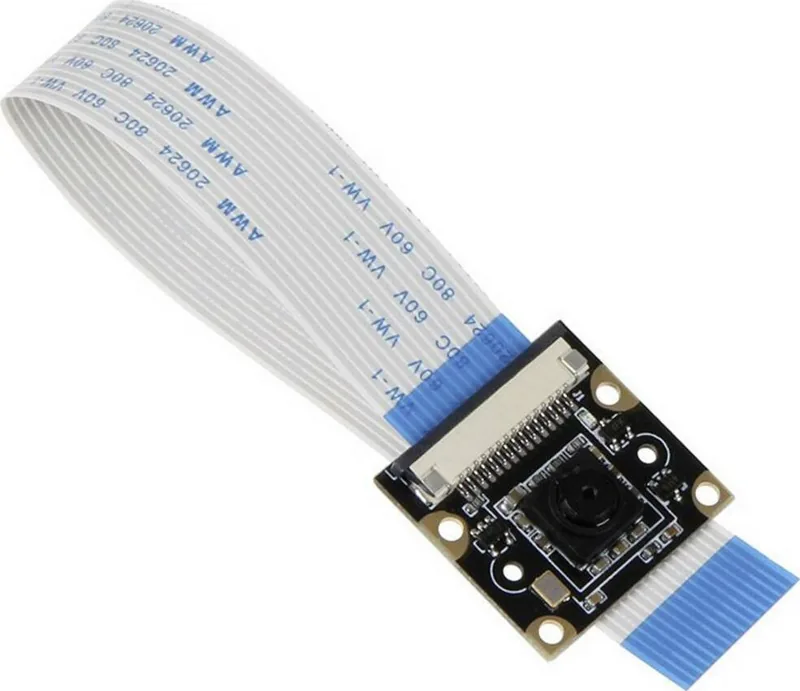
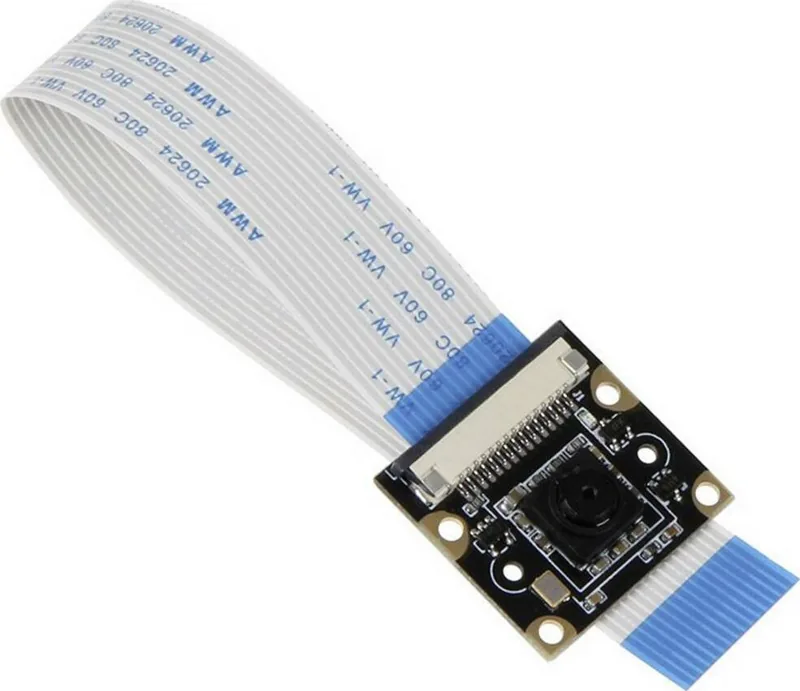
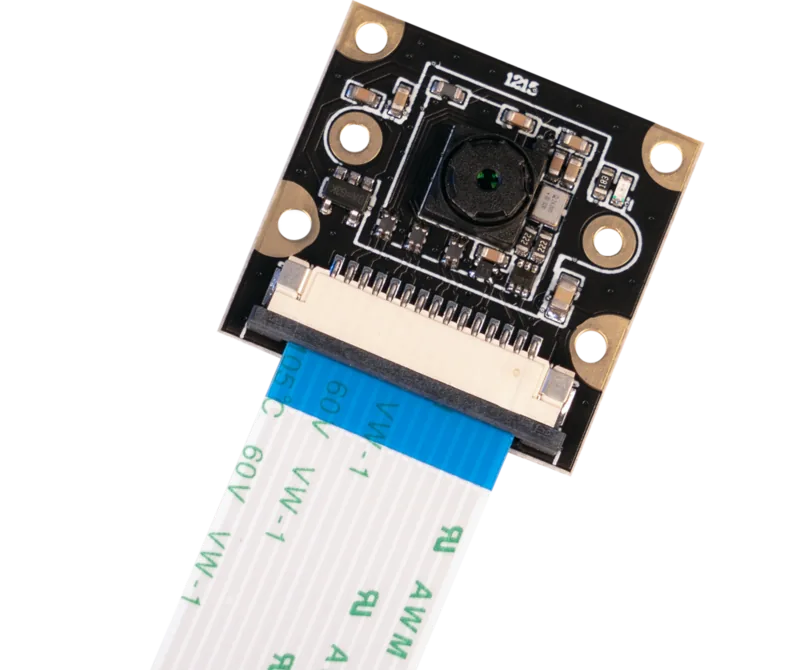
The Joy-iT Camera Module for Raspberry Pi is a powerful 5MP imaging solution designed specifically for hobbyists, developers, and makers looking to enhance their projects. This compact module connects directly to the CSI interface of your Raspberry Pi, requiring no additional power sources or complex wiring beyond the included ribbon cable. Whether you are building a time-lapse camera, a security system, or an automated wildlife tracker, this camera offers high-quality image capture capabilities right out of the box.
Setting up the system is straightforward if you are running the latest Raspbian software. For those starting fresh, simply flash the operating system onto an SD card, insert it into your board, and boot up. Once the system is running, enabling the camera is as simple as accessing the configuration menu via the terminal command raspi-config. Navigate to Advanced Options, select the Camera setting, activate it, and reboot your device. The integration is seamless, allowing you to start creating immediately.
Using the camera is equally intuitive through the command line. To capture still images, you can execute the raspistill command, which saves photos directly to your user directory as standard JPEG files. For video recording, the raspivid command allows you to define the duration of the clip, saving the output as an H.264 file. These tools provide flexible control over your media creation without needing third-party applications.
Safety and compliance are prioritized in the design of this device. Users must ensure the camera is used in dry environments away from heat sources and never operated with wet hands. Legal considerations regarding privacy are also emphasized; recordings should not infringe on the rights of others or public areas without consent. The product adheres to strict European guidelines including EMV and RoHS standards, ensuring reliability and environmental safety. For disposal, the unit follows WEEE regulations and should be recycled at designated collection points rather than thrown in household waste.
Search for 67,706 Manuals online


Type-in Brand or Model
non_laudantium
6 months ago
Is the seller reliable and responsive?
Manual.ly
6 months ago
Yes, our customers consistently rate this seller as highly reliable and responsive. Reviews highlight excellent service and satisfaction with the product quality.