
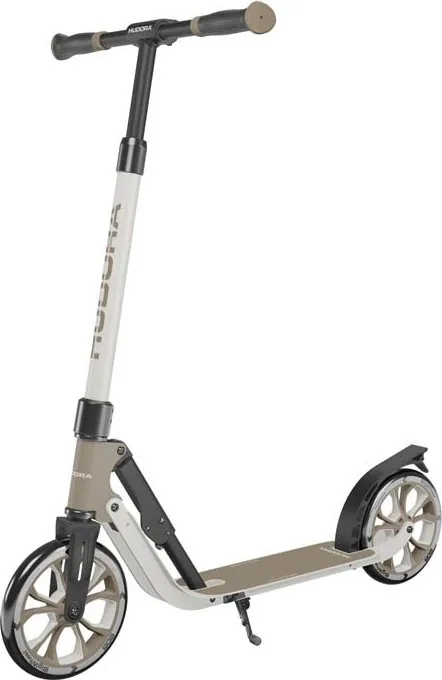
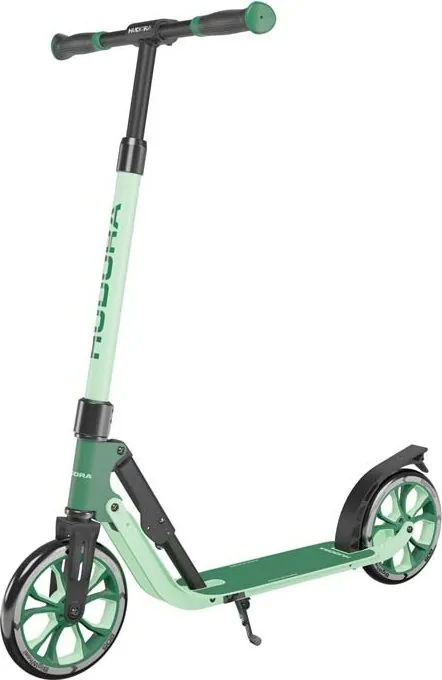
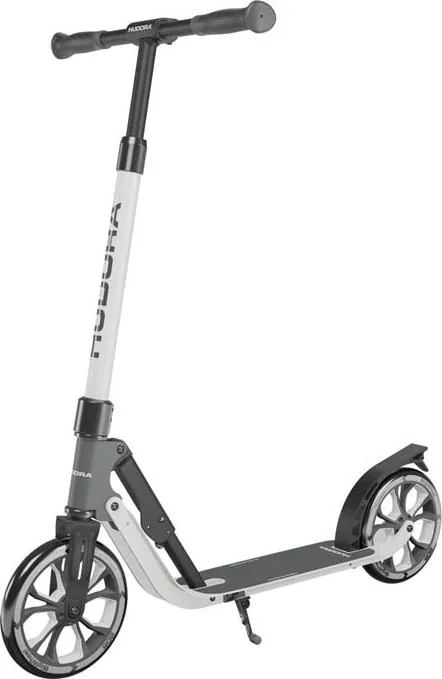
Hudora Big Wheel 205 Advanced Manual
PDF manual · 24 Pages
English



Quick check
Incorrect answer, please try again.
Chat with your Hudora Big Wheel 205 Advanced manual using AI
Get instant AI answers from your Hudora Big Wheel 205 Advanced manual
Ask anything about the Hudora Big Wheel 205 Advanced. Answers come from this manual, with the pages they are based on.
Big Wheel 205 Advanced Maintenance Schedule
Under full load and daily use, replace rollers and bearings every six months to maintain safety and performance.
Inspect the scooter before and after every use for signs of damage or wear. Replace damaged parts immediately.
Ensure all fasteners, locking parts, folding mechanisms, and handlebar heights are intact and tightly secured.
Free maintenance reminders
Timed to your purchase date. Always free, unsubscribe anytime.
Ask a Question
Do you recommend Big Wheel 205 Advanced?
Yes NoFrequently Asked Questions
Insert the long sleeve bolt from the left and the short bolt from the right into the front axle. Tighten the screw with a torque of 5 Nm. This completes the assembly.
Is this answer helpful?
The scooter supports a maximum user weight of 100 kilograms. Exceeding this limit may compromise safety and structural integrity.
Is this answer helpful?
Yes, the handlebars can be locked into place at four different heights using the twist lock mechanism for customized fitting.
Is this answer helpful?
Yes, personal protective equipment including helmets, knee pads, elbow pads, and wrist guards are recommended for all riders to prevent injury.
Is this answer helpful?
For daily heavy-use, replace rollers and bearings every six months to ensure optimal riding pleasure and lasting safety.
Is this answer helpful?
It is designed for public areas but check local traffic regulations. Do not ride on highways or in poor visibility conditions.
Is this answer helpful?
Advantages and Disadvantages
Advantages

- Lightweight aluminum frame makes transport and handling very easy for daily commuting
- Adjustable handlebar height accommodates different rider sizes for ergonomic comfort
- Folding mechanism allows convenient storage in small apartments or car trunks
- High maximum user weight capacity supports up to 100 kilograms safely
- Precision ball bearings ensure smooth rolling motion upon initial loading
Disadvantages

- Requires partial assembly before first use to install front wheel securely
- Brake components generate significant heat requiring caution after prolonged use
- Mandatory protective gear usage increases cost for full safety compliance
- Not suitable for jumps or rough terrain causing potential damage risk
- Regular maintenance needed to replace bearings and wheels every six months
Product Specification
Type
Scooter
Material
Aluminum
Wheels
8.07 in
Bearings
ABEC 7
Max user weight
220.46 lbs
Tire type
Plastic
Suspension
None
Weight
10.36 lbs
Features
Foldable, Reflectors, Kickstand
Product Description
Mastering Urban Travel with the Hudora Big Wheel 205
Navigating city streets efficiently requires versatile transport solutions like the Hudora Big Wheel 205 Advanced Scooter. This recreational device targets public areas rather than playhouses, offering a robust platform for adult mobility. To ensure safe operation, reviewing the Hudora Big Wheel 205 Advanced Scooter Manual is mandatory before initial use. The manual serves as an integral part of the product package and should be kept safely stored for future reference regarding assembly questions or safety checks. Ignoring these instructions may void warranties or cause injury.
Built from lightweight aluminum alloys, the scooter weighs approximately 4.5 kilograms while providing a maximum user load capacity of one hundred kilograms. Its compact design measures roughly ninety centimeters in length when unfolded, featuring a deck size of thirty centimeters wide. The handlebars offer four distinct height settings adjustable via a twist lock mechanism, accommodating various rider sizes effectively. This adjustability enhances comfort during long commutes across uneven urban pavements where vibration control is critical for joint health preservation.
Assembly requires precise installation of the front wheel using specific torque settings to guarantee axle stability. Riders must follow illustrated steps to mount the wheel bolts correctly without over-tightening the screw threads which can strip. Once assembled, unlocking the transportation lever allows immediate deployment for riding. The folding mechanism enables easy portability by rotating the stem and securing it against the rear wheel. A side stand located under the deck ensures stable parking without tipping hazards during stops while waiting for traffic signals.
Safety protocols demand wearing personal protective equipment including helmets, knee pads, and wrist guards at all times. Footwear is strictly required since the rear friction brake generates significant heat during prolonged usage. Contacting hot metal components can damage shoes or cause minor burns to unprotected skin. Night riding is prohibited due to visibility risks associated with lower light conditions. Users must also avoid steep slopes and open water areas to prevent serious accidents involving collisions or falls into dangerous zones nearby. Always check traffic rules applicable to scooters in your specific region.
Maintenance routines involve checking all fasteners periodically for looseness or wear signs indicating mechanical fatigue. Bearings are maintenance-free initially but eventually require replacement due to friction wear over extended periods of daily driving cycles. Experts recommend swapping wheels and bearings every six months for daily heavy-duty usage scenarios to prevent sudden failures mid-ride. Cleaning should utilize only soft cloths avoiding harsh chemical solvents that might damage plastic parts or rust sensitive metal joints prematurely.
Proper storage indoors protects the aluminum frame from weather corrosion indefinitely keeping paint finishes intact for years. Disposal follows local environmental guidelines at end-of-life stages for responsible recycling processes minimizing landfill waste impact globally. Official service centers provide assistance for lost manuals or sourcing original spare parts online efficiently. Adherence to these practices ensures longevity and continued safe mobility solutions for everyone involved in regular street riding activities today without compromising structural integrity standards set by manufacturers.
Search for 67,706 Manuals online


Type-in Brand or Model