
HPE Aruba AP-220-MNT-W1W Manual
PDF manual · 2 Pages
English



Quick check
Incorrect answer, please try again.
Chat with your HPE Aruba AP-220-MNT-W1W manual using AI
Get instant AI answers from your HPE Aruba AP-220-MNT-W1W manual
Ask anything about the HPE Aruba AP-220-MNT-W1W. Answers come from this manual, with the pages they are based on.
Ask a Question
Do you recommend AP-220-MNT-W1W?
Yes NoFrequently Asked Questions
No, wall anchors are not included in this kit. You must purchase appropriate anchors separately based on the type of wall you are installing the mount on.
Is this answer helpful?
Screws are not included in the kit. Use high-quality screws that match the diameter and length requirements of your chosen wall anchors to ensure a secure fit.
Is this answer helpful?
This mount kit is designed to support multiple Aruba AP models. While installation images often show the 225 AP, it is compatible with other supported units in the series.
Is this answer helpful?
Align the AP tabs at a 30-degree angle to the adapter, push toward the wall, and rotate clockwise until you hear a click, indicating it is locked in place.
Is this answer helpful?
It depends on the wall density. For standard drywall, you typically need to install wall anchors behind the surface to provide sufficient holding strength for the access point.
Is this answer helpful?
Advantages and Disadvantages
Advantages

- Secure mechanical locking mechanism prevents accidental detachment
- Supports multiple Aruba AP models for versatile deployment
- Saves floor space by enabling clean wall-mounted installations
- Simple rotation-and-click design simplifies the mounting process
- Professional appearance suitable for corporate and commercial environments
Disadvantages

- Wall anchors are not included in the kit package
- Mounting screws must be purchased separately
- Requires specific wall types to accommodate standard anchors
- Installation requires basic tools like a drill and screwdriver
- Does not include cable management accessories within the box
Product Specification
Type
Power Supply
Product Description
Optimizing Network Coverage with the HPE Aruba AP-220 Wall Mount Kit
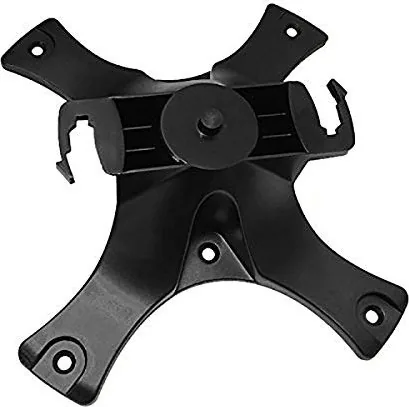
The HPE Aruba AP-220 Wall Mount Kit is an essential accessory designed to ensure secure and professional installation of your wireless access points in various environments. Whether you are setting up a small office or expanding coverage in a large enterprise, this kit provides the necessary hardware to mount the device firmly against a wall. The design focuses on stability and ease of use, allowing network administrators to position access points for optimal signal distribution without cluttering the floor space.
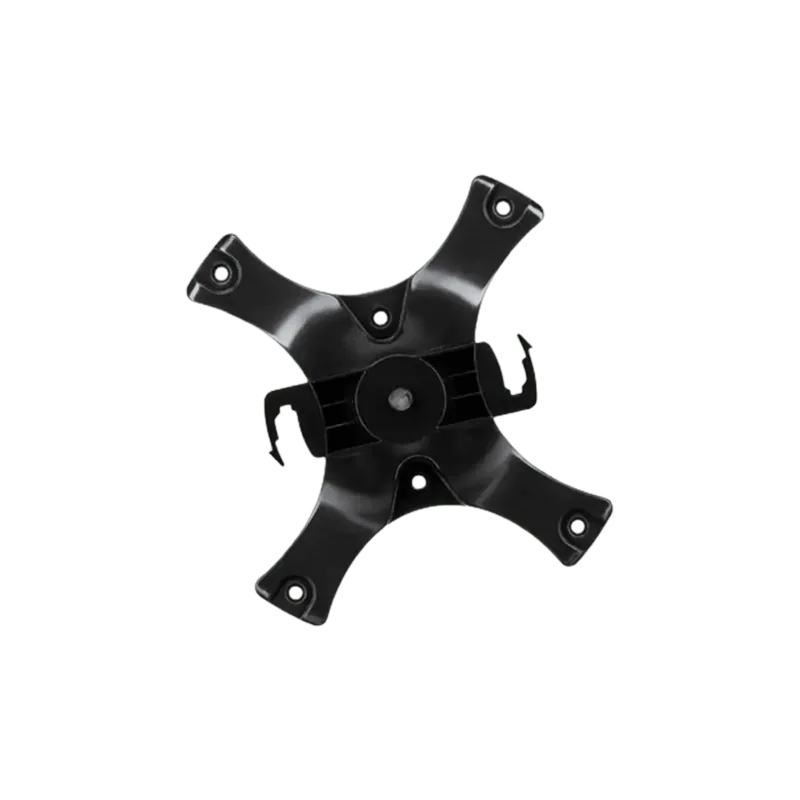
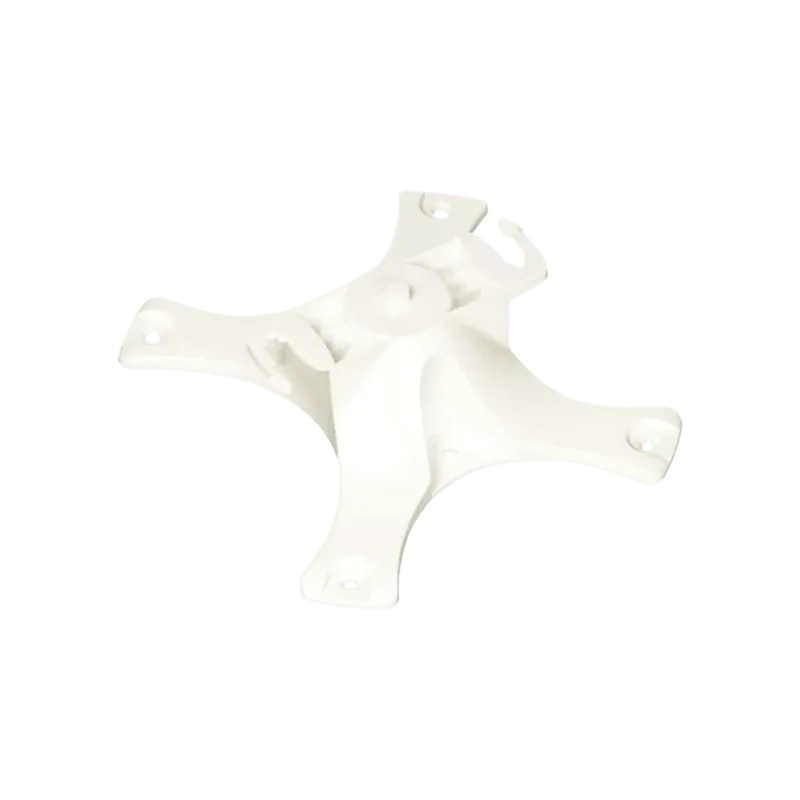
Installation begins by securing the wall mount adapter to the desired location. Users must first install appropriate wall anchors, which are not included in the package, ensuring the bracket can support the weight of the access point. Once the anchors are in place, align the screw holes of the mounting bracket with the anchors and insert screws to fix it securely. This step is critical for maintaining the integrity of the entire setup.
After the bracket is mounted, the next phase involves connecting any necessary cables or antennas directly to the Access Point. Careful cable management at this stage helps prevent signal interference and keeps the area tidy. The final step requires attaching the AP to the secured adapter. Align the mounting tabs of the access point at approximately a 30-degree angle to the adapter. Push the unit toward the wall and rotate it clockwise until it clicks into place. This mechanical locking mechanism ensures the device remains fixed even in high-traffic areas.
This mount kit is versatile and supports multiple Aruba AP models, making it a flexible choice for upgrading existing infrastructure. By following the standard procedures outlined in the guide, users can achieve a completed installation that looks professional and functions reliably. Proper mounting not only enhances safety but also contributes to the longevity of the equipment by reducing physical stress on the device connections.
Important Notes
- Wall anchors and screws are not included; purchase compatible ones separately.
- Ensure the wall surface can support the weight before drilling.
- Rotate the AP clockwise until a distinct click confirms secure attachment.
Search for 67,706 Manuals online


Type-in Brand or Model