
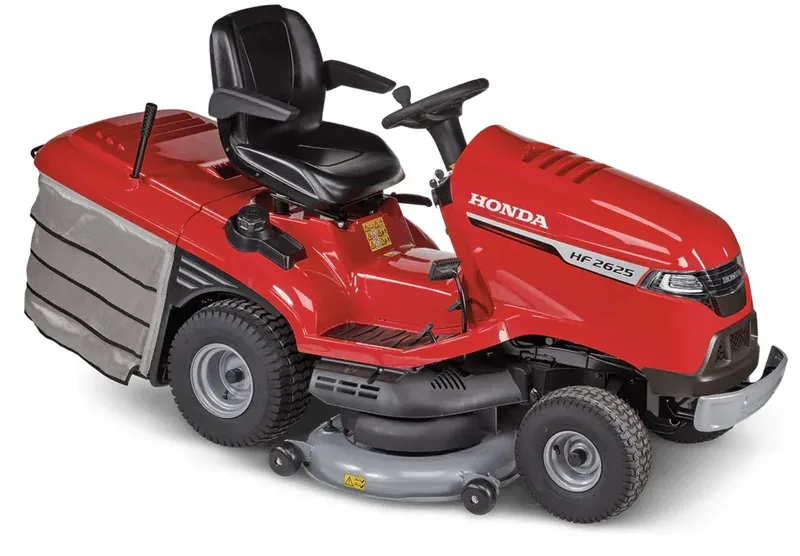
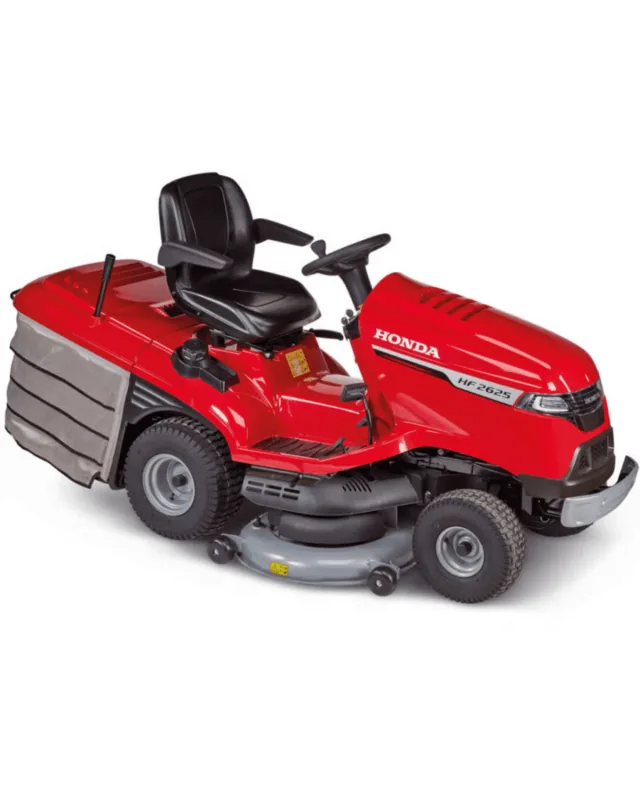
Honda HF 2625 HME Manual
PDF manual · 252 Pages
English



Quick check
Incorrect answer, please try again.
Chat with your Honda HF 2625 HME manual using AI
Get instant AI answers from your Honda HF 2625 HME manual
Ask anything about the Honda HF 2625 HME. Answers come from this manual, with the pages they are based on.
HF 2625 HME Maintenance Schedule
Check the oil level using the dipstick on a flat surface with the engine off. Top up with SAE 10W30 if near or below MIN.
After each mowing session, clean the outside of the machine, empty the grass catcher, and remove accumulated grass from the engine compartment.
Visually inspect the cutting means for damage or wear before starting work. Replace if damaged to maintain balance and safety.
Ensure correct tyre pressure (Front: 1.5 bar or 1.0 bar depending on size; Rear: 1.2 bar) for even cutting and stability.
Verify that the braking capacity is adequate for usage conditions. Adjust or consult dealer if brake performance is doubtful.
Drain oil when cold, replace drain cap seal, and fill with recommended SAE 10W30 oil to the MAX level.
Inspect the air filter elements. Clean more frequently if used in dusty areas. Do not run engine without filter.
Lubricate all joints and axle points as shown in the maintenance diagram to prevent wear.
Charge the battery if it has not been used for more than 1 month. Use only the supplied maintenance charger.
Periodically check the battery electrolyte level. Top up ONLY with distilled battery water if necessary.
Check and tighten the screws securing the cutting means to ensure they are secure and balanced.
Remove, clean, and check electrode gap (0.7-0.8 mm). Replace if worn or damaged. Tighten firmly.
Ask a Question
Do you recommend HF 2625 HME?
Yes NoFrequently Asked Questions
No, the machine must not be used on slopes greater than ten degrees or 17 percent grade. Exceeding this limit increases the risk of rollover and loss of control significantly.
Is this answer helpful?
Remove the sealing tape and pour diluted sulphuric acid electrolyte up to the upper level mark. Leave standing for half an hour then top off again. Charge completely via dealer equipment before starting.
Is this answer helpful?
Use SAE 10W30 oil. Check level regularly with dipstick on flat surface with engine off. Top up to max line if near min to prevent serious engine damage.
Is this answer helpful?
Reduce forward speed when cutting wet or very tall grass. Stop immediately to clear blockages. Never clear chutes while engine is running to avoid injury.
Is this answer helpful?
Replace them annually or if electrodes show wear. Gap must be maintained between 0.7 and 0.8 millimeters for efficient ignition and combustion performance.
Is this answer helpful?
Advantages and Disadvantages
Advantages

- Hydrostatic transmission provides smooth speed adjustments without gears
- Integrated safety sensors stop engine if operator leaves seat
- Seven cutting height positions accommodate various lawn conditions
Disadvantages

- Steep slopes limited to ten degrees maximum for safety
- Battery activation requires handling corrosive electrolyte solution
- Blade rebalancing is critical to prevent vibration damage
Product Specification
Type
Lawn Tractor
Power
18.6 HP (13.9 kW), 42.1 cu in (690 cc), 2800 rpm, 4-stroke, Honda GXV690H
Cutting width
48.0 in (122 cm)
Cutting height
1.14-3.54 in, height adjustable, 7 positions
Bag volume
92.5 gal (350 L)
Drive
Wheel drive with speed regulation 0-5.1 mph (8.2 km/h)
Transmission
Hydrostatic
Features
Mulching optional, rear discharge, telescopic lever box emptying
Fuel tank capacity
2.25 gal (8.5 L)
Noise level
105 dB(A)
Weight
588.63 lb (267 kg)
Product Description
Discover Power and Precision with the Honda HF 2625 HME Gasoline Lawn Tractor
Owning a quality lawn mower changes how you spend your weekends. The Honda HF 2625 HME Gasoline Lawn Tractor stands out as a reliable companion for maintaining expansive gardens. Users researching the Honda HF 2625 HME Gasoline Lawn Tractor Manual find comprehensive operational insights. The real appeal lies in the seamless operation designed for consumer DIY use. Battery activation requires careful handling of electrolyte solution to ensure reliable starting power initially.
Equipped with a hydrostatic transmission system, speed adjustments are effortless. You simply press the pedal to engage traction, allowing fluid movement across various terrains. Safety remains paramount, with integrated sensors ensuring the engine stops instantly if you leave the seat. This critical feature protects both the operator and bystanders from unexpected incidents during high-speed cuts.
The cutting experience is customizable through seven different height settings located on the lever near the steering column. Whether dealing with thick summer growth or short spring tufts, precision adjustments ensure an even finish across the turf. Mulching capabilities allow grass clippings to be recycled back into the soil, reducing waste and enhancing overall lawn health naturally. Models include cruise control to save time.
Maintenance protocols require diligent attention to detail. Regular checks on the air filter, fresh oil levels, and blade sharpness guarantee optimal performance throughout the season. Proper storage involves securing the cutting deck fully lowered and draining fuel systems to prevent corrosion over long winter months without use. Follow strict manufacturer guidelines regarding fuel mixtures to protect the sensitive emission control system components effectively.
Navigating steep slopes demands extreme caution since gradients exceeding ten degrees pose significant rollover risks. Digital indicator lights warn operators clearly when approaching unsafe inclines or heavy tipping points. Advanced lighting ensures high visibility during early morning or dusk work sessions when shadows might hide obstacles. Safe transport requires lifting the deck and securing wheels tightly using chains to avoid shifting damage during transit.
This robust equipment supports professional-grade results in your backyard space. Specifications help users understand weight distribution and horsepower for tasks. Adhering to these rigorous operational standards extends the functional lifespan of the tractor considerably for years. Enjoy every single moment of landscaping confidently knowing your powerful tools meet all necessary safety and efficiency regulations today.
Notes: Ensure proper tire pressure before each session. Always wear hearing protection during extended use.
Search for 67,706 Manuals online


Type-in Brand or Model