
Hilleberg Nallo 2 Manual
PDF manual · 16 Pages
English



Quick check
Incorrect answer, please try again.
Chat with your Hilleberg Nallo 2 manual using AI
Get instant AI answers from your Hilleberg Nallo 2 manual
Ask anything about the Hilleberg Nallo 2. Answers come from this manual, with the pages they are based on.
Nallo 2 Maintenance Schedule
Use a tarp over the tent if left set up for several days in direct sun, especially at high altitude or in deserts, to prevent fabric damage.
Hang the tent to dry with poles in place so fabrics stay apart. Do not store without drying first.
Brush zippers with a small stiff brush after use in sand or dust to prevent grit damage and extend life.
Inspect the entire tent for damage and perform necessary repairs before packing.
Clean pegs and replace any that are lost or damaged to ensure proper anchoring.
Check all poles for potential damage or cracks before storing them.
Free maintenance reminders
Timed to your purchase date. Always free, unsubscribe anytime.
Ask a Question
Do you recommend Nallo 2?
Yes NoFrequently Asked Questions
The Nallo 2 ships with a Kerlon 1200 outer tent integrated with the inner tent, two 9 mm poles (color-coded), five attached guy lines with line runners, 16 pegs, stuff sacks for tent/poles/pegs, one spare pole segment, a pole repair sleeve and an instruction booklet.
Is this answer helpful?
Yes — the tent will stand with just four properly pegged corners, but Hilleberg strongly recommends using all 16 peg points and the guy lines when possible to ensure stability and safety in changing weather.
Is this answer helpful?
Unfold each pole and connect sections one at a time; never fling poles open. Insert poles into sleeves carefully, seat pole ends fully into the closed end, and tighten pole tensioners. Gaps during assembly can stress and break lightweight aluminum poles.
Is this answer helpful?
The outer tent is waterproof but not breathable, so condensation is likely. Use a footprint to reduce ground moisture, increase ventilation by unpegging the rear center and raising inner corners, and avoid enclosed setups in humid conditions.
Is this answer helpful?
After each use, brush out dirt, clean zippers with a small brush if sandy, dry the tent fully before storage (preferably hung with poles installed), inspect and repair damage, clean pegs, and avoid prolonged UV exposure to extend fabric life.
Is this answer helpful?
Yes — the inner tent can be detached and pitched alone using optional pole holders and by pegging its corners, but it is only water-repellent, not waterproof, so use it alone only in dry conditions.
Is this answer helpful?
Hilleberg offers a warranty against material and manufacturing defects. Warranty coverage varies by region and does not cover misuse, normal wear, UV damage or lack of care. Out-of-warranty repairs are available for a reasonable fee through dealers or Hilleberg offices.
Is this answer helpful?
Advantages and Disadvantages
Advantages

- Lightweight yet exceptionally strong when properly pitched and anchored.
- Integrated inner tent with full no-see-um mesh for insect protection and ventilation control.
- Multiple pegging points (16) and pre-attached guy lines for secure anchoring in variable weather.
- Hooded front vent uses water-repellent, breathable fabric to ventilate even when closed.
- Includes spare pole segment, repair sleeve and dedicated stuff sacks for organized packing.
Disadvantages

- Outer tent fabric is waterproof but not breathable, increasing condensation risk in wet conditions.
- Requires careful handling of lightweight poles; improper assembly can cause breakage.
- Proper performance depends on using most or all pegs and guy lines, adding setup time.
- Prolonged direct sunlight exposure can damage fabric, requiring extra protection in sunny environments.
- Inner tent is water-repellent but not fully waterproof when used separately in adverse weather.
Product Specification
Type
Tunnel tent
Persons
2
External dimensions (LxWxH)
131.89x51.18x39.37in
Internal dimensions (LxWxH)
86.61x51.18x39.37in
Water column
196.85in
Weight
5.29lb
Product Description
Hilleberg Nallo 2 Tunnel tent Manual
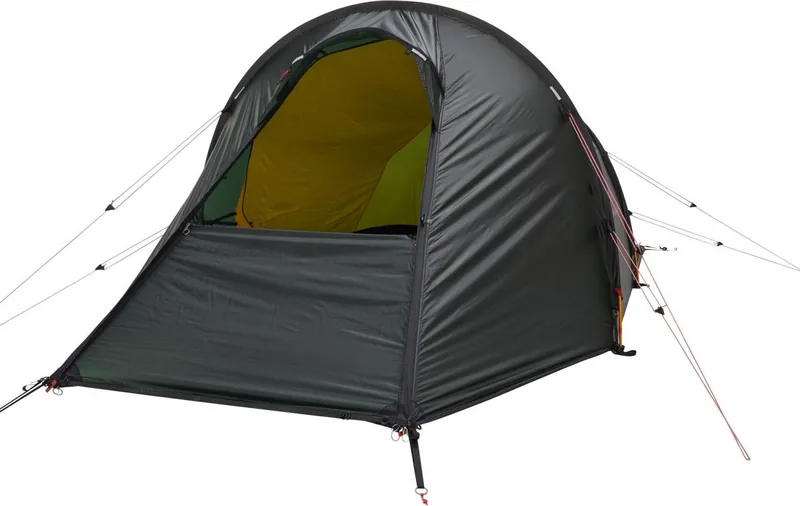
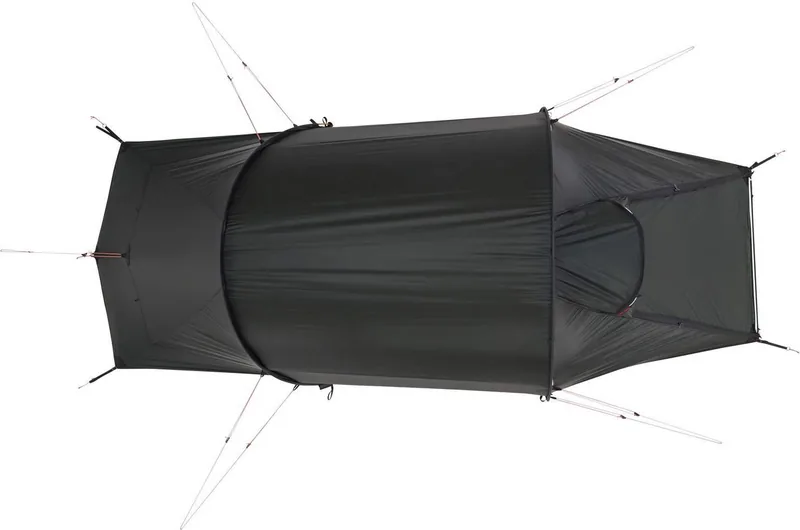
The Hilleberg Nallo 2 is a lightweight, high-quality tunnel tent designed for backcountry use where low weight and strong performance matter. Built with Kerlon 1200 outer fabric and an integrated inner tent, the Nallo 2 strikes a balance between minimal pack weight and robust weather protection. Its design emphasizes careful pitching, proper anchoring and ventilation to ensure reliable performance in variable conditions.
The tent includes two pre-shaped 9 mm poles (color-coded for correct insertion), five pre-attached guy lines with line runners, 16 pegs, a spare pole segment, a pole repair sleeve, and dedicated stuff sacks for the tent, poles and pegs. The Nallo’s pegging system offers 16 possible peg points; while four pegs will hold the basic structure, Hilleberg recommends using all pegs and guy lines to secure the tent when weather is unpredictable.
Pitching the Nallo 2 is straightforward: select a slightly convex, level site sheltered from prevailing winds, set corner peg loops to their longest position, insert poles into the sleeves until fully seated, and tension peg loops and guy lines to achieve proper shape. Poles must be unfolded and inserted carefully — never fling them open — to avoid damage. The tent’s sleeve design allows use of double poles for enhanced stability in extreme conditions.
Ventilation and access are well considered: the main hooded vent is integrated into the front door with water-repellent, highly breathable fabric; the inner tent features no-see-um mesh and a zippered fabric panel for adjustable airflow. Doors can be opened from the front or sides depending on weather, and inner and outer doors should be kept off the ground to avoid zipper damage. For greater ventilation, unpeg the rear center point and raise inner tent corners to increase the gap between inner and outer fabrics.
Care and maintenance are emphasized to maximize tent life: always dry the tent before long-term storage, brush zippers clean after sandy or dusty use, check poles and pegs for damage, and avoid prolonged exposure to direct sunlight which accelerates fabric degradation. When packing, remove poles from sleeves by pushing them out from the sleeve end rather than pulling, roll the tent around the pole bag, and store pegs inside the pole bag to protect the outer fabric.
Notes
- The outer tent is waterproof but not breathable; using a footprint can reduce ground moisture but won’t eliminate condensation.
- Practice pitching at home before field use.
- The warranty covers manufacturing defects but not misuse, UV damage, or normal wear.
Search for 67,706 Manuals online


Type-in Brand or Model