
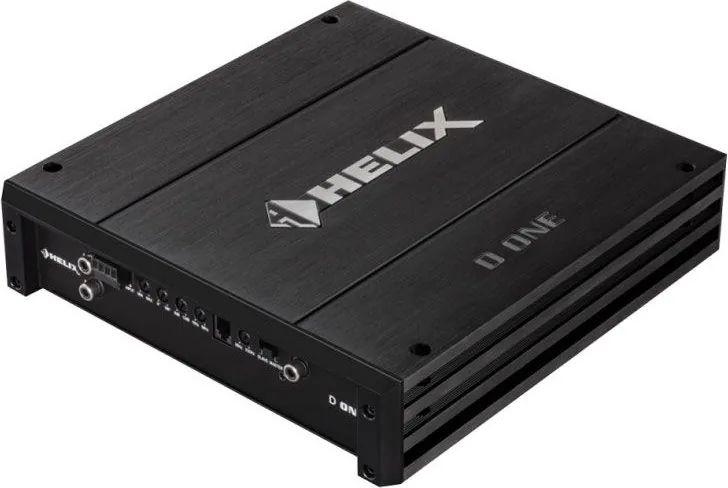
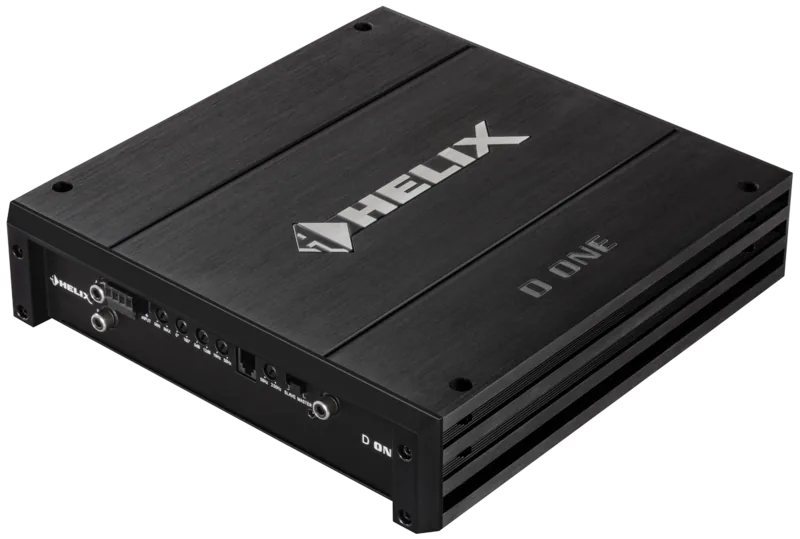
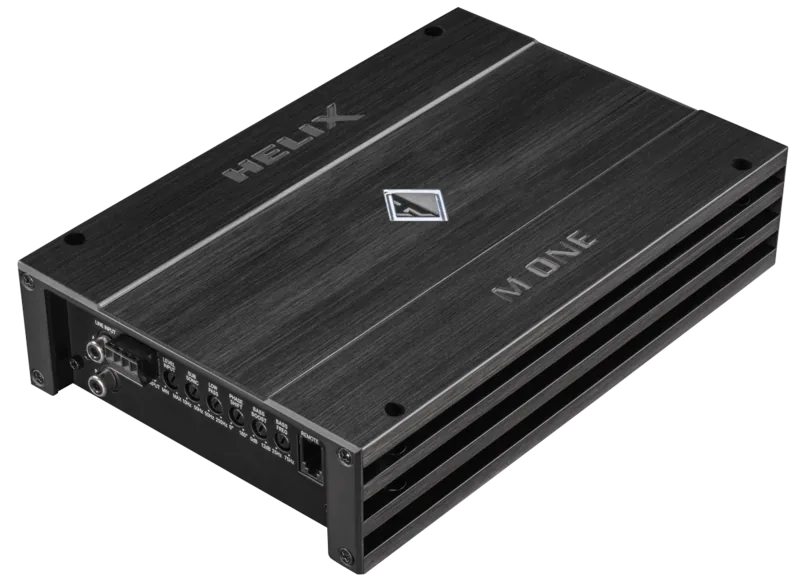
Helix D One Manual
PDF manual · 20 Pages
English



Quick check
Incorrect answer, please try again.
Chat with your Helix D One manual using AI
Get instant AI answers from your Helix D One manual
Ask anything about the Helix D One. Answers come from this manual, with the pages they are based on.
Ask a Question
Do you recommend D One?
Yes NoFrequently Asked Questions
The D One supports two low-level RCA (Line) inputs and two high-level speaker inputs. Do not use both input types at the same time. The high-level input includes ADEP for automatic recognition by OEM radios.
Is this answer helpful?
Disconnect the battery negative before wiring. Use adequate cable cross-sections (min. 10 mm² for short runs; 16–25 mm² recommended for longer runs), place a main fuse within 30 cm of the battery, and connect ground to a clean chassis point or battery negative.
Is this answer helpful?
Single-amp RMS ratings include 200 W @ 4 Ω, 340 W @ 2 Ω, 530 W @ 1 Ω. In Master/Slave (two amps) combined outputs increase significantly (e.g., ~645 W @ 4 Ω, 910 W @ 2 Ω, 1,060 W @ 1 Ω depending on configuration).
Is this answer helpful?
Yes. The remote bass control connects to the amplifier’s remote input and works regardless of input type. If you use high-level inputs the amp can auto-turn on and REM does not have to be connected, but the remote bass control still functions when wired.
Is this answer helpful?
The D One has built-in protections for overheating, over- and undervoltage, speaker short-circuits and incorrect wiring. A Power & Protect LED indicates normal operation (green) or fault/protect state (red); resolve wiring or thermal issues before reuse.
Is this answer helpful?
Use the Level Input control to match the amp’s input sensitivity to the source: RCA/Line 0.5–6 V and Highlevel 1–14 V. For typical high-level OEM radios, set the control to around 9 V (about 9 o’clock). This is a gain match, not a volume control.
Is this answer helpful?
Minimum load impedance is 1 Ω for single-amp operation and 2 Ω minimum in Master/Slave mode. Parallel wiring can halve impedance — follow configuration charts to avoid overloading or shutdown.
Is this answer helpful?
Advantages and Disadvantages
Advantages

- High Class D efficiency with strong RMS output at 4 Ω, 2 Ω and 1 Ω for compact power delivery
- Adjustable active crossover (subsonic, LPF), phase shift and bass boost for precise tuning
- High integration options: high-level input with ADEP, remote bass control, mono RCA in/out and Master/Slave bridging
- Robust protection circuits (overheat, over/under voltage, short-circuit) and clear installation guidance
- Compact dimensions allow flexible mounting while maintaining solid thermal performance
Disadvantages

- Requires experienced installation and correct wiring gauge (≥10 mm² recommended) to realize performance
- Using high-level and low-level inputs simultaneously can damage head unit — strict prohibition
- Master/Slave mode increases minimum impedance to 2 Ω and requires careful configuration
- 1 Ω operation is supported but can stress system; parallel 1 Ω configs may trigger shutdown
- Replacement fuses must match (2 × 30 A) — incorrect fuses can cause severe damage
Product Specification
Type
Mono amplifier
Channels
1
Power 4Ω
1 x 200 W
Power 2Ω
1 x 340 W
Power 1Ω
1 x 530 W
Dimensions
9.84x2.09x9.06in
Product Description
Helix D One — Powerful Class D Mono Amplifier
The Helix D One is a high-performance Class D mono amplifier engineered for clean, controlled bass in car audio systems. Designed by Audiotec Fischer with more than 30 years of R&D experience, it offers a strong price-to-performance ratio and robust feature set for enthusiasts seeking reliable subwoofer power. Compact yet potent, the D One supports low impedances and master/slave bridging for scalable output.
Key Features and Performance
The D One delivers impressive RMS and peak power across various impedances, with ratings such as 200 W RMS @ 4 Ω, 340 W RMS @ 2 Ω, and 530 W RMS @ 1 Ω for single-amplifier operation — and dramatically higher output when two units are paired in Master/Slave mode. It uses efficient Class D topology to provide high output with relatively low thermal footprint, supported by active, adjustable crossover controls (subsonic, LPF), phase shift (0–180°), and bass boost (0–12 dB at 45 Hz). Protection circuits guard against overheating, short circuits, and voltage anomalies.
Installation and Connectivity
Installation guidelines emphasize safe mounting in a dry, ventilated location and correct wiring practices: use adequately gauged power and ground cables (recommended ≥10 mm² for short runs), fuse the main positive lead within 30 cm of the battery, and avoid routing power near sensitive vehicle systems. The D One accepts both low-level (RCA) and high-level speaker inputs (with an ADEP diagnostic circuit that lets OEM head units recognize the amp as a speaker). Use either input type — never both simultaneously — and set the input sensitivity correctly to match source voltage.
Configuration Flexibility
The amplifier supports single-amp and dual-amp Master/Slave operation for higher combined output. In Master/Slave mode the master amp controls filters and gains while the slave follows; minimum safe impedance rises to 2 Ω in this mode. The D One also allows multiple speaker wiring topologies (parallel/series) and supports single- or dual-voice-coil subwoofer connections, with configuration charts to match impedance and maximize power delivery.
Build and Practical Notes
Solid protection circuitry, parallel input fuses (2 × 30 A), and clear front/rear connectors (power, REM, GND, speaker outputs, RCA/mono in/out) make the D One installation-friendly for experienced installers. Recommended wiring practice and adherence to polarity and impedance limits are critical to avoid shutdowns or damage. Compact dimensions and robust thermal design make it suited for tight installs where powerful bass is required.
Notes
- Always disconnect the battery negative before installation.
- Do not use high-level and low-level inputs simultaneously.
- Fuse the main positive lead within 30 cm of the battery (amp uses 2 × 30 A fuses).
- In Master/Slave mode set one amp to Master and the other to Slave; observe reversed polarity instructions for certain dual-coil wiring.
Search for 67,706 Manuals online


Type-in Brand or Model