Manual.ly Logo

Halls Popular 106 Manual

0.0 · 0 Ratings

PDF manual · 35 Pages

English

M: QW-35-FL
page

/ 35

Loading...
fac1c486758032fecbf650b74cdce7e53e31 page 3
May we congratulate you on your new Greenhouse
Dear Customer!
The assembly of your new greenhouse requires
no technical knowledge. However, it is important
that the assembly instructions are strictly followed.
The assembly instruction is a combination of text
and illustrations. The profiles are packed
separately in numbered packs corresponding to
the order in the assembly instruction. Erect one
pack at a time. All nuts bolts and fittings are
found in bag No. 0 (specified on page 12).
Each pack is specified in separate lists of
components.
All detailed illustrations are marked with symbols:
Seen from inside Seen from outside
Precautions.
• Assembly must be carried out in dry, calm
weather.
• Always use working gloves while glazing.
Greenhouse glass has sharp edges,
especially if it breaks.
• Assistants and especially children must be
warned broken glass is an element of
danger. Pick up broken glass at once and
remove with care.
• We recommend to use protective glasses
while fixing spring wire glazing clips.
• Place the ladder on a level support.
• It is essential to have an assistant.
indicates the page(s)
References.
The column marked
on which the component is used.
Tools
The mounting of the greenhouse requires the tools
shown on page 12.
Page 13:
Foundation
If you are not using the pre-fabricated base for this
greenhouse, you must have an alternative base
to raise the frame off the ground, otherwise the
door will not run correctly. If you are making your
own base, the measurements indicated must be
external measurements. We recommend 19mm
x 32mm pressure treated timber for DIY base,
also for wall
battens.
For the pre-fabricated base, you furthermore need
about 75 litres of concrete and 4 or 6 (depending on
the size of greenhouse) plastic concrete pipes of
about 800mm which are placed in a non-
freezing depth for the fastening of the corner and/
or middle anchors.
The base must be 100% level and square; the
latter is ensured by checking the two
diagonal measurements are equal.
The base must be 100% level and square; the latter
is ensured by checking the two diagonal
measurements are equal. For the pre-fabricated
base on a solid foundation i.e. concrete pad, slabs or
sleppers, the ground anchors will need to be cut to
the height of the base with a hack saw as they are
also corner brackets. (A)
Pages 15-32:
Place the components as shown on the illustration
and assemble in the order shown in the pictures. Do
not tighten the nuts completely until the front gable
construction has been assembled.
Fitting of glass/polycarbonate
Important before glazing!
Make sure that the gables and sides are level and
square, and that the door(s) and window(s) are
functioning perfectly.
Best order of assembly:
1) Rear gable – 2) Front gable – 3) Sides –
4) Frame assembly – 5) Roof and bracing
6) Doors – 7) Vents – 8) Glazing
Remember to insert extra bolts in profiles 1711 to fit
08615 and 299. Note 299 is only required in the
106 Popular.
Pages 27-30:
Glazing
Fit glazing strip (411) to all glazing bars, gable
bars and corner posts (vertical bars) before you
begin to glaze the greenhouse.
Start glazing the roof first (working from the bottom
up for horticultural glass), one pane at a time.
Spring wire clips and glass holder clips are to be fitted
as shown.
X = Spring wire clips, > = Glass holder clips
Page 31:
Mounting of Polycarbonate
The illustrations on page 31 show where to mount
them. The type indication states the length in mm. A
possible adjustment is made by means of a fine-
tooth saw.
NB! To avoid the formation of algae the
polycarbonate sheets must not come into contact
with the ground. Rest them on a piece of cardboard.
J, K, L, M – lists are mounted as shown on page 31.
Sealing of the polycarbonate sheets
The sheets may be sealed against insects. Close
the top-end off with alu-tape (NOT SUPPLIED) or
silicone (NOT SUPPLIED).
The bottom only with airstrip tape (NOT SUPPLIED)
to let condensation out.
Now your greenhouse is completely assembled.
However, please notice the following:
Maintenance
• Grease doors (hinges and lock or door track).
• Clean the gutter for leaves, etc.
• Adjustment of windows.
• Replacement of broken glass.
• Clean the greenhouse with disinfectant
before and after the growing season.
Winter Protection
In areas with occurrence of snow we recommend
the following winter protection.
• Support the roof ridge at the centre of the
greenhouse.
• Remove greater snow loads from the roof.
• Take precautions against snow falling down
from a tree for instance, or a roof.
• Dismount the cylinders for the automatic
window openers, if any (optional extras).
• Secure door(s) and window(s) preventing
wind damage to the greenhouse.
Insurance
Please note that not all insurance companies cover
greenhouses automatically. Please contact your
insurance company to ensure an insurance
coverage.
Guarantee
The greenhouse frame only, has a guarantee of 12
years which covers replacement of faulty
components.
The guarantee does not cover glass,
polycarbonate, assembly, freight etc.
There is a 2 year guarantee on painted parts, if any.
Note that marks in the painting may occur due to
suspension of the profiles.
The guarantee is invalid if the greenhouse is not
assembled according to these instructions.
Complaints
All our greenhouses are built to high standards of
quality. However, should a complaint occur,
please contact your dealer at once. Remember to
specify the defect by indicating the greenhouse
model and number of the component.
GB
USA
www.hallsgreenhouses.com
Please refer to website for the most up to date instructions.

Chat with your Halls Popular 106 manual using AI

Get instant AI answers from your Halls Popular 106 manual

Ask anything about the Halls Popular 106. Answers come from this manual, with the pages they are based on.

Popular 106 Maintenance Schedule

Before and after growing season
Clean greenhouse with disinfectant

Clean the greenhouse interior with a disinfectant before and after the growing season to maintain hygiene.

As needed / Regularly
Grease door hinges and lock or track

Apply grease to door hinges, locks, or sliding tracks to ensure smooth operation. The German text specifies this should be done regularly.

As needed
Clear leaves from gutters

Remove leaves and other debris from the roof gutters to prevent blockages and water damage.

As needed
Adjust windows

Check and adjust windows to ensure they open and close correctly.

When broken
Replace broken glass

Replace any broken glass panes immediately to maintain structural integrity and safety.

Annually (Winter)
Support roof ridge for snow protection

In areas with snow, support the roof ridge at the center of the greenhouse during winter.

During heavy snow
Remove large snow loads from roof

Sweep off greater snow loads from the roof to prevent structural damage.

Annually (Winter)
Secure doors and windows against wind

Fasten doors and windows securely to prevent wind damage to the greenhouse structure.

M: qwen/qwen3.8-flash

Ask a Question

0/1000

Do you recommend Popular 106?

Yes No

Frequently Asked Questions

A

No, the foundation is not included in the delivery. You must either purchase a separate original base or construct one yourself using pressure-treated timber and concrete.

Is this answer helpful?

A

No technical knowledge is required. The kit includes numbered packs and detailed illustrations that guide you through the assembly step-by-step.

Is this answer helpful?

A

You must wear working gloves due to sharp glass edges. It is also highly recommended to use protective glasses when fixing spring wire glazing clips.

Is this answer helpful?

A

It is essential to have at least one assistant during the entire assembly process to ensure safety and proper alignment of the structure.

Is this answer helpful?

A

No, the twelve-year guarantee covers only the replacement of faulty frame components. Glass, polycarbonate, and assembly costs are excluded.

Is this answer helpful?

A

Support the roof ridge at the center, remove heavy snow loads, and secure doors and windows against wind damage to prevent structural issues.

Is this answer helpful?

M: QW-35-FL

Advantages and Disadvantages

Advantages

  • Spacious 6.2 square meter floor plan ideal for serious gardening
  • Assembly requires no specialized technical knowledge
  • Comes with a twelve-year guarantee on the frame structure
  • Sequential numbered packing simplifies the building process
  • Compatible with both horticultural glass and polycarbonate
VS

Disadvantages

  • Foundation materials like concrete and pipes are not included
  • Glass edges are extremely sharp requiring careful handling
  • Assembly strictly requires two people for safety and stability
  • Winter protection measures must be manually implemented
  • Sealing tapes for polycarbonate are not supplied in the box
M: QW-35-FL

Product Specification

Glazing

Glass 3mm

Frame

Aluminum

Area

6.2 sq m

Features

Roof window

Door

Sliding door

Dimensions (WxDxH)

104.6x63.8x65.4 in

M: QW-35-FL

Product Description

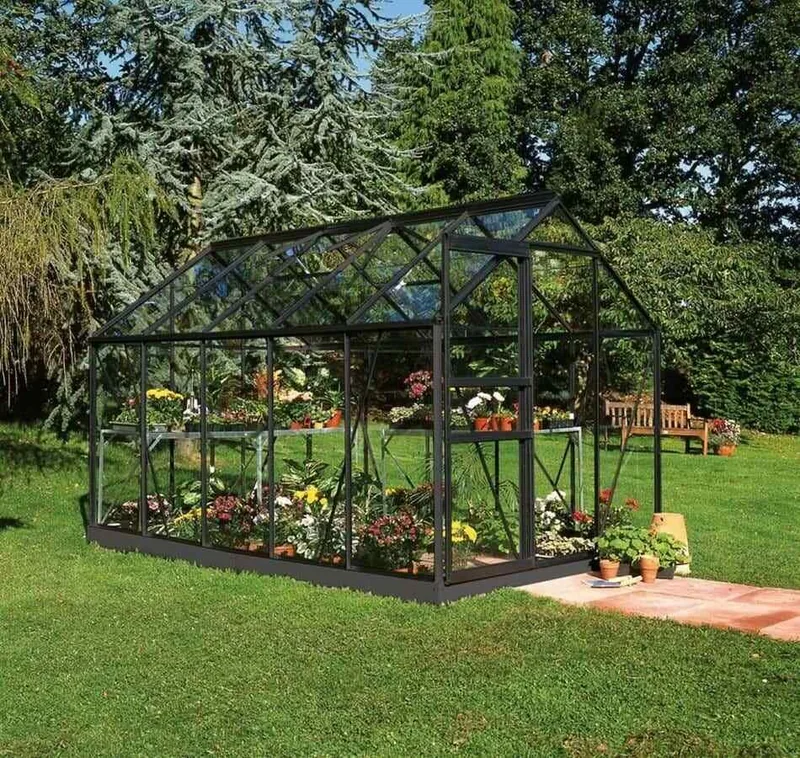
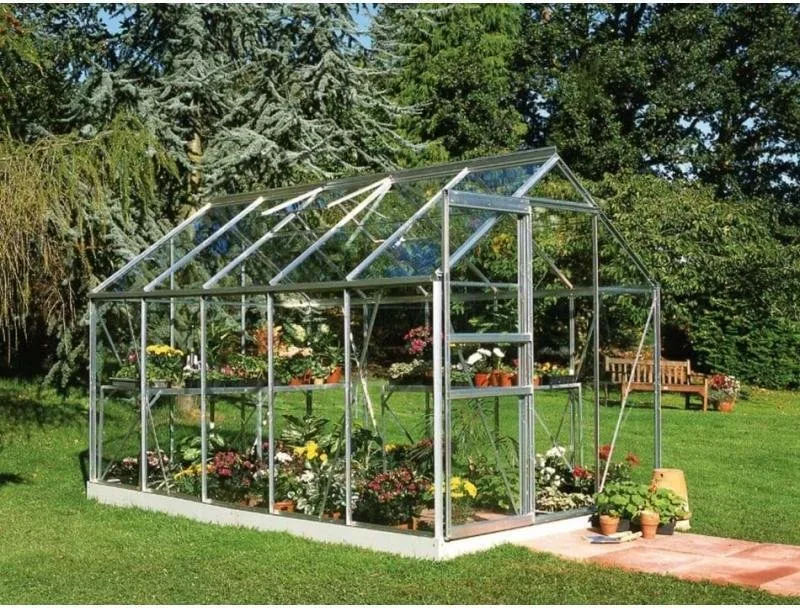
Welcome to your new gardening journey with the Halls Popular 106 Glass 3mm Greenhouse. This spacious structure offers a generous 6.2 square meters of growing area, making it an ideal sanctuary for both novice and experienced gardeners. The manual serves as your comprehensive guide to assembling this robust frame without needing any prior technical expertise. Every component is carefully numbered and packed in sequential order to streamline the building process.

The assembly experience begins with preparing a solid foundation. Whether you choose a pre-fabricated base or construct your own using pressure-treated timber, ensuring the base is perfectly level and square is crucial for the door to function correctly. The manual details specific requirements for anchoring the structure, including the use of concrete pipes buried at a non-freezing depth to secure the corners and middle anchors. Once the foundation is ready, you can proceed to erect the rear gable, followed by the front gable, sides, and roof bracing. The instructions emphasize working from the bottom up and checking alignment frequently.

Glazing is a critical step that requires patience and safety precautions. The greenhouse comes with sharp-edged horticultural glass, so wearing work gloves and protective eyewear is mandatory. The manual guides you through fitting spring wire clips and glass holder clips securely. For those preferring polycarbonate, there are specific sealing instructions to prevent algae growth and insect entry while allowing condensation to escape. Remember that part number 299 is specifically required for the 106 Popular model to ensure structural integrity.

Maintenance is straightforward but essential for longevity. Regularly grease door hinges, clean gutters of leaves, and inspect windows for proper adjustment. During winter months in snowy regions, supporting the roof ridge and removing heavy snow loads will protect your investment. The frame carries a twelve-year guarantee covering faulty components, though glass and assembly are excluded. Always consult your insurance provider to ensure adequate coverage for your new greenhouse.

M: QW-35-FL

© Copyright 2026 Manual.ly