
Halls Magnum 108 Manual
PDF manual · 36 Pages
English



Quick check
Incorrect answer, please try again.
Chat with your Halls Magnum 108 manual using AI
Get instant AI answers from your Halls Magnum 108 manual
Ask anything about the Halls Magnum 108. Answers come from this manual, with the pages they are based on.
Ask a Question
Do you recommend Magnum 108?
Yes NoFrequently Asked Questions
The Magnum 108 has an approximate floor area of 8.3 square metres. It is suited to gardeners who need space for mixed crops, seed starting, staging, and seasonal storage of growing supplies.
Is this answer helpful?
This version uses 3 mm glass panels. The panels are installed with glazing strips, spring wire clips, and glass holders. Wear gloves when handling glass and use eye protection when fitting clips.
Is this answer helpful?
Yes. The frame needs a level and square raised base so the door runs correctly and the structure can be anchored securely. A purpose-made base is optional, while a suitably built alternative base may also be used.
Is this answer helpful?
An assistant is essential, particularly during frame alignment and glazing. Assembly should be completed in dry, calm weather, with ladders placed on stable, level ground.
Is this answer helpful?
Build the rear gable first, followed by the front gable, sides, frame, roof and bracing, doors, vents, and finally the glazing. Do not fully tighten nuts until the relevant frame section is assembled and aligned.
Is this answer helpful?
Lubricate door hinges, locks, or tracks; clear leaves from gutters; adjust vents; replace broken glass; and disinfect the interior before and after each growing season. These regular tasks help preserve smooth operation.
Is this answer helpful?
In snowy areas, support the roof ridge near the centre, remove heavy snow from the roof, prevent falling snow from nearby trees or roofs, and secure doors and vents against wind. Remove automatic opener cylinders if fitted.
Is this answer helpful?
Advantages and Disadvantages
Advantages

- Approximate 8.3 square metre floor area gives useful space for plants, shelves, and growing equipment.
- 3 mm glass provides a traditional greenhouse appearance and clear light transmission for plants.
- Sliding door and roof ventilation support practical access and airflow management.
- Frame components carry a 12-year guarantee when the greenhouse is assembled as specified.
- Numbered component packs and a staged build sequence support orderly installation.
Disadvantages

- Glass panels require careful handling because edges can be sharp and broken panes present a hazard.
- Assembly requires dry, calm weather, a level base, and help from a second person.
- A foundation or raised base is needed separately to ensure correct door operation and secure anchoring.
- Heavy snow must be removed and the roof ridge supported in snowy locations.
- The frame guarantee excludes glass, polycarbonate, transport, freight, and installation.
Product Specification
Glazing
0.12 in glass
Frame
Aluminum
Area
89.34 sq ft
Features
Roof window
Door
Double sliding door
Dimensions (LxWxH)
126.77 x 101.18 x 101.57 in
Product Description
Halls Magnum 108 Glass 3mm Greenhouse - Read, Download & Print Free
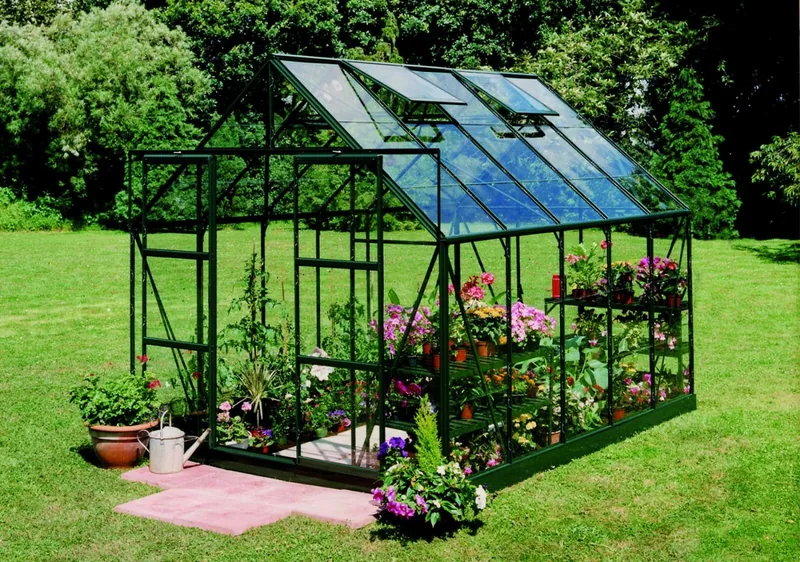
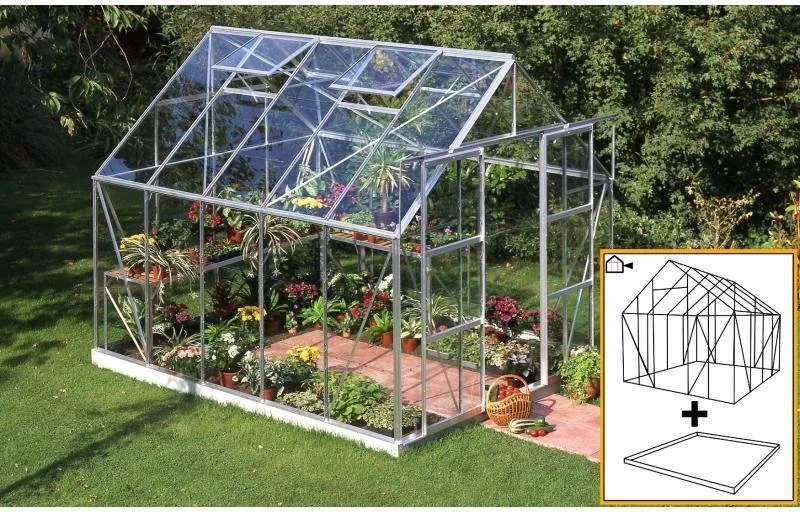
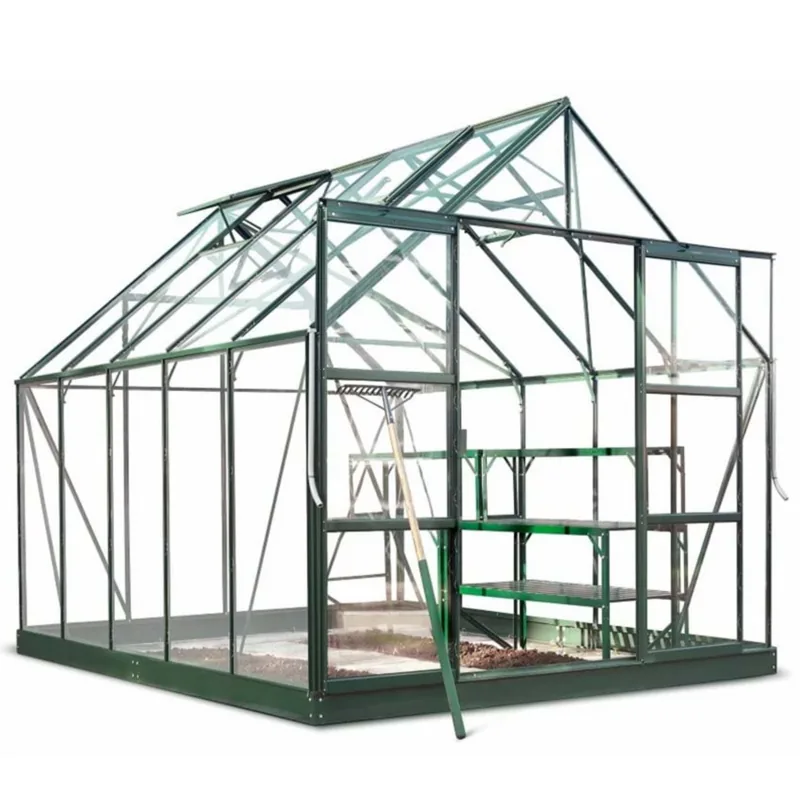
The Halls Magnum 108 Glass 3mm Greenhouse is a spacious growing space designed for gardeners who want room for productive planting, propagation, and seasonal projects. With an approximate floor area of 8.3 square metres, this model provides generous capacity for shelves, pots, staging, and taller crops while retaining the classic appearance of a glass greenhouse.
Built for organised growing
The Magnum range uses a strong framed structure with 3 mm glass panels secured by glazing strips, spring wire clips, and glass holders. Its practical layout includes a sliding door and roof ventilation, helping gardeners manage access and airflow throughout the growing season. The greenhouse can support everything from early seedlings and herbs to tomatoes, peppers, cucumbers, and flowering plants.
A level, square foundation is essential for reliable performance. Raising the frame above ground level helps the door operate correctly, while secure anchoring improves stability. An optional purpose-made base can simplify installation, or a carefully measured timber or masonry base may be used. Checking equal diagonal measurements before final tightening helps ensure the structure is properly aligned.
Straightforward assembly with care
Assembly is designed to be manageable without specialist technical knowledge when completed in the recommended sequence. Start with the rear and front gables, continue with the sides, frame, roof, doors, and vents, then install the glazing. Bolts should remain partly loose until each section is aligned. Before fitting glass, confirm that the gables and side walls are level and square and that doors and vents move freely.
Because greenhouse glass has sharp edges, installation should take place in dry, calm conditions with gloves, eye protection, and an assistant. Glass is fitted methodically, one pane at a time, with the roof completed before the remaining panels. Careful glazing produces a tidy finish and helps protect plants from wind and changing weather.
Seasonal care and protection
Routine maintenance keeps the Halls Magnum 108 Glass 3mm Greenhouse working smoothly. Lubricate door hardware, remove leaves from gutters, adjust vents as needed, replace damaged glass promptly, and clean the interior before and after the growing season. In snowy areas, support the roof ridge, clear heavy snow accumulation, and secure doors and windows against strong winds.
Notes
- The frame has a 12-year guarantee for faulty frame components when correctly assembled.
- Glass, transport, installation, and similar items are excluded from frame guarantee coverage.
- Check insurance arrangements, as greenhouse cover may not be included automatically.
- A greenhouse is intended for cultivation and may not be fully watertight during particularly heavy rain.
Search for 67,706 Manuals online


Type-in Brand or Model