
Halls Altan 42 Manual
PDF manual · 28 Pages
English



Quick check
Incorrect answer, please try again.
Chat with your Halls Altan 42 manual using AI
Get instant AI answers from your Halls Altan 42 manual
Ask anything about the Halls Altan 42. Answers come from this manual, with the pages they are based on.
Ask a Question
Do you recommend Altan 42?
Yes NoFrequently Asked Questions
The Halls Altan 42 is the smaller Wall Garden model, with an approximate growing area of 0.9 square metres. Its compact lean-to shape is designed for limited outdoor spaces.
Is this answer helpful?
This version uses 3mm greenhouse glass. The clear panels provide a bright environment that is well suited to raising seedlings and growing herbs, salads, and compact crops.
Is this answer helpful?
Yes. The frame must be raised from the ground on a stable, level, square base so the door can run correctly. A prefabricated base can be purchased separately, or a suitable DIY base can be made.
Is this answer helpful?
Assembly should be completed with an assistant. It is recommended to work only in dry, calm weather and to follow the numbered component packs in sequence.
Is this answer helpful?
Wear working gloves when handling glass because the edges can be sharp. Protective glasses are also recommended when fitting spring wire glazing clips. Clear broken glass immediately and dispose of it carefully.
Is this answer helpful?
Support the roof ridge in snowy conditions, remove heavy snow from the roof, and protect it from snow falling from nearby trees or roofs. Secure the door and vent against wind, and remove automatic opener cylinders if fitted.
Is this answer helpful?
The frame has a 12-year guarantee covering replacement of faulty components, provided the greenhouse is assembled correctly. Glass, polycarbonate, assembly, freight, and transport are excluded. Painted parts, where applicable, have a two-year guarantee.
Is this answer helpful?
Advantages and Disadvantages
Advantages

- Compact 0.9 square metre lean-to design suits patios, balconies, and small gardens.
- 3mm clear glass supports strong natural light for seedlings, herbs, and edible crops.
- Wall-mounted placement can benefit from warmth retained by a sunny exterior wall.
- Aluminium frame includes a 12-year guarantee for faulty frame components when correctly assembled.
- Numbered component packs and a staged build order help organize installation.
Disadvantages

- A base is required and is not included with the greenhouse.
- Assembly requires two people and must be done in dry, calm weather.
- Glass edges and clips demand careful handling, gloves, and recommended eye protection.
- Heavy snow requires extra roof support and regular snow removal.
- The frame warranty excludes glass, polycarbonate, transport, freight, and assembly.
Product Specification
Glazing
3 mm glass
Frame
Aluminum
Area
9.8 sq ft
Special features
Skylight
Door
Sliding door
Dimensions (L x W x H)
52 x 27.17 x 71.65 in
Product Description
Halls Altan 42 3mm Glass Greenhouse - Read, Download & Print Free
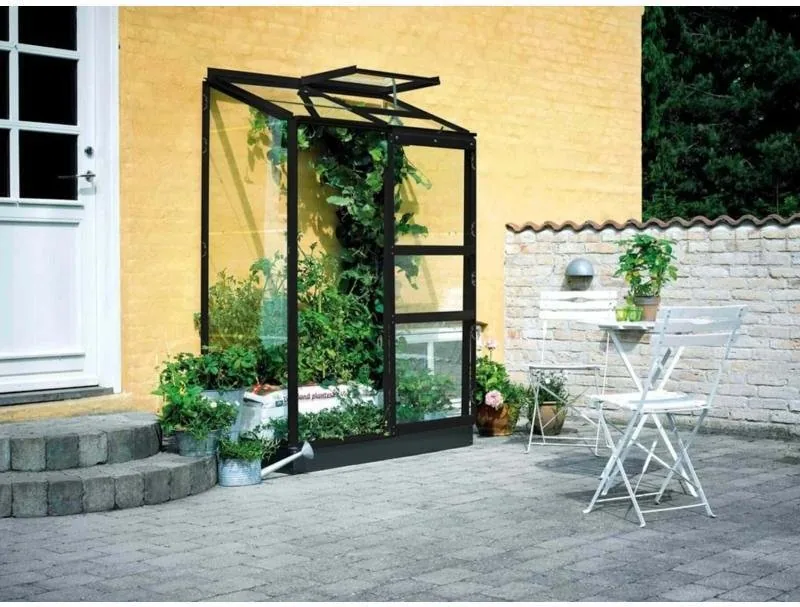
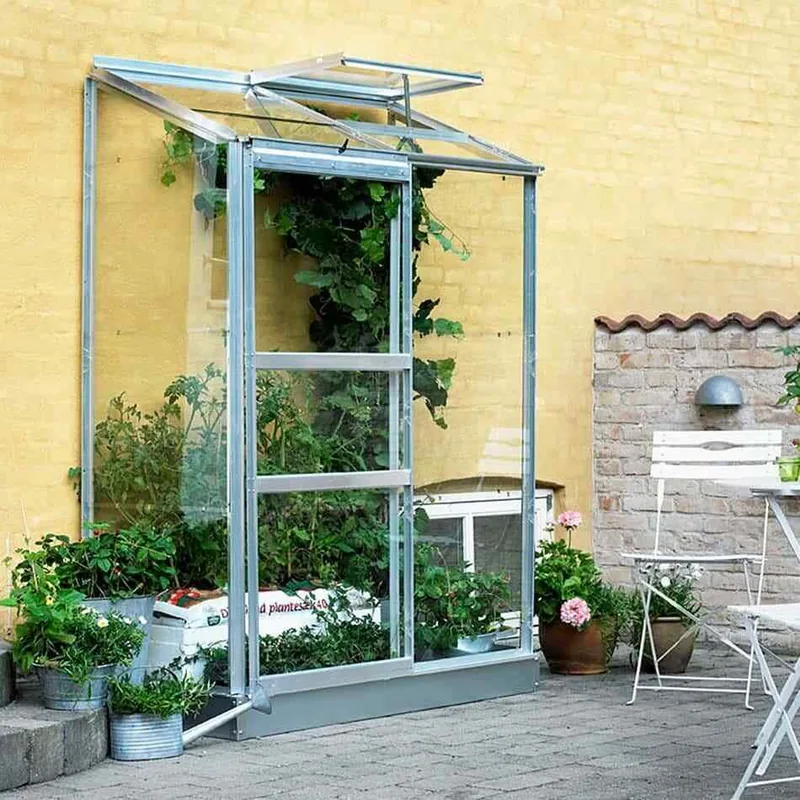
The Halls Altan 42 3mm Glass Greenhouse is a compact wall garden designed for gardeners who want a bright, protected growing space without giving up much outdoor room. Its lean-to format makes practical use of a sunny wall, where stored warmth can help support seedlings, herbs, salad crops, and smaller fruiting plants through changing seasons. With an approximate growing area of 0.9 square metres, it is a smart choice for patios, balconies, courtyards, and compact gardens.
Compact growing space with clear glass panels
This model uses 3mm greenhouse glass to create a light-filled environment for plants. The clear glazing helps maximize daylight, while the aluminium frame provides a tidy, durable structure suited to regular garden use. A wall-mounted greenhouse can also make watering, checking plants, and harvesting especially convenient because it is close to the home.
The Altan 42 is intended to be assembled in a careful sequence, starting with a stable, level base. A correctly squared foundation is essential because it supports the frame and helps the door operate smoothly. A prefabricated base may be selected separately, while a DIY base should raise the frame from ground level and match the stated external dimensions.
Assembly and everyday care
Assembly does not require specialist technical knowledge, but it is best completed by two people in dry, calm weather. The frame components are arranged in numbered packs, allowing the structure to be built step by step. Before fitting the glass, check that the sides and gables are level and square, and confirm that the door and vent operate properly.
Glazing strips, spring wire clips, and glass holder clips secure the panels in place. Because glass edges can be sharp, protective gloves are essential, and eye protection is recommended when fitting spring clips. Once installed, the greenhouse benefits from simple routine care: lubricate door hardware, clear leaves from the gutter, adjust the vent when needed, and clean the interior with a suitable disinfectant before and after the growing season.
Seasonal protection and warranty notes
In snowy areas, support the roof ridge at the centre, remove heavy snow accumulation, and secure doors and windows against strong winds. If an automatic opener is fitted, its cylinder should be removed for winter. The frame carries a 12-year guarantee for faulty components when assembled according to instructions. Glass, polycarbonate, transport, and installation are excluded, while painted parts, where applicable, have a two-year guarantee.
Notes
- Check that your greenhouse is included in your home insurance policy.
- Keep broken glass away from children and dispose of it immediately and carefully.
- A level base is one of the most important steps for reliable long-term use.
Search for 67,706 Manuals online


Type-in Brand or Model