
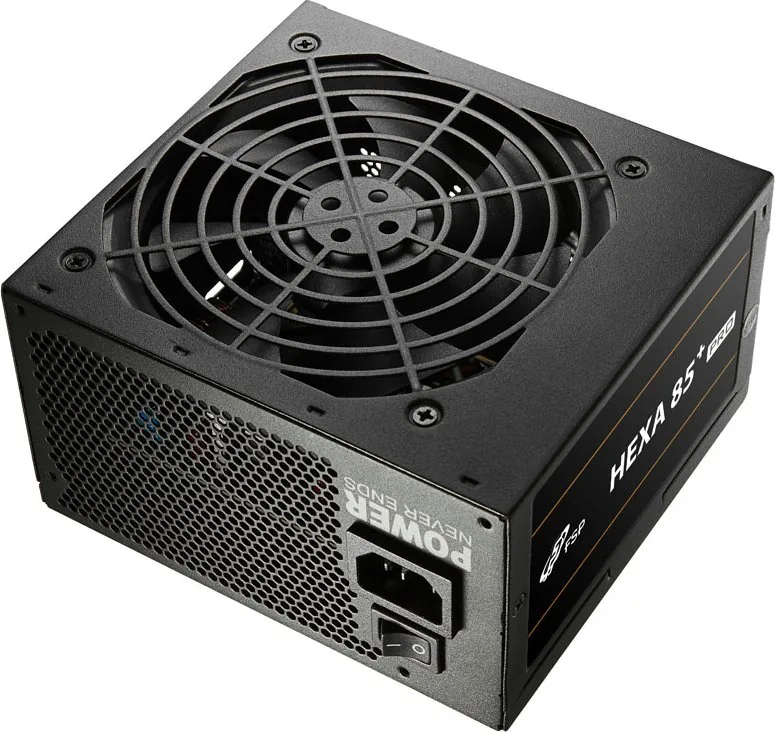
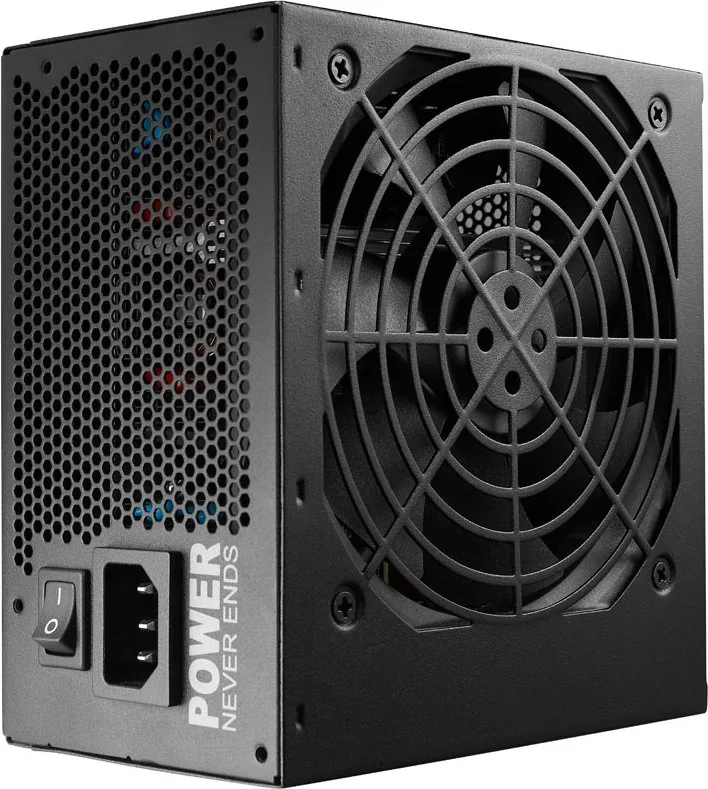
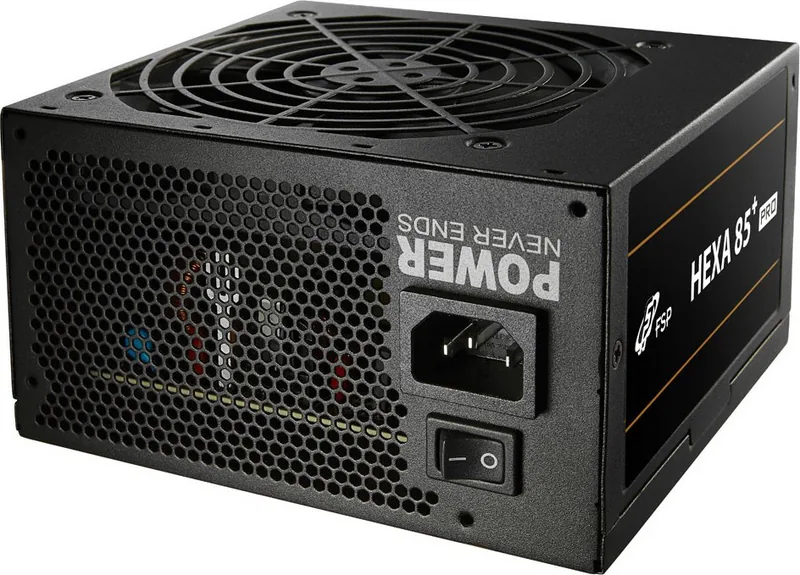
FSP Hexa 85+ Pro Manual
PDF manual · 48 Pages
English



Quick check
Incorrect answer, please try again.
Chat with your FSP Hexa 85+ Pro manual using AI
Get instant AI answers from your FSP Hexa 85+ Pro manual
Ask anything about the FSP Hexa 85+ Pro. Answers come from this manual, with the pages they are based on.
Ask a Question
Do you recommend Hexa 85+ Pro?
Yes NoFrequently Asked Questions
Remove the old PSU, disconnect all cables, unscrew the unit, and insert the new one. Secure it with screws, connect the 24-pin ATX and 8-pin EPS cables, then attach GPU and storage cables. Ensure all modular plugs click firmly.
Is this answer helpful?
A loose connector can cause burning, short circuits, or system failure. Always push connectors until you hear a click. Inspect them every six months to ensure tight contact and safe operation.
Is this answer helpful?
No, the warranty covers material and workmanship defects during normal use. It is void if there is abuse, accident, disassembly, unauthorized repair, or removal of manufacturer stickers.
Is this answer helpful?
Yes, it supports various cards. Use 6-pin cables for older cards or combine pins to create an 8-pin connector for modern GPUs. Ensure the total wattage meets your system requirements.
Is this answer helpful?
Yes, but it contains hazardous waste. You cannot dispose of it in household trash. Contact local hazardous waste collection points for proper recycling according to WEEE regulations.
Is this answer helpful?
Disconnect the AC power cord from the unit completely, wait a few seconds, and reconnect it. This resets the internal circuitry. If issues persist, contact your retailer for repair or replacement.
Is this answer helpful?
Advantages and Disadvantages
Advantages

- High efficiency rating suitable for demanding workloads
- Modular design allows for better cable management and airflow
- Comprehensive protection against electrical faults and overvoltage
- Supports modern graphics cards with flexible 6-pin and 8-pin options
Disadvantages

- Warranty does not cover cosmetic damage or missing stickers
- Requires careful installation to avoid loose modular connections
- Disposal must follow strict hazardous waste recycling laws
- Not compatible with non-standard voltage supplies without risk
Product Specification
Fan
120mm
Cable management
fixed
Certificates according to manufacturer
80 PLUS Bronze (according to manufacturer, 115V)
Dimensions (WxHxD)
5.91x3.39x5.51in
Manufacturer warranty
3 years
-12V
0.3A
+5Vsb
2.5A
Number of 12V rails
1
PFC
active
Form factor
ATX PS/2
Specification
ATX 2.5
Features
ErP Lot 6, supports Haswell C6/C7 Low-Power States
Color
black
Product Description
FSP Hexa 85+ Pro ATX 2.5: Powering Your System with Efficiency
Upgrading your computer requires a reliable heart, and the FSP Hexa 85+ Pro ATX 2.5 delivers exactly that. This power supply unit is designed for modern systems that demand stability and high performance. Whether you are building a gaming rig or a professional workstation, this unit ensures your components receive clean and consistent electricity.
The installation process is straightforward for anyone comfortable with PC hardware. Begin by safely disconnecting all power from the mainboard and peripherals before removing the old unit. Once the case is open, unscrew the existing power supply and carefully extract it. Place the new FSP Hexa 85+ Pro into the designated slot and secure it with the provided screws. If your model features modular cabling, connect only the cables necessary for your specific build to maintain optimal airflow and cable management.
Connecting the power lines requires attention to detail. The primary 24-pin ATX connector must be firmly seated on the motherboard. For processors requiring additional power, utilize the 8-pin EPS connector; if your board uses a 4-pin socket, split the 8-pin plug in half as needed. Graphics cards benefit from the dedicated PCI-E connectors, which support both 6-pin and 8-pin configurations. Modern GPUs often use 8-pin ports, which can be created by combining the extra pins from the 6-pin plugs. Finally, link your storage drives using SATA or Molex connectors. Always ensure modular connectors click securely into place to prevent loose connections that could lead to system instability.
This unit adheres to strict safety standards. It includes protections against improper voltage and short circuits. Regular checks of your connectors every six months are recommended to ensure longevity. Remember that the warranty covers defects in materials and workmanship but excludes damage from misuse, unauthorized modifications, or removal of factory stickers. Proper disposal according to WEEE regulations is also mandatory due to hazardous waste content.
Notes
- Ensure all modular connectors are plugged in until they click audibly.
- Do not use extension cords or power strips for this unit; plug directly into a wall outlet.
- Keep unused connectors secured to prevent accidental shorts inside the case.
- Warranty voids if manufacturer labels are removed or damaged.
Search for 67,706 Manuals online


Type-in Brand or Model