
Flashforge Guider II Manual
PDF manual · 66 Pages
English



Quick check
Incorrect answer, please try again.
Chat with your Flashforge Guider II manual using AI
Get instant AI answers from your Flashforge Guider II manual
Ask anything about the Flashforge Guider II. Answers come from this manual, with the pages they are based on.
Ask a Question
Do you recommend Guider II?
Yes NoFrequently Asked Questions
The Guider II offers a build volume of 280 × 250 × 300 mm, large enough for medium to large prototypes and multi-part assemblies.
Is this answer helpful?
It uses 1.75 mm filament (±0.07 mm tolerance) with a standard 0.4 mm nozzle. Layer resolution ranges from 0.05 to 0.4 mm, and the recommended extruder temperature for PLA is around 220°C.
Is this answer helpful?
You can connect via USB cable, Wi‑Fi (AP or STA mode), or Ethernet. After connecting in FlashPrint (Print → Connect Machine), transfer the .g or .gx file and start the print. Wi‑Fi and Ethernet require entering the printer IP shown on the touch screen.
Is this answer helpful?
FlashPrint is the recommended slicer offering model editing, support generation, and slicing for Guider II. The printer also supports Simplify3D; FlashPrint files save to .g or .gx for printing or preview.
Is this answer helpful?
The Guider II uses a guided three-point spring-loaded leveling system. Tap Tools → Level on the touchscreen and follow prompts to adjust each corner until the system verifies correct nozzle-to-bed distance.
Is this answer helpful?
Operate in a dry, ventilated area at 15–30°C and 20–70% humidity. Use a properly grounded outlet, avoid flammable materials nearby, keep children and untrained persons away, and don’t touch the hot nozzle or build plate during or immediately after printing.
Is this answer helpful?
Filament Check detects runout or suspension when using the filament cartridge and can pause printing. Resume Print allows the machine to continue a job after power interruptions if the feature is enabled in settings.
Is this answer helpful?
Advantages and Disadvantages
Advantages

- Large 280×250×300 mm build volume suitable for bigger prototypes and multi-part assemblies
- Guided three-point leveling and 5.0" touch screen simplify setup and routine operation
- Multiple connectivity options: USB stick, USB cable, Wi‑Fi, Ethernet and Polar Cloud remote printing
- FlashPrint integration with edit, support generation, preview and advanced slicing settings
- Filament detection and resume-print capability reduce failed prints from interruptions
Disadvantages

- Single extruder limits multi-material or full-color printing without manual filament swaps
- Some advanced calibrations (extruder calibration) are not recommended for casual users
- Maintenance tasks like unclogging or filament jams may require contacting after-sales support
- Large footprint and 30 kg weight demand a stable, well-ventilated workspace
- Firmware and driver setup may be needed for USB connectivity and initial PC integration
Product Specification
Process
Fused deposition modeling FFF
Manufacturer's recommended materials
0.07in Filament, open system, ABS, PLA, PET/PETG, TPU
Print size
11.02x11.81x9.84in (WxHxD)
Layer height
0.00-0.02in
Print bed
Heatable
Interfaces
USB 2.0, Wi-Fi
Dimensions
21.61x22.09x19.29in (WxHxD)
Weight
66.14 lb (empty)
Product Description
Flashforge Guider II — Reliable Desktop FFF 3D Printer
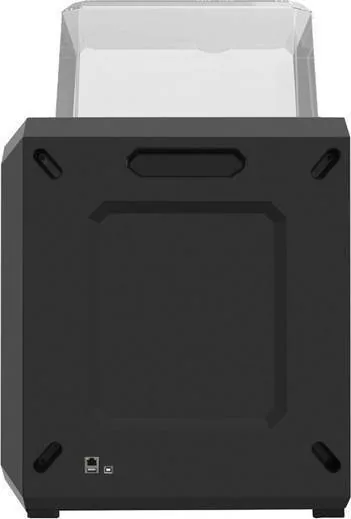
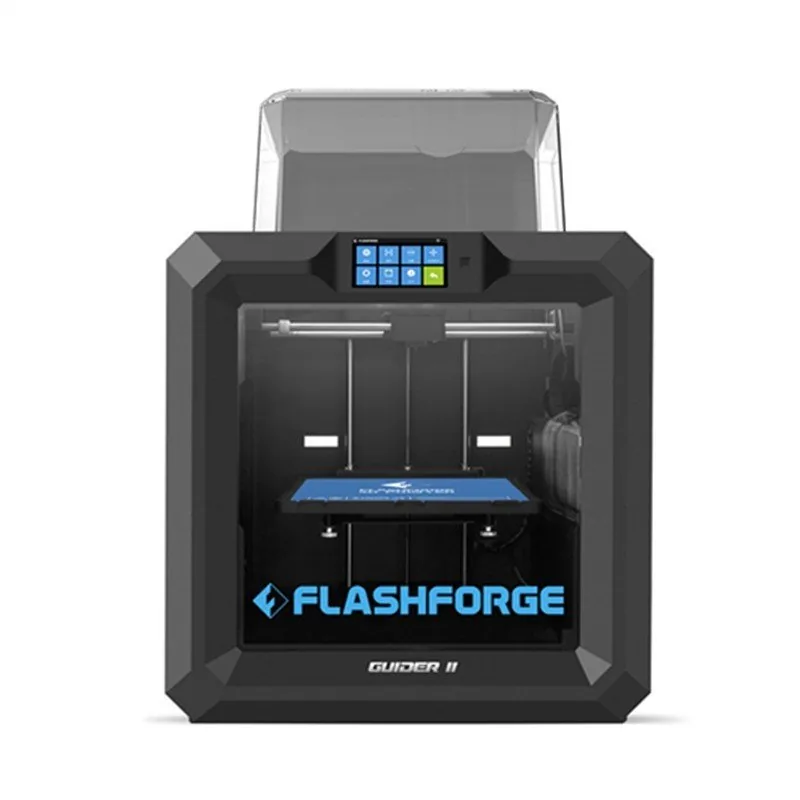
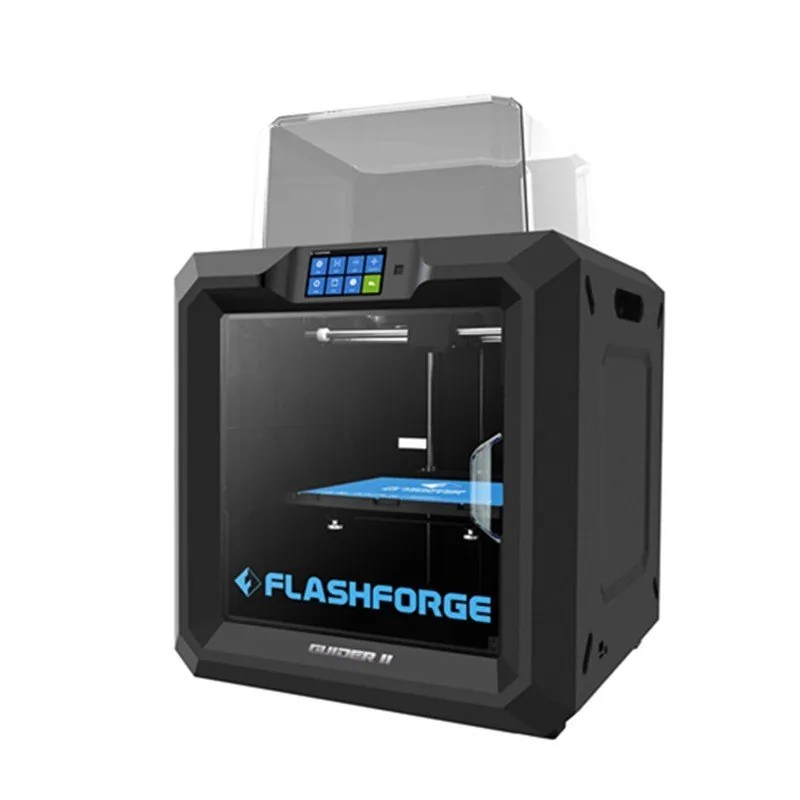
The Flashforge Guider II is a robust Fused Filament Fabrication (FFF) 3D printer designed for makers, educators, and small workshops that need a reliable, mid-large format machine. With a generous build volume of 280 × 250 × 300 mm, a single 1.75 mm extruder, and a 5.0" IPS touch screen, the Guider II balances usability with industrial-grade features. It supports common formats (.stl, .obj, .3mf) and integrates with FlashPrint slicing software, Simplify3D, USB, Wi‑Fi, Ethernet, and Polar Cloud for flexible workflow options.
Practical features include a 0.4 mm nozzle (with standard layer resolution from 0.05–0.4 mm), positioning accuracy of ±0.2 mm, and a closed, ventilated chamber designed to maintain stable print conditions. The machine offers preheat controls, filament detection, a filament cartridge option, and a three-point spring-loaded intelligent leveling system that guides users through precise bed adjustments. The touch screen provides on-device controls for preheating, filament loading/unloading, manual axis jogging, and print management (pause, resume, abort). A resume-print option helps recover jobs after interruptions.
FlashPrint is the primary slicing tool for Guider II. It supports machine selection, model editing (move, rotate, scale, cut), automatic and manual support generation (tree-like or linear), raft/brim settings, and layered preview. Advanced controls include layer height, infill density and pattern, shell settings, print and travel speed adjustments, and temperature control for nozzle and build plate. File saving to .g or .gx formats enables local or removable-media printing workflows, while firmware updates and printer diagnostics are available through the software’s control panel.
The Guider II workflow is straightforward: unpack, mount filament spool, install the filament guide tube, level the build plate using the guided three-point routine, slice models in FlashPrint, and print via USB cable, USB stick, Wi‑Fi, Ethernet, or Polar Cloud. The documentation emphasizes safety (grounded outlet, ventilation, avoiding contact with hot nozzle/bed), filament storage, and recommended environmental ranges (15–30 °C, 20–70% humidity). Accessories include filament spool, power cable, USB stick, Allen wrenches, glue stick, unclogging pin, stamping wrench, and basic tool kit.
Notes:
- Filament check and resume-print features improve reliability but require filament cartridge usage for full functionality.
- Use FlashForge-recommended filament and keep spools sealed until use to avoid moisture degradation.
- Regular maintenance: nozzle cleaning, firmware updates via FlashPrint, and following bed-leveling prompts ensure best print quality.
Search for 67,706 Manuals online


Type-in Brand or Model