
Exsys EX-13002 Manual
PDF manual · 2 Pages
English



Quick check
Incorrect answer, please try again.
Chat with your Exsys EX-13002 manual using AI
Get instant AI answers from your Exsys EX-13002 manual
Ask anything about the Exsys EX-13002. Answers come from this manual, with the pages they are based on.
Ask a Question
Do you recommend EX-13002?
Yes NoFrequently Asked Questions
Connect the adapter to a USB port and start the PC. If drivers do not install automatically, download them from the official website, select your OS folder, install, and restart your computer. Verify in Device Manager under Ports COM and LPT.
Is this answer helpful?
The device supports Windows 9.x through 11, Server 20xx, Linux, and MAC. It is compatible with USB 1.1, 2.0, and 3.2 standards.
Is this answer helpful?
No. Never use a wet or moist cloth as it can damage the electronic contacts. Use only a dry, fluff-free cloth with gentle pressure.
Is this answer helpful?
No, jumper settings and manual configuration for I/O addresses are not necessary. The system BIOS and operating system handle automatic settings.
Is this answer helpful?
It is a standard DB9 connector. Pin 2 is RXD, Pin 3 is TXD, Pin 4 is DTR, Pin 5 is GND, and Pin 6 is DSR. Refer to the manual for full wiring diagrams.
Is this answer helpful?
Yes, it is compatible with USB 1.1, 2.0, and 3.2 standards.
Is this answer helpful?
Advantages and Disadvantages
Advantages

- Hot plug and play capable for easy connection
- FIFO 16C550 port ensures high speed data transmission
- Compatible with multiple operating systems and USB versions
- No jumpers needed for I/O and interrupt settings
- Automatic configuration by system BIOS and OS
Disadvantages

- Manual driver installation sometimes required
- System must be restarted after driver installation
- Only dry cloth allowed for cleaning to prevent damage
- USB 2.0 A plug specific to older PC ports
- Device manager check required to verify installation
Product Specification
Type
Adapter
Ports
USB-A 2.0, RS-232
Cable Length
70.87 in
Color
Black
USB Orientation
Left
Product Description
Unlocking Legacy Connectivity for Modern Systems
In the modern world of industrial computing and specialized hardware, legacy serial interfaces remain vital for connecting specific peripherals that newer ports cannot support. The Exsys EX-13002 USB-A 1.1/2.0/3.0 to RS-232 (serial) with Prolific Chipset Adapter Manual serves as an essential resource for understanding and utilizing this adapter. The EX-13002 module is specifically designed to convert USB 2.0 signals into a standard RS-232 interface, ensuring compatibility with a vast array of older equipment while maintaining high data integrity.
Technical Overview and Hardware Specifications
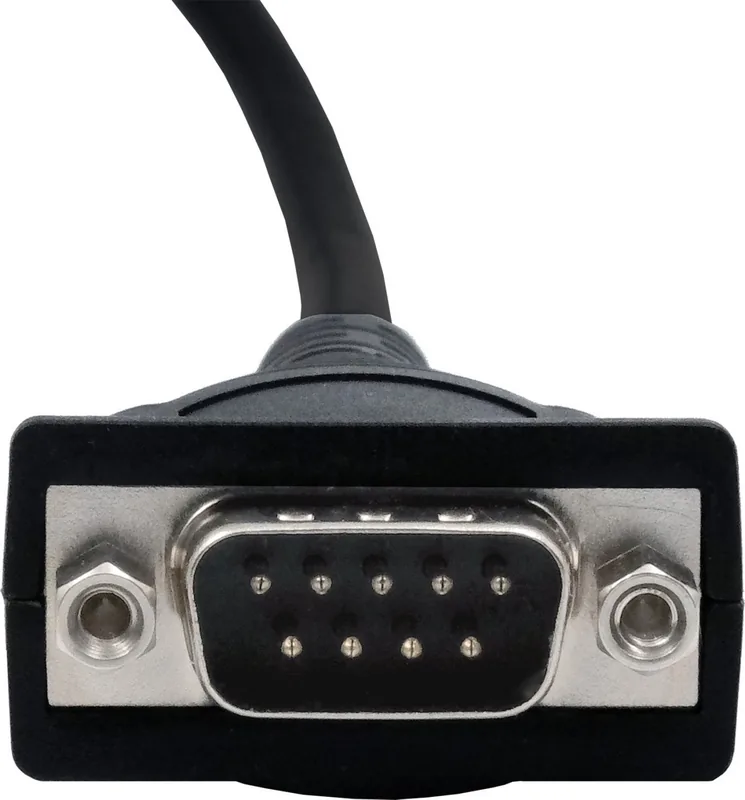
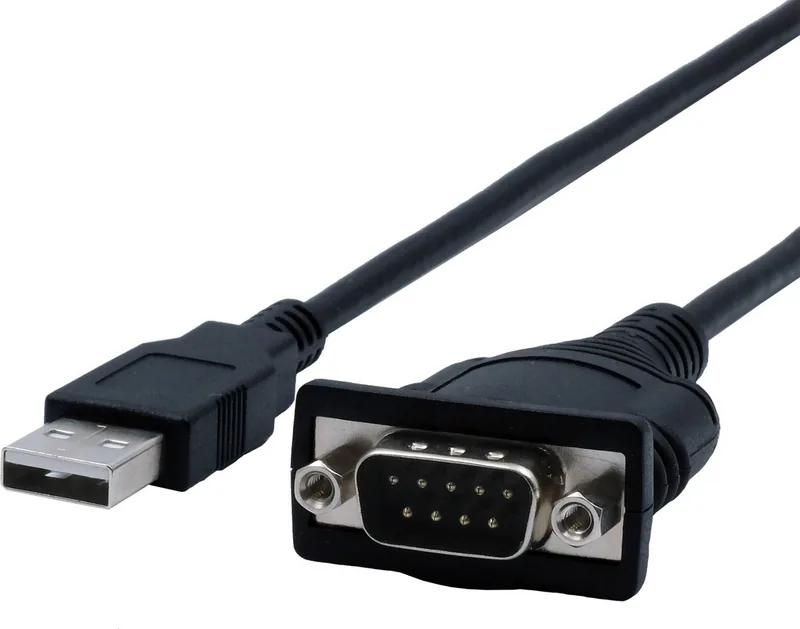
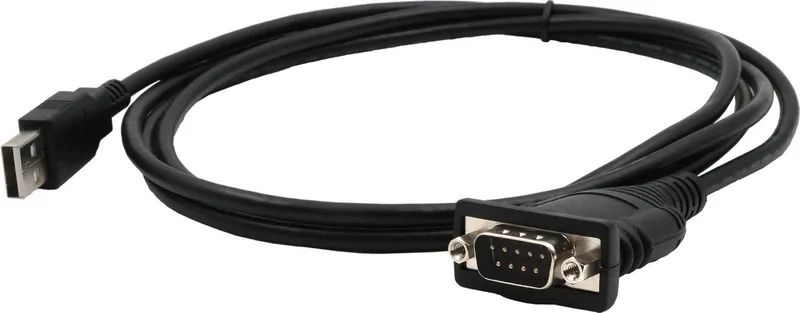
The hardware features a FIFO 16C550 port, which significantly enhances performance by managing data flow efficiently to prevent data loss. This prevents errors during high-speed serial communications and ensures stable connections. The device includes a USB 2.0 A plug that connects directly to the PC and a serial 9-pin male connector for the end device. One of the key benefits is its plug-and-play capability. Users do not need to manually configure I/O addresses or interrupts since the system BIOS handles these tasks automatically. This reduces setup time and minimizes the risk of configuration errors.
Pinout and Connectivity Details
Understanding the pin assignments is crucial for proper wiring to peripheral devices like modems or plotters. The 9-pin connector follows standard RS-232 assignments. Pin 3 handles TXD while Pin 2 manages RXD. Control signals like DTR and DSR connect to Pins 4 and 6 respectively. Ensure your cables match this wiring scheme to avoid signal interference or connection failures during operation.
Installation and Driver Setup
Getting started is simple. Connect the USB plug to an available port on your computer and start the PC. The operating system should detect the hardware and install drivers automatically. If drivers do not install automatically, users are directed to download them from the official website first. It is critical to restart the computer after installing drivers to finalize the setup completely. Verify installation through the Device Manager under Ports COM and LPT to confirm success.
Maintenance Best Practices
To ensure long-term reliability, cleaning should be performed with a dry, fluff-free cloth to avoid damage. Never use a wet or moist cloth, as moisture can damage electronic contacts within the connectors easily. Gentle pressure should be used to remove dirt. This approach prevents fiber debris from lodging in the connection ports, which could impede signal transmission later.
Supported Platforms and Compatibility
Versatility is a hallmark of this device. It supports USB versions 1.1, 2.0, and 3.2, making it future-proof for various connection standards. Operational flexibility extends to multiple operating systems including Windows. You can run this adapter on Windows versions from 9.x to 10 and 11, including Server 20xx variants. Additionally, Linux and MAC users are supported, ensuring broad utility in multi-platform environments.
Conclusion and Summary
Whether for diagnostics, manufacturing, or hobbyist projects, reliable serial connections are vital. This adapter provides a seamless transition for legacy devices to modern systems. Its robust design and support for various OS make it a reliable choice for integration tasks requiring serial communication without sacrificing convenience.
Search for 67,706 Manuals online


Type-in Brand or Model