
Exsys EX-1177HMVS-WT Manual
PDF manual · 2 Pages
English



Quick check
Incorrect answer, please try again.
Chat with your Exsys EX-1177HMVS-WT manual using AI
Get instant AI answers from your Exsys EX-1177HMVS-WT manual
Ask anything about the Exsys EX-1177HMVS-WT. Answers come from this manual, with the pages they are based on.
Ask a Question
Do you recommend EX-1177HMVS-WT?
Yes NoFrequently Asked Questions
It expands one USB connection into seven USB-A ports, letting you connect several peripherals to one computer in industrial or technical setups. It is designed for stable, practical everyday use.
Is this answer helpful?
Yes. It supports USB 1.1 and USB 2.0 devices, so many older and newer peripherals can be used as long as they match the supported USB standards.
Is this answer helpful?
Yes, the hub is intended to be used with the included power supply for proper operation. This helps provide stable power across all ports and supports devices that need consistent current.
Is this answer helpful?
In most cases, yes. After the hardware is connected, the operating system should detect the hub automatically and install the required drivers without manual setup.
Is this answer helpful?
The hub supports USB 2.0 high-speed communication up to 480 Mbit/s. Actual performance depends on the connected devices, cable quality, and the host computer.
Is this answer helpful?
No. Those settings are handled automatically by the system BIOS and the operating system, so manual configuration is not part of the setup process.
Is this answer helpful?
Use only a dry, lint-free cloth and gentle pressure. Avoid wet or moist cloths, and be careful not to leave fibers inside the connectors.
Is this answer helpful?
Advantages and Disadvantages
Advantages

- Seven USB-A ports provide generous expansion for multiple devices.
- Metal housing is better suited to industrial or technical environments.
- Supports USB 1.1 and USB 2.0 for broad compatibility.
- Up to 480 Mbit/s helps maintain strong data transfer performance.
- Automatic driver installation reduces setup effort.
Disadvantages

- Requires careful power connection and correct polarity.
- Not meant for hot-plugging the power connector while the PC is on.
- Full port power depends on using the proper included power supply.
- No manual IRQ or address configuration is available.
- Cleaning must be done carefully to avoid debris in the connectors.
Product Specification
Type
USB-Hub
Form factor
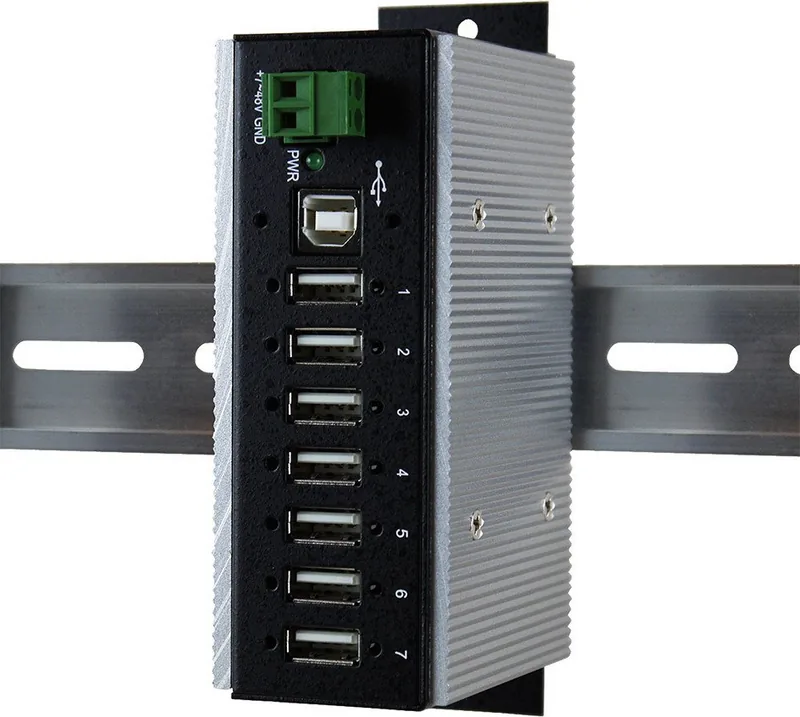
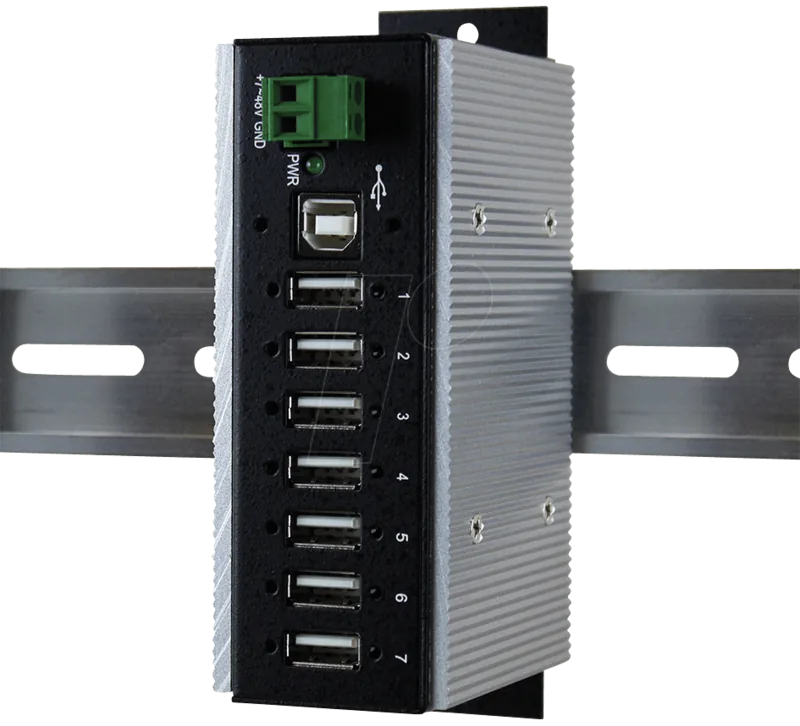
1x external wired (wall mount, DIN rail via mounting bracket)
Connection
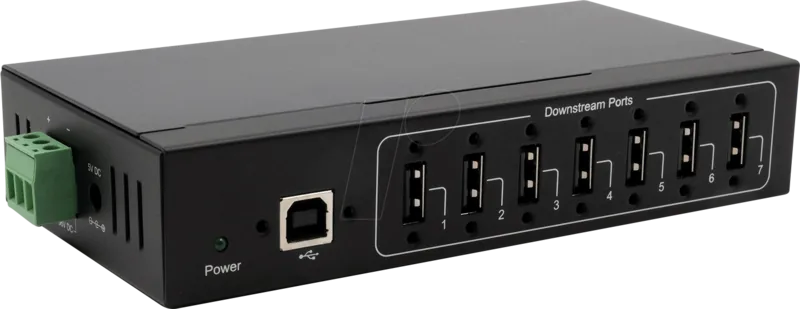
1x USB-B 2.0 (socket, 480Mb/s), 1x USB-A 2.0 (plug via cable, 5.91ft cable length)
Connection
7x USB-A 2.0 (socket)
Transfer
7x USB-A 2.0 (socket, 480Mb/s)
Power supply
Power supply also via connection, mains connection (1x barrel connector), external power supply possible and included (1x barrel connector 5V/4A), 4-Pin Berg Connector (socket)
Chipset
2x NEC/Renesas µPD720114 (USB-Hub, USB 2.0)
Dimensions
6.02x0.91x2.32in (WxHxD)
Weight
1.10 lb
Housing color
black
Compatibility
universal
Special features
Metal housing, extended operating range (Temperature: -4F to 185F, Humidity: 5% to 95%)
USB notation
Link
Product Description
Exsys Industrial Railmount USB-Hub, 7x USB-A 2.0, USB-B 2.0 Socket Manual
The Exsys Industrial Railmount USB-Hub is built for environments where reliable connectivity matters more than flashy design. With seven USB-A 2.0 ports for peripherals and a USB-B uplink for the host PC, it helps expand a workstation, control cabinet, or industrial panel without complicating the setup. Its metal housing adds a practical layer of durability, making it a strong fit for demanding daily use.
What makes this hub especially useful is its flexible power concept. It can be operated with the included power supply or through a compatible PC power connection, and each port can deliver up to 500 mA when powered correctly. That means it is well suited for devices that need stable USB power, such as scanners, service tools, interface adapters, or other USB accessories used in automation and technical support.
Performance is another highlight. The hub supports USB 1.1 and USB 2.0 devices, uses a high-speed design, and can reach transfer rates of up to 480 Mbit/s. The built-in chipset is designed to keep data communication smooth and dependable, which is important when multiple devices are connected at once. It also supports both self-powered and bus-powered modes, giving installers more options depending on the system layout.
Installation is straightforward: connect the USB cable to the USB-B port, attach the power supply, and link the hub to the computer. The operating system handles driver detection automatically, which makes deployment simple across different platforms. For users who need a practical industrial USB expansion solution, this hub offers a balanced mix of speed, power stability, and rugged construction.
Notes
- Use the included power supply for proper operation.
- Follow polarity and connector orientation carefully.
- Do not plug or unplug connectors while the PC is powered on.
- Clean only with a dry, lint-free cloth.
Search for 67,706 Manuals online


Type-in Brand or Model