

Ersa Tip 260 Manual
PDF manual · 6 Pages
English



Quick check
Incorrect answer, please try again.
Chat with your Ersa Tip 260 manual using AI
Get instant AI answers from your Ersa Tip 260 manual
Ask anything about the Ersa Tip 260. Answers come from this manual, with the pages they are based on.
Ask a Question
Do you recommend Tip 260?
Yes NoFrequently Asked Questions
The Tip 260 is used with Ersa Multitip systems and many listed models (including various 15+, 25+, 35+ and Multitip assemblies). Always check your iron’s manual or nameplate for confirmed compatibility before purchase or installation.
Is this answer helpful?
With the soldering iron switched off and cool, slide the tip fully onto the heater shaft until it stops. For internally heated tips, ensure no air gap exists between tip and heating element. Lift the springy fixing lever slightly if present so the tip pushes on without resistance, and confirm clamp screws are tightened for externally heated tips.
Is this answer helpful?
No. Replacement of heating elements and internal repairs must be performed only by qualified personnel or authorized Ersa service centers. Some models explicitly forbid opening the device; unauthorized repairs risk electric shock and void safety compliance.
Is this answer helpful?
Always confirm mains voltage matches the tool’s nameplate, never heat the iron without a tip, remove or install tips only when the tool is switched off and cool, use a proper stand, and avoid quenching the tip in water. Use only original replacement parts and follow manufacturer safety instructions.
Is this answer helpful?
Correct seating eliminates air gaps between tip and heating element, maximizing thermal transfer and consistent soldering temperature. Poor seating leads to slow heat-up, uneven soldering, and potential tip damage or unreliable joints.
Is this answer helpful?
Yes. A dedicated tip exchanger (recommended Ersa tool) helps safely remove and install tips without damaging components or risking burns, and provides better handling when changing tips frequently.
Is this answer helpful?
Yes. On 6 V and 12 V models the outer shaft can form the return conductor for the heating element; observe potential differences and grounding considerations to avoid hazards or unintended potentials.
Is this answer helpful?
Advantages and Disadvantages
Advantages

- Precise thermal contact when fully seated, ensuring consistent solder joints.
- Easy tip exchange—push-on design with a clip or clamp for quick replacement.
- Compatible with Ersa Multitip systems, enabling rapid workflow changes.
- Suitable for fine, precision soldering tasks in electronics and rework.
- Designed to meet safety standards when used with correct procedures.
Disadvantages

- Requires correct seating and clip adjustment—improper fit reduces performance.
- Tip removal/installation must be done only when iron is cold, adding downtime.
- Heater or part replacement restricted to qualified service for many models.
- Low-voltage models have potential-return shaft considerations to note.
- Not a standalone soldering iron—requires compatible Ersa handle/station.
Product Specification
Power
16W (230V)
Temperature
max. 662F
Soldering tip width
0.04 in
Heating time
60s
Weight
0.51 lb
Scope of delivery
Soldering tip, Soldering iron stand
Product Description
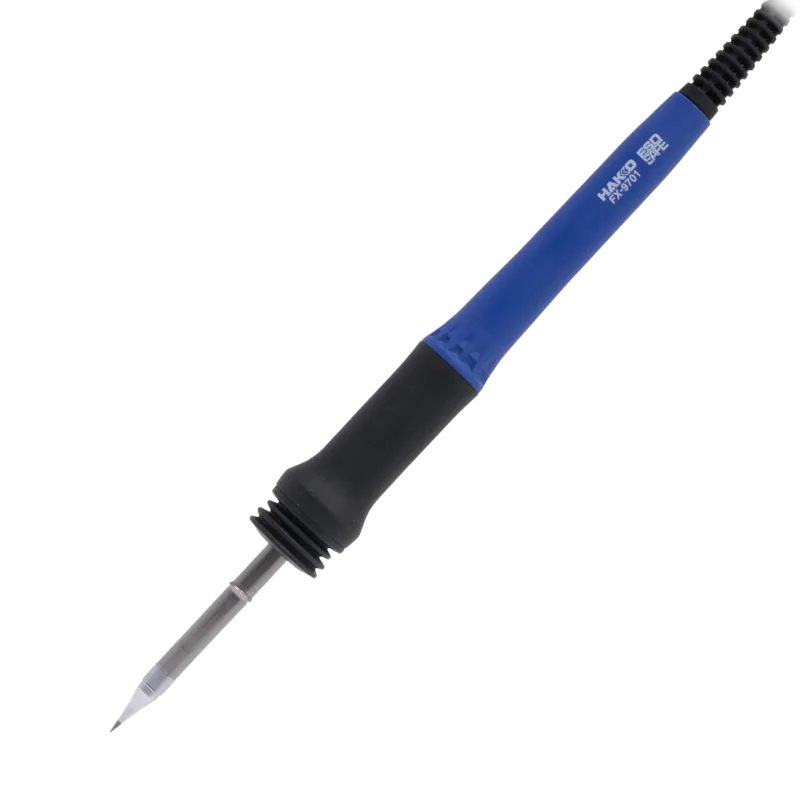
Ersa Tip 260 Feinlötkolben Manual — Compact, Reliable Soldering Performance
The Ersa Tip 260 Feinlötkolben is a precision soldering tip designed for a range of Ersa irons and multitip systems. Built for both hobbyists and professionals, the Tip 260 emphasizes secure fitment, thermal contact, and safe handling to ensure consistent soldering results. Whether used as a replacement part or as part of a multitip kit, the tip’s design supports quick exchanges and reliable heat transfer when installed correctly.
Key features and usage
Before use, always verify the voltage on the tool’s nameplate matches your power source and read all safety directions. The Tip 260 is compatible with specific Ersa models (including Multitip and several 15+/25+/35+ variants). For tips heated from the outside, clamp screws must be tightened; for internally heated tips, the tip must be pushed fully onto the heater so no air gap remains between tip and heating element. Proper seating of the springy fixing clip is essential to avoid poor thermal contact or wobble.
Installation is straightforward: remove the old tip only when the iron is switched off and cold, then push the new Tip 260 fully onto the shaft until it stops. For clip-style retainers, lift the spring lever slightly to allow smooth mounting. Use the recommended tip-exchanger tool for safer handling when needed.
Safety and maintenance
Never heat the iron without a tip installed. After soldering, allow the iron and tip to cool naturally — do not quench in water. Always rest the iron on a suitable holder. Replacement of heating elements or internal parts should be performed only by qualified personnel using original Ersa parts. Do not attempt repairs or unauthorized modifications; the device contains live electrical components and improper interventions can be life-threatening. Certain models prohibit opening or heater replacement — consult model-specific notes before attempting service.
Practical performance notes
When correctly mounted, the Tip 260 delivers stable thermal transfer for fine soldering tasks, benefiting electronics assembly, rework, and precision joining. Its compatibility with multitip systems allows fast tip swaps for different soldering profiles, reducing downtime and improving workflow. For low-voltage variants (6 V / 12 V), be aware that the outer shaft may act as the return conductor — heed potential differences accordingly.
Notes:
- Verify voltage and model compatibility before use.
- Only install/remove tips when the iron is powered off and cool.
- Use original Ersa parts for replacements and authorized service for repairs.
Search for 67,706 Manuals online


Type-in Brand or Model
Hildegard Schmidt
9 months ago
Is the ERSA TIP 16 W/260BD soldering iron a good choice for fine electronics work, and does it have a long service life with available replacement tips and parts?
Manual.ly
9 months ago
Yes. Customers describe the ERSA TIP models as heating up quickly and being very handy and light for small solder joints on PCB work. Many reviews mention very long service lives (around 20-30 years) when using the included tip and later replacing it as needed. ERSA is also known for having a good range of high-quality replacement tips and accessories, so you can keep the iron in service instead of replacing the whole unit. If you plan to do slightly wider joints, it can help to order a suitable additional tip size (for example, a larger chisel/meisel type) along with the very fine pencil tip.