
Einhell GE-SA 1640 Manual
PDF manual · 108 Pages
English



Quick check
Incorrect answer, please try again.
Chat with your Einhell GE-SA 1640 manual using AI
Get instant AI answers from your Einhell GE-SA 1640 manual
Ask anything about the Einhell GE-SA 1640. Answers come from this manual, with the pages they are based on.
GE-SA 1640 Maintenance Schedule
Carry out a general check of the scarifier and remove all accumulated residues before storage.
Absolutely check the state of the scarifier before starting work for the new season.
Wipe the device with a clean cloth or blow with compressed air. Clean the air filter by tapping it to remove dust.
Unwind the cable completely and check for cuts, kinks, or damage at plugs and entry points while disconnected.
Clean all screw-fastened parts, wheels, and axles, then oil them to ensure long life.
Apply grease to the square-ended drive occasionally to ensure easy roller changes.
Free maintenance reminders
Timed to your purchase date. Always free, unsubscribe anytime.
Ask a Question
Do you recommend GE-SA 1640?
Yes NoFrequently Asked Questions
It is used for scarifying and aerating lawns. Scarifying removes moss and thatch, while aerating helps water and air reach the soil more easily.
Is this answer helpful?
Yes. It is designed with interchangeable rollers, so you can change from scarifying to aerating with relatively few steps.
Is this answer helpful?
The working width is 40 cm, which helps cover a good amount of lawn area with each pass while still remaining manageable for home use.
Is this answer helpful?
The scarifying depth can be set to 3, 6, 9, or 12 mm, with a transport setting also available for moving the machine without working the soil.
Is this answer helpful?
No. It is intended for private home and hobby gardens, not for commercial, industrial, or professional landscaping use.
Is this answer helpful?
Regular cleaning, checking the roller, keeping the air filter clean, and storing it in a dry place are important for reliable performance and longer service life.
Is this answer helpful?
Advantages and Disadvantages
Advantages

- Dual-function design works as both a scarifier and aerator.
- 1600 W motor and 40 cm width make lawn care faster for medium gardens.
- Adjustable depth settings help match different soil and lawn conditions.
- Grass basket and safety features improve comfort and control.
Disadvantages

- Corded operation limits reach and requires careful cable management.
- Best suited to private gardens, not commercial-scale use.
- The machine needs regular cleaning and roller maintenance.
- Slope use is restricted, so steep areas are not suitable.
Product Specification
Power
1600W
Working Width
15.75 in
Working Depth
4 levels, adjustable
Recommended Lawn Area
up to 8,611.13 sq ft
Collection Volume
12.67 gal
Special Features
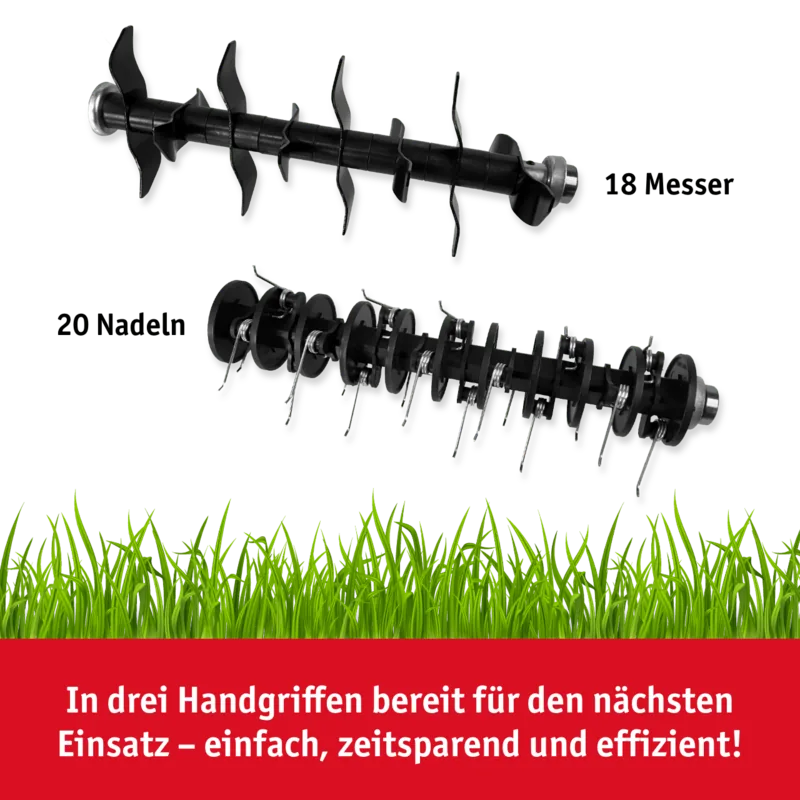
20 stainless steel blades, 30 claws, carrying handle
Weight
28.22 lb
Product Description
Einhell GE-SA 1640 Electric Scarifier/Lawn Aerator: A Practical Tool for Healthier Turf
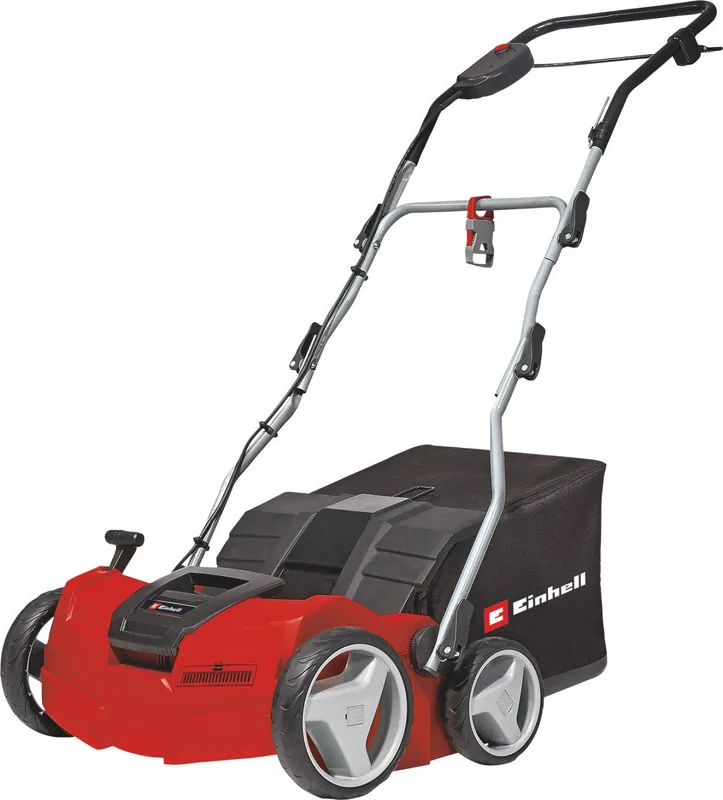
If your lawn looks tired, compacted, or covered with moss after winter, the Einhell GE-SA 1640 Electric scarifier/lawn aerator is built to bring it back to life. This compact electric garden machine combines two important lawn-care functions in one: scarifying and aerating. With the right roller fitted, it helps remove thatch, moss, and weeds, while also improving airflow and water penetration in the soil.
Why it stands out
The 1600 W motor provides enough power for routine home garden work, and the 40 cm working width makes the machine efficient without feeling oversized. The scarifying roller uses 20 blades to lift unwanted growth and loosen the surface, while the aerating roller uses 30 claws to lightly scratch the turf and support better drainage. That makes it a strong choice for seasonal lawn care, especially in spring and autumn.
One of the most useful details is the adjustable working depth, which can be set to 3, 6, 9, or 12 mm, with a transport position included as well. This gives you flexibility depending on how dense your lawn is and how aggressively you want to treat it. The machine also includes a grass basket, so debris is collected as you work instead of being left across the lawn.
Built for home use
The Einhell GE-SA 1640 Electric scarifier/lawn aerator Manual emphasizes safe and proper use, and the machine reflects that approach. It features a safety lock-off, cable strain relief, and clear guidance for assembly and operation. The handlebar can also be adjusted, and the unit can be stored in a compact parking position when not in use.
For many homeowners, this is the kind of tool that turns lawn recovery from a frustrating chore into a manageable routine. It is best suited to private gardens, where occasional maintenance is more important than heavy-duty commercial performance. The machine is not designed for industrial use, but in a typical garden it offers a balanced mix of convenience, power, and control.
Notes
- Ideal for lawns affected by moss, thatch, or compacted soil
- Best used with care on even ground and moderate slopes
- Regular cleaning and roller checks help maintain performance
- Replacement rollers are available for continued use over time
Search for 67,706 Manuals online


Type-in Brand or Model
besajas58
7 months ago
I heard the cutting roller and fan can be misassembled and a plastic bearing part may have an overlong rib. How should I check my vertikutierer when it arrives, and what should I do if the mounting is wrong?
Manual.ly
7 months ago
When the unit arrives, do a quick inspection before first use. Check that the roller and fan (messer/Luefterwalze) are seated correctly in both bearing blocks and that the plastic bearing parts and spacing are aligned as shown in the manual. Rotate the roller by hand (only with the power off, if applicable) to confirm it turns without rubbing or binding. If you notice a part that is visibly too long, bent, or installed incorrectly, do not make unapproved modifications. Take clear photos of the issue and the assembled components, then contact the seller/support promptly for guidance or a replacement. It is also a good idea to ask the store to show the correct roller mounting during purchase.