
Einhell GE-SA 1435 Manual
PDF manual · 132 Pages
English



Quick check
Incorrect answer, please try again.
Chat with your Einhell GE-SA 1435 manual using AI
Get instant AI answers from your Einhell GE-SA 1435 manual
Ask anything about the Einhell GE-SA 1435. Answers come from this manual, with the pages they are based on.
GE-SA 1435 Maintenance Schedule
At the end of the season, carry out a general check and remove all accumulated residue before storage.
Before the start of every season, absolutely check the condition of the scarifier for any issues.
Remove soil and grass build-up from the underside of the housing to ensure easy starting and quality scarifying.
Unwind the cable completely and inspect plugs and couplers for kinks or cracks while ensuring the device is disconnected.
Clean all screw-fastened parts including wheels and axles and then oil them to ensure a long service life.
Apply grease to the drive square occasionally to ensure the rollers can be changed easily.
A worn or damaged cutting unit must be replaced by an authorized expert to maintain performance and safety.
If excessive sparking occurs, have the carbon brushes checked and replaced only by a qualified electrician.
Free maintenance reminders
Timed to your purchase date. Always free, unsubscribe anytime.
Ask a Question
Do you recommend GE-SA 1435?
Yes NoFrequently Asked Questions
It works as both a scarifier and a lawn aerator. The scarifier roller removes moss and thatch, while the aerator roller scratches the surface to improve airflow, drainage, and nutrient uptake.
Is this answer helpful?
It is mainly designed for private home gardens. Its 35 cm working width and electric drive suit regular lawn care, but it is not meant for commercial-scale or heavy professional use.
Is this answer helpful?
Scarifying is generally recommended in spring and autumn. Aerating can be done during the growing season as needed, depending on lawn condition and soil hardness.
Is this answer helpful?
Yes. The machine offers multiple depth settings, including transport mode and deeper scarifying options, so you can adapt the treatment to your lawn’s needs.
Is this answer helpful?
Keep hands and feet away from the roller, unplug the machine before maintenance, never open the discharge flap while the motor runs, and keep the cable away from the cutting area.
Is this answer helpful?
Advantages and Disadvantages
Advantages

- Dual-purpose design lets you scarify and aerate with one machine.
- 1400 W motor provides enough power for regular home lawn maintenance.
- Adjustable depth settings help match treatment to lawn and soil condition.
- Grass basket and compact build make cleanup and storage more convenient.
Disadvantages

- Not intended for commercial, industrial, or heavy-duty professional use.
- Cable management is important, since the power lead must stay clear of the roller.
- Requires assembly and regular maintenance before and after use.
- Performance can drop on very hard soil or when the cutting roller is worn.
Product Specification
Power
1400W
Working width
13.78in
Working depth
max. 0.35in, 3 levels, adjustable
Recommended lawn area
up to 5,381.96 sq ft
Collection volume
7.40 gal
Features
20 steel blades, 26 claws, carrying handle
Weight
25.36 lb
Product Description
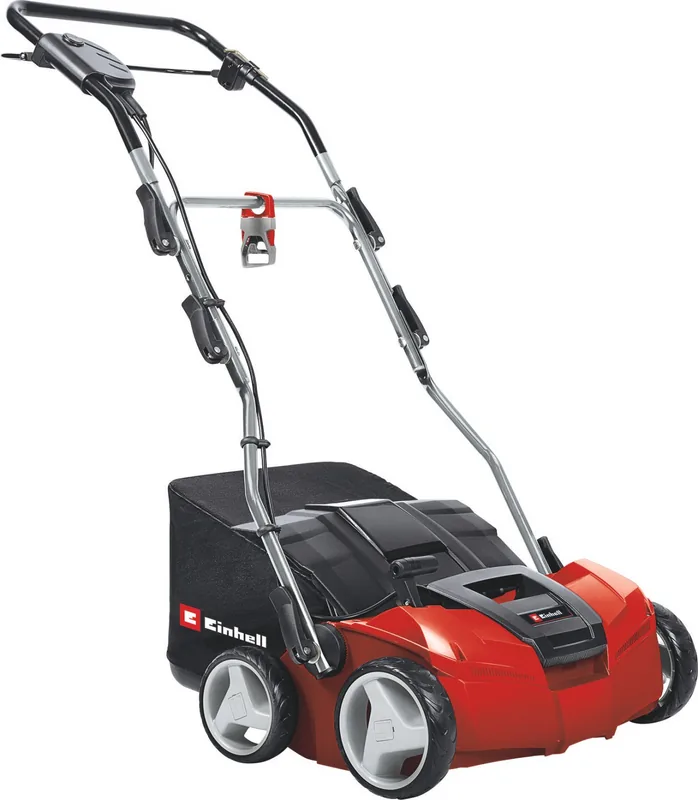
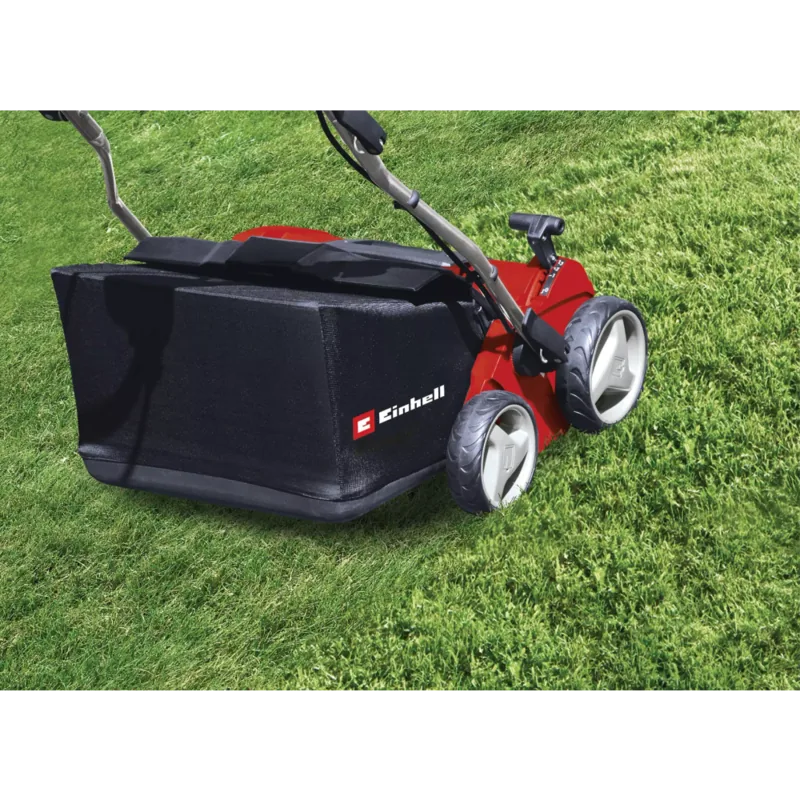
Einhell GE-SA 1435 Electric Scarifier/Lawn Aerator
The Einhell GE-SA 1435 Electric scarifier/lawn aerator is built for gardeners who want a healthier, cleaner lawn without overcomplicating seasonal care. It combines two important jobs in one machine: scarifying to remove moss and thatch, and aerating to improve airflow, water drainage, and nutrient absorption. For anyone comparing tools before buying, the Einhell GE-SA 1435 Electric scarifier/lawn aerator Manual is especially useful because it shows how much care has gone into the design, assembly, and safe operation of the machine.
With a 1400 W motor, a 35 cm working width, and interchangeable rollers, this model is aimed at private home use rather than heavy commercial work. The scarifying roller helps lift out weeds and moss at the roots, while the aerating roller gently scratches the surface to support stronger grass growth. It is a practical choice for routine lawn maintenance in spring and autumn, and it can also be used throughout the growing season when the lawn needs extra support.
One of the strongest points of this machine is its adjustable working depth. Users can select different settings depending on soil condition and lawn recovery needs, which makes the tool more flexible than basic single-purpose models. The foldable handle structure and grass basket also add convenience, while the compact weight makes storage and handling easier for typical garden use.
The manual places strong emphasis on safety, and that is a good sign for a machine with sharp, rotating tines. It reminds users to keep the cable away from the roller, work carefully on slopes, and wait for the roller to stop before maintenance or cleaning. These instructions are not just formalities; they are part of what makes the tool dependable in everyday use. Regular cleaning, proper cable care, and timely roller replacement help maintain performance over time.
For homeowners who want a straightforward electric scarifier with dual functionality, the GE-SA 1435 offers a balanced mix of power, usability, and seasonal lawn care support. It is not designed for large-scale or professional environments, but within its intended range it delivers a solid solution for keeping grass thicker, cleaner, and more resilient.
Notes
- Best suited for private gardens and routine lawn care.
- Use the scarifying roller for moss and thatch removal.
- Use the aerating roller for lighter surface treatment and drainage support.
- Always follow the safety and maintenance guidance for long-term reliability.
Search for 67,706 Manuals online


Type-in Brand or Model
Lukas R.
9 months ago
I did not receive the product, and I was not given any reason. What should I do?
Manual.ly
9 months ago
We are sorry for the delay and the lack of explanation. Please share your order number and the email used at checkout so we can check the shipment status with the carrier. In many cases we can confirm whether the parcel was returned, delayed, or incorrectly addressed. If the order is confirmed as not delivered, we will arrange a replacement or a refund depending on availability. If you have tracking information, include it as well. Contact our support team with these details and we will investigate right away.