
Dupla CO2 Pro Manual
PDF manual · 16 Pages
English



Quick check
Incorrect answer, please try again.
Chat with your Dupla CO2 Pro manual using AI
Get instant AI answers from your Dupla CO2 Pro manual
Ask anything about the Dupla CO2 Pro. Answers come from this manual, with the pages they are based on.
Ask a Question
Do you recommend CO2 Pro?
Yes NoFrequently Asked Questions
The recommended operating pressure is between 1 and 1.5 bar. The factory preset low pressure is 0 bar; adjust the pressure adjustment screw to reach the desired working pressure and fine-tune bubble rate with the stainless-steel needle valve.
Is this answer helpful?
Bubble count is proportional to working pressure: roughly doubling the pressure doubles the bubble rate, and halving the pressure halves the bubble rate. Use the pressure adjustment screw for coarse changes and the fine needle valve for exact bubble-count tuning.
Is this answer helpful?
Yes. The Dupla CO2 Armatur Pro includes an integrated check (non-return) valve that prevents backflow of water into the regulator, protecting internal components.
Is this answer helpful?
The regulator body is nickel-plated brass with a stainless-steel valve spindle. It supports CO2 cylinders with external valves, has two G 1/4" gauge ports, and an operating range of 0–3 bar. Fine filters are built into the cylinder connection and needle valve.
Is this answer helpful?
Yes. Dupla offers a CO2 Solenoid (Magnet) Valve Pro (item 80243) that can be retrofitted between the regulator and the needle valve for semi- or fully automatic control. Installers must use 4–5 layers of Teflon tape on male threads and verify all threaded connections for leaks.
Is this answer helpful?
Always depressurize the regulator before changing cylinders or performing maintenance. Ensure the stainless-steel needle valve is closed before connecting or disconnecting the cylinder, and hand-tighten the union nut (use a 30 mm spanner if necessary).
Is this answer helpful?
After installation, align the solenoid valve and thoroughly check all threaded connections for tightness and leaks. Use the recommended 4–5 layers of Teflon tape on external threads to ensure a 100% seal; test under pressure before regular operation.
Is this answer helpful?
Advantages and Disadvantages
Advantages

- High control accuracy via precision pressure reducer for stable CO2 dosing.
- Fine stainless-steel needle valve enables very precise bubble-rate adjustment.
- Integrated safety features: overpressure relief and check valve prevent backflow and overload.
- Corrosion-resistant nickel-plated brass and stainless components for long service life.
- Dual, easy-to-read gauges provide cylinder and working pressure monitoring.
Disadvantages

- Initial setup and fine-tuning require observation and a one-day run-in period.
- Cylinder changes and maintenance must be performed only when fully depressurized.
- Requires CO2-rated tubing and proper thread sealing (Teflon tape) for leak-free installation.
- Optional solenoid valve installation adds complexity and needs correct thread sealing.
- Weight (~960 g) and metal construction make it less suited for ultra-compact portable setups.
Product Specification
Application
CO2 supply, Plant fertilization
Energy consumption
N/A
Product Description
Dupla CO2 Valve and Pressure Cylinder Manual
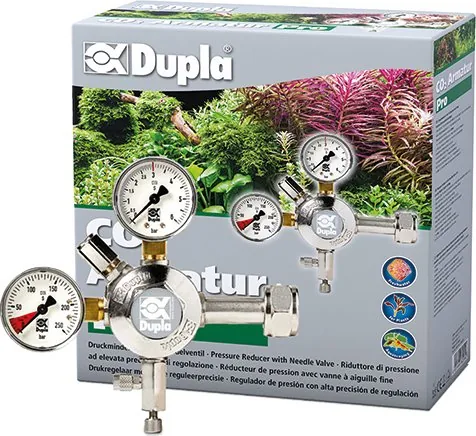
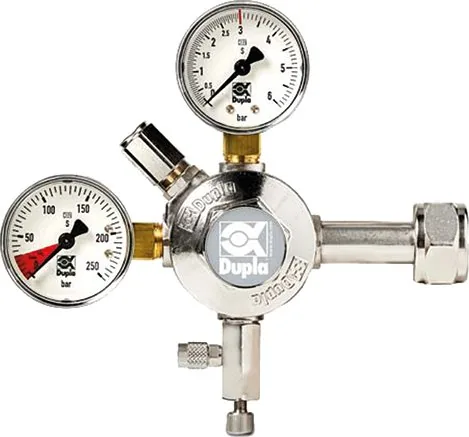
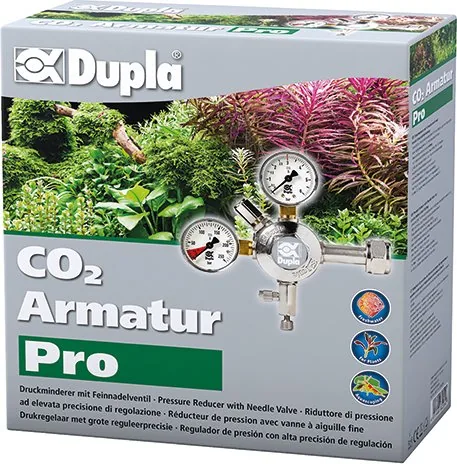
The Dupla CO2 Valve and Pressure Cylinder Manual introduces the Dupla CO2 Armatur Pro — a precision CO2 regulator assembly designed for aquarium CO2 dosing. Engineered to ISO 9001 standards, the unit combines a precision pressure reducer, fine stainless-steel needle valve and dual pressure gauges to give accurate, repeatable control over bubble rates. Built-in safety features include an overpressure relief valve, an integrated check (non-return) valve to prevent backflow, and fine filters at both the cylinder connection and needle valve to reduce contamination.
Start-up is straightforward: ensure the needle valve is closed, attach the cylinder connection and hand-tighten the union nut, connect CO2-rated tubing to your diffuser or reactor, then open the cylinder valve and set working pressure. Factory-set low pressure is 0 bar; recommended operating pressure is 1–1.5 bar for most applications. Bubble rate changes proportionally with working pressure (e.g., doubling pressure roughly doubles bubble count), and after an initial one-day run-in you can fine-tune via the pressure adjustment screw and the precision needle valve.
Materials and construction emphasize durability and corrosion resistance: nickel-plated brass body, stainless valve spindle, and wear-free sealing to the cylinder valve. The unit supports CO2 cylinders with external valves and has an operating range of 0–3 bar. The regulator weighs approximately 960 g and features two G 1/4" pressure-gauge ports. Optional accessories include a Dupla CO2 Solenoid (Magnet) Valve Pro for semi- or fully automated control — installation requires removing the needle valve, wrapping male threads with Teflon tape and securing the solenoid between the regulator and needle valve.
Practical tips highlighted: always perform cylinder swaps and maintenance only when the system is depressurized; hand-tighten the union nut (use a 30 mm spanner if needed); verify threaded seals when fitting additional accessories; and use CO2-rated tubing for connections.
Notes:
- Optimal working pressure: 1–1.5 bar for stable and precise dosing.
- Integrated check valve protects the regulator from aquarium water backflow.
- Use 4–5 layers of Teflon tape on external threads when installing the solenoid valve for leak-free joints.
Search for 67,706 Manuals online


Type-in Brand or Model