
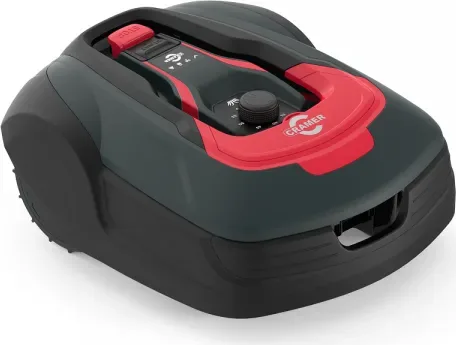
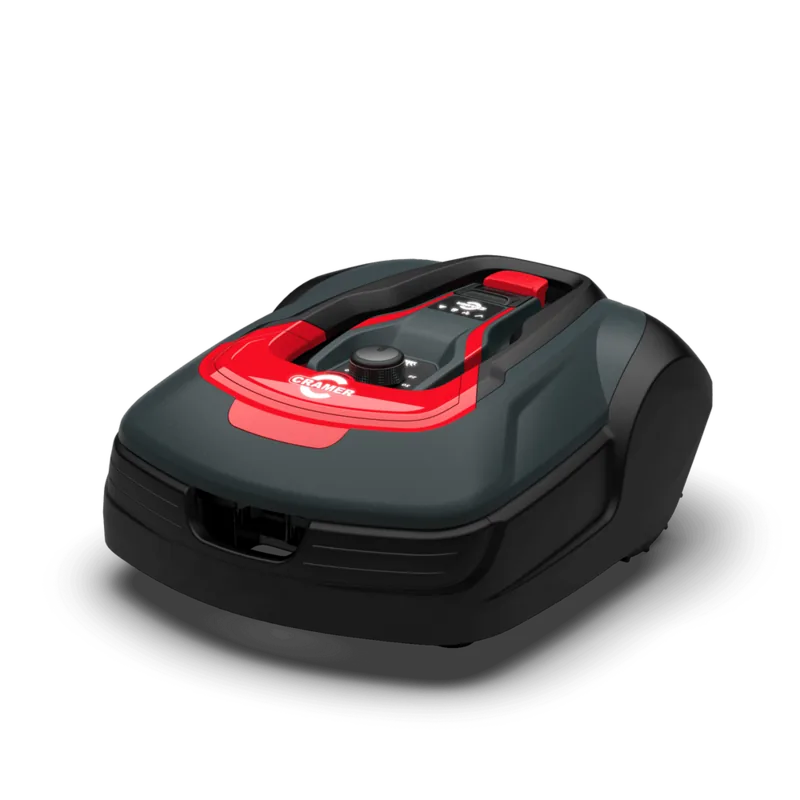
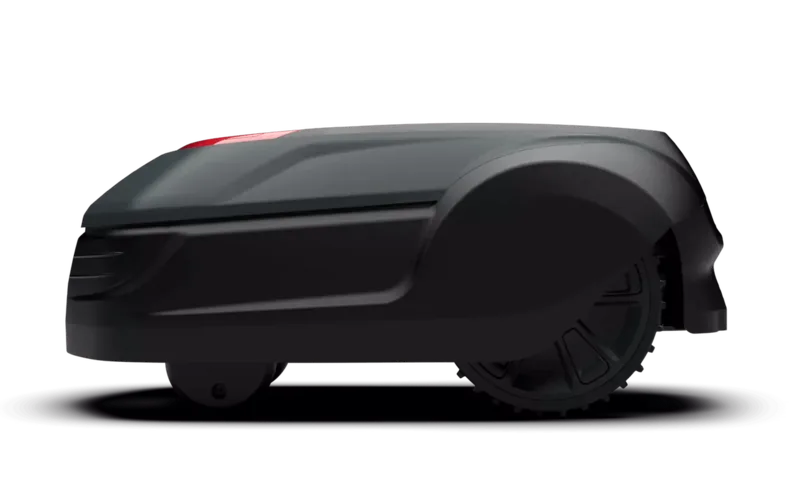
Cramer RM 1000 Manual
PDF manual · 210 Pages
English



Quick check
Incorrect answer, please try again.
Chat with your Cramer RM 1000 manual using AI
Get instant AI answers from your Cramer RM 1000 manual
Ask anything about the Cramer RM 1000. Answers come from this manual, with the pages they are based on.
RM 1000 Maintenance Schedule
Regularly inspect the area where the machine is used and remove all stones, sticks, wires, bones, and other foreign objects.
Periodically check that blades, blade bolts, and cutter assembly are not worn or damaged. Replace worn parts in sets to preserve balance.
Keep all nuts, bolts, and screws tight to ensure the machine is in safe working condition.
Replace any worn or damaged parts for safety. Ensure only replacement cutting means of the right type are used.
The battery has a limited service life of 2 to 4 years depending on season length and daily usage hours. Replace with original parts when necessary.
Ask a Question
Do you recommend RM 1000?
Yes NoFrequently Asked Questions
The robotic mower is designed to cut grass on slopes reaching a maximum gradient of thirty-five percent. Ensure the boundary wire follows lines that do not exceed fifteen percent gradient. Steep terrain may challenge the grip of the wheels.
Is this answer helpful?
The battery generally offers a service life between two and four years. This duration depends on daily usage hours and seasonal length. Charging times vary based on whether using standard or high-capacity battery units. Plan ahead for eventual replacement to maintain peak cutting times.
Is this answer helpful?
Inspect the operating area for debris like sticks or wires. Remove any foreign objects caught under the cutting system. Restart the device by pressing the start button after clearing obstructions. If errors persist, check the status LEDs for diagnostic codes.
Is this answer helpful?
The machine includes safety sensors that stop blades upon contact. However, always supervise children and keep them away during operation. Remove the safety key when moving the unit. Maintain a safe distance while the motor runs to prevent thrown objects.
Is this answer helpful?
Lay the wire reel at the charging station and loop it around the area. Secure it with pegs or bury it one to twenty centimeters deep. Use close spacing for stability. Ensure the wire forms a closed loop so navigation functions correctly without gaps.
Is this answer helpful?
No, the mower has an IPX5 rating suitable for rain and light jets. Do not aim high-pressure streams directly at seals or openings. Clean gently with a cloth or hose to protect electronic components from forceful water damage.
Is this answer helpful?
Most basic mowing tasks do not require constant internet access once programmed. However, remote control features or firmware updates need connectivity. Check the blue LED status to confirm connection. If offline, it reverts to pre-programmed random path navigation patterns.
Is this answer helpful?
Advantages and Disadvantages
Advantages

- Low noise output ensures quiet neighborhood operation without disturbing residents.
- Adjustable cutting height ranges from two to six centimeters easily.
- Waterproof construction provides protection against rain and moisture ingress.
- Automatic return to charging station saves battery management efforts entirely.
- High climbing ability allows use on slopes up to thirty-five percent gradient.
Disadvantages

- Installation requires laying and securing a perimeter boundary wire accurately.
- Battery replacement cost is higher than some conventional maintenance options.
- Obstacles left on the lawn can cause the mower to get stuck temporarily.
- Requires clear zone around the perimeter for reliable navigation signals.
- Limited working capacity compared to professional large-scale agricultural machinery.
Product Specification
Battery
1x Battery (20V, 2.0Ah, Li-Ion)
Cutting Width
8.66 in
Cutting Height
0.79-2.36 in, adjustable
Recommended Lawn Area
up to 10,763.91 sq ft
Navigation
Obstacle Sensor, Tilt Sensor, Lift Sensor, Rain Sensor, Frost Sensor
Boundary System
Boundary Wire
Features
Timer, Anti-Theft Protection, Brushless Motor
Smart Home
App Control (2G/4G)
Max Grade
19°/35%
Charging System
Automatic
Runtime
70 min
Charging Time
140 min
Noise Level
60 dB(A)
Weight
24.25 lbs
Scope of Delivery
Charging Station
Product Description
Discover the Freedom of a Perfect Lawn
Maintaining a pristine garden should feel effortless rather than burdensome. The Cramer RM 1000 stands out as an excellent choice for homeowners seeking automation without sacrificing quality. By consulting the Cramer RM 1000 Manual, owners can ensure optimal performance and longevity for their investment. This robotic companion handles the heavy lifting while you enjoy free time.
Setting Up Your System
Proper installation is vital for success with this intelligent device. The unit relies on a boundary wire to define the mowing area precisely. Pegs allow for easy adjustments during the first few weeks of operation. A charging station connects to a cool, dry outdoor outlet protected from direct sunlight. Users must ensure the low voltage cable crosses the operating area safely without damage to maintain warranty validity.
Operational Safety First
Safety remains a top priority throughout the engineering design. Operators must insert a safety key to activate the device. This prevents unauthorized access and protects pets or children from rotating blades. The machine stops immediately if lifted, reducing injury risks significantly. Regular checks of the blade assembly are recommended to balance the cutting discs.
Maintenance and Battery Care
Power comes from a specialized lithium-ion battery rated at twenty-four volts. While maintenance-free, the battery has a lifespan of two to four years. Replacement requires removing the chassis cover and connecting terminals correctly. Always charge within the original station to avoid overheating hazards. Cleaning sensors ensures navigation remains accurate over time.
Troubleshooting Common Issues
Occasionally the robot may stop due to error states. LED indicators show green for operation or red for errors. Connectivity issues require checking internet links. PIN codes might be needed for security. Breaks in the wire are common causes requiring inspection of the loop from the base station.
Technical Highlights
Noise levels stay low at roughly fifty-five decibels, making it neighbor-friendly. It climbs slopes up to thirty-five percent effectively. Cutting height adjusts between two and six centimeters. With an IPX5 classification, the mower resists rain and pressure washing. This robust engineering supports consistent cutting across varied weather conditions season after season. Environmental impact is minimal with electric power systems used here.
Final Thoughts on Usage
Using this tool transforms yard work into a background task. You simply manage obstacles and monitor progress remotely. The system fits various lawn sizes efficiently. Enjoy a greener environment with less effort and lower fuel emissions compared to gas alternatives.
Note Always follow local regulations regarding operator age and supervision when deploying automated gardening equipment near residential areas.
Search for 67,706 Manuals online


Type-in Brand or Model