
Cramer Charger Manual
PDF manual · 145 Pages
English



Quick check
Incorrect answer, please try again.
Chat with your Cramer Charger manual using AI
Get instant AI answers from your Cramer Charger manual
Ask anything about the Cramer Charger. Answers come from this manual, with the pages they are based on.
Ask a Question
Do you recommend Charger?
Yes NoFrequently Asked Questions
The 82V430G battery requires approximately 90 minutes to charge fully when used with the 82C1G charger unit.
Is this answer helpful?
No, the charger is designed for indoor use only. Water infiltration can cause severe damage and electric shock risks.
Is this answer helpful?
A blinking red light indicates a charging fault or a defective battery pack that may need replacement.
Is this answer helpful?
If the LED blinks upon insertion, remove the battery for one minute then reinsert to reset the system.
Is this answer helpful?
Yes, the power cords are detachable and can be removed from the charger for interchangeability.
Is this answer helpful?
Never attempt to charge non-rechargeable batteries as this creates a risk of fire and equipment damage.
Is this answer helpful?
Advantages and Disadvantages
Advantages

- Fast charging cycle for 82V220G battery in 45 minutes
- Diagnostic LED indicators for clear battery status communication
- Wall mounting capability for secure storage on construction sites
Disadvantages

- Indoor use only prohibits outdoor charging in wet conditions
- Detachable power cord requires separate wall mounting screws
- Strict voltage requirement limits international usability
Product Specification
Type
Charger
Battery Type
Li-Ion
Product Description
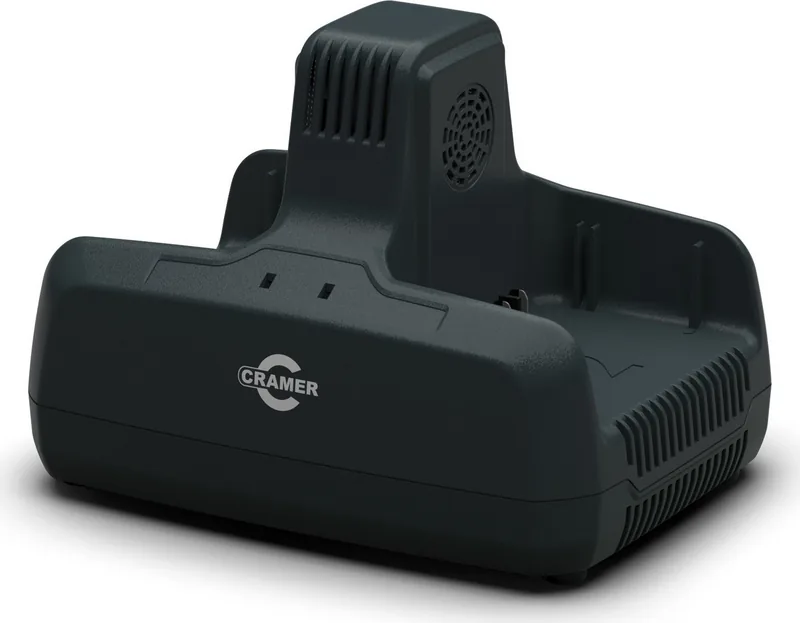
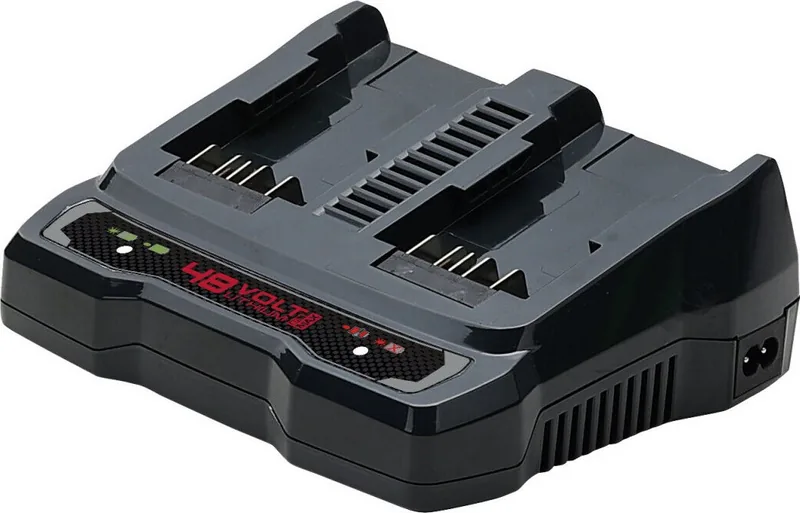
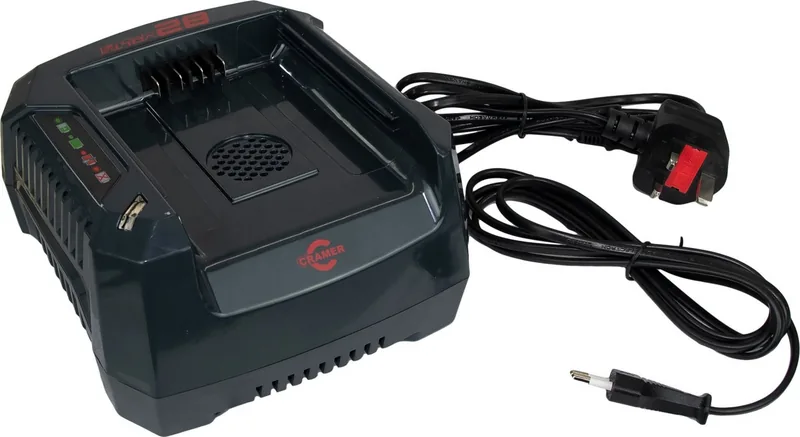
Power Up Your Tools with the Cramer Charger 82C1G
Keeping your power tools running smoothly requires reliable energy sources and rigorous maintenance standards. The Cramer Charger provides a robust solution for maintaining your high-voltage battery packs efficiently. Designed for maximum performance, this unit ensures your equipment is always ready for the next job site challenge. Users seeking optimal performance will find that this charger delivers consistent power output without compromising battery integrity. It is crucial to follow the guidelines outlined in the Cramer Charger Manual to ensure safety and longevity of the equipment. Following proper procedures prevents accidents and ensures the device operates within its strict design limits. Ignoring these protocols can lead to fire hazards or electrical shock risks in the workshop.
Charging Specifications and Speed
This charger supports multiple battery configurations including the 82V220G and 82V430G models. The 82V220G battery holds 72V with 3Ah capacity and charges fully in approximately 45 minutes. For larger needs, the 82V430G battery offers 6Ah capacity and requires 90 minutes to reach full charge. These times reflect the 82A output capability which accelerates work cycles significantly compared to standard units. The charger utilizes lithium-ion technology which avoids memory effects allowing users to recharge at any time without damaging cell life. Always verify input voltage is 230V before plugging in to prevent damage to the internal components.
Safety and Diagnostic Features
Safety remains the top priority in modern power equipment design. The unit features diagnostic LED status lights that communicate vital information about battery health. A solid green light indicates a fully charged state while blinking red signals a fault. Overheating protection is built-in so the device will not charge warm or hot batteries. It prevents charging if the battery pack case is cracked or damaged. Never attempt to charge non-rechargeable batteries as this risks severe fire hazards. The charger is designed for indoor use only to protect internal electronics from moisture damage and rain. If battery fluid contacts your eyes, rinse immediately with clean water. Do not attempt to open the charger cover.
Maintenance, Mounting and Disposal
Maintenance is straightforward with a detachable power cord that allows flexibility. You can clean the exterior using a dry soft cloth without using water hoses. Wall mounting is supported using two screws ensuring the unit stays secure during tool vibration. If storing the unit long term, remove the battery and unplug the power cord completely. Always check voltage availability before use especially when traveling internationally or using adapters. Proper recycling ensures environmental safety as these batteries contain hazardous materials if damaged. Dispose of cracked batteries at certified centers. Do not place in standard household trash.
Troubleshooting Common Issues
If a battery fails to charge, check the power outlet first. Ensure contacts are not shorted by debris. If the LED blinks upon insertion, remove the battery for one minute then reinsert. This resets the fault detection system. If charging continues to fail, the battery pack may be defective and requires replacement. Keep the ventilation slots clear to prevent overheating during operation. Store batteries in cool, dry places away from direct sunlight. Regular checks maintain the health of your system and prevent unexpected downtime during projects.
Search for 67,706 Manuals online


Type-in Brand or Model