Manual.ly Logo

Chicco Myamaki Complete Manual

0.0 · 0 Ratings

PDF manual · 92 Pages

English

M: OA-GPT-54-NAN
page

/ 92

Loading...
8a8461bec5eadc1a6a50cafbaa46e6ee229a page e
14
15
• Keep in mind that the child
transported in the baby carrier
will react to any climatic changes
differently to the person carrying
the child before.
• Before use, check that the straps are
fitted and adjusted correctly, and
that the buckles are safely fastened
into position.
• Do not place more than one child at
a time in the baby carrier.
• Always ensure that the child has
sufficient space around their face to
breathe properly.
• Do not use the baby carrier if any
parts are damaged, torn or missing.
• Do not t to the baby carrier
any accessories, spare parts or
components not supplied or
approved by the manufacturer.
• This baby carrier must only be used
by an adult.
• Do not use the baby carrier to
transport the child in the car.
• Do not use the baby carrier while
driving or on a motorcycle.
• Do not use the baby carrier while
cooking or cleaning to avoid
exposure to sources of heat or
chemicals.
PARENT FACING USE AND USE
ON SIDE
• WARNING: Take care when bending
or leaning forward or sideways.
• It is recommended that you place
and remove the child from the baby
carrier while sitting.
THIRD POSITION (ON THE
PARENT'S BACK)
• Do not carry on your back children
less than 6 months' of age or unable
to sit up unassisted.
• Regularly check that the child is
comfortable and safe, especially if
carried on your back.
BABY CARRIER COMPONENTS (Figure SIDE A and g.
SIDE B)
A. Baby carrier backrest
B. Shoulder straps
C. Baby carrier seat
D. Baby carrier reducer cushion buttons (if included)
E. Padded saddle
F. Belly belt adjusting strap
G. Buckle with belly belt adjusting strap
H. Buckle fastening elastic
I. Holes and snaps to adjust the padded saddle
J. Buckles with shoulder adjusting strap
K. Breastbone/scapular buckle with elastic strap
L. Holes for fastening reducer cushion (if included)
M. Self-adjusting bellows
REDUCER-BLANKET COMPONENTS (Figure SIDE C and
Figure SIDE D)
N. Poppers
O. Poppers
P. Poppers
Q. Adjusting strap with poppers
R. Popper
S. Elastic buttons
T. Pocket with zipper
U. Hood
V. Hood elastic buttons
TIPS FOR CLEANING AND MAINTENANCE
CLEANING
Please refer to the care label. After each washing check that
the fabric and seams are not worn or damaged.
Hand wash
Do not bleach
Do not tumble dry
Do not iron
Do not dry clean
MAINTENANCE
Check the seams and baby carrier regularly to ensure that
they are not worn or damaged and that no part is missing. If
any part is worn or missing, do not use the product.
FRONT TRANSPORT - PARENT FACING
To transport the child parent-facing in the baby carrier, it is
advisable to use the multi-purpose reducer cushion that can
be used in two different configurations depending on the
child's age.
• 0-1 months: the reducer cushion's function is that of
comforting the child, keeping them in a crouched position
both when they are inside the carrier and when they are
fitted into it.
• 1m+: the reducer cushion's function is that of providing
greater protection and comfort for the child.
Using the reducer cushion supports the child, providing them
with a greater level of comfort and support to the curve of their
spine, supporting the head and the neck at the same time.
WARNING: always fit the baby carrier onto your shoulders
before putting your child in it.
FRONT TRANSPORT – PARENT FACING (0-1 MONTHS)
HOW TO WEAR THE BABY CARRIER WITH THE REDUCER
CUSHION
1. Lay the multi-purpose reducer cushion on a flat surface
with the C side facing upwards (Figure 1)
2. Fold the lower borders of the reducer and fasten the N
poppers with one another as shown in Figure 2.
3. Fold the base thus obtained, coupling the O poppers with
the P poppers and fastening them. Check that the result
corresponds to the one shown in Figure 3
4. At this point fasten the F belly strap of the baby carrier
using the relevant buckles (Figure 4A) adjust the width
acting on the G buckle (Figure 4B).
WARNING: fasten the buckle by passing it inside the H
elastic band (Figure 4C).
5. Fasten both straps by connecting on the J buckles (Figure 5).
6. Place the child into the reducer cushion in a crouched
position and make sure you fasten the Q adjustment strap
with the corresponding R button to the most appropriate
position for the baby's size (Figure 6)
7. Use a at surface to facilitate tting the reducer cushion
and the baby into the baby carrier. Then, place the reducer
cushion containing the baby onto the body of the baby
carrier that is laid on the surface (Figure 7A) and fasten the
S elastic buttons on the reducer cushion's upper side with
the L holes located on the baby carrier's shoulder straps
(Figure 7B)
8. Check that the child securely lies on the baby carrier's seat
and fasten the E padded saddle using the appropriate
F buttons, adjusting it to the position best suited to the
child's size, so that it is never too broad nor too narrow
(Figure 8).
WARNING: We recommend carrying out placing the child
into the baby carrier when seated or using a flat, level surface
so that you are able to control any sudden movements of the
child.
WARNING: Hold your child safely while carrying out these
operations.
WARNING: Before fitting the child in the baby carrier, make
sure that you have completed the previous steps correctly.
9. Put on the baby carrier starting from the shoulder straps
B (fig. 9A), then fasten and adjust the breastbone/scapular
buckle (Figure 9B) and complete putting the baby carrier
on by adjusting the shoulder straps (Figure 9C). The excess
length of strap can be shortened by rolling it and fastening
through the relevant elastic (Figure 9D). As an alternative,
it is possible to fasten the breastbone/shoulder buckle
before putting on the shoulder straps (g. 9E) and then put
on the shoulder straps making the breastbone/shoulder

Chat with your Chicco Myamaki Complete manual using AI

Get instant AI answers from your Chicco Myamaki Complete manual

Ask anything about the Chicco Myamaki Complete. Answers come from this manual, with the pages they are based on.

Myamaki Complete Maintenance Schedule

After each wash
Check fabric and seams after washing

After every wash, inspect the fabric consistency and seams for wear or damage. Do not use if damaged.

Show in the manual (page 10)
Regularly
Inspect carrier for damage

Periodically check the baby carrier for loose seams, damages, or missing parts. Do not use if any part is worn or missing.

Show in the manual (page 10)
M: QW-35-FL

Ask a Question

0/1000

Do you recommend Myamaki Complete?

Yes No

Frequently Asked Questions

A

It is designed for use from birth up to 15 kg. For newborns, the reducer is especially helpful because it creates a more secure and supportive position. As the baby grows, the carrier can be adjusted for different carrying styles.

Is this answer helpful?

A

The reducer is not always required, but it is strongly recommended, especially for newborns and very small babies. It improves support, comfort, and head and neck stability, and it helps keep the baby in a curled, ergonomic position.

Is this answer helpful?

A

The carrier supports a front-facing parent position, a hip carry once the child has enough head control, and a back carry for older babies. Each position is meant to match the child’s development and the caregiver’s preference.

Is this answer helpful?

A

No. The carrier should not be used during sports, while driving, or as a passenger on a motorcycle. It is intended for standing and walking only, with the baby securely supported and supervised at all times.

Is this answer helpful?

A

The carrier should be hand washed in cold water. Do not bleach, tumble dry, iron, or dry clean it. After washing, check the fabric and seams to make sure everything remains strong and safe to use.

Is this answer helpful?

A

Yes. The hood adds extra protection from weather and can also help during sleep. It is especially useful in the newborn configuration, where the baby is kept close and more sheltered in the front-facing position.

Is this answer helpful?

M: OA-GPT-54-NAN

Advantages and Disadvantages

Advantages

  • Ergonomic design supports the baby’s natural posture from newborn stage through toddler years.
  • Multi-purpose reducer adds comfort, head support, and a snug fit for very small babies.
  • Three carrying options offer flexibility: front-facing parent view, hip carry, and back carry.
  • Adjustable straps and waist belt help improve adult comfort and weight distribution.
VS

Disadvantages

  • Setup can be complex at first because several straps, buckles, and reducer parts must be adjusted correctly.
  • It is only for adult use and must not be used while driving, cooking, or doing sports.
  • The carrier has a strict weight limit of 15 kg, so its usable period is limited.
  • Safe use depends on careful supervision and correct positioning, which may feel demanding for beginners.
M: OA-GPT-54-NAN

Product Specification

Weight class

max. 33.07 lb

Wearing style

Front, back, hip carry

Features

integrated neck/head support, padded carrying straps, seat width adjustment

M: OA-GPT-54-NAN

Product Description

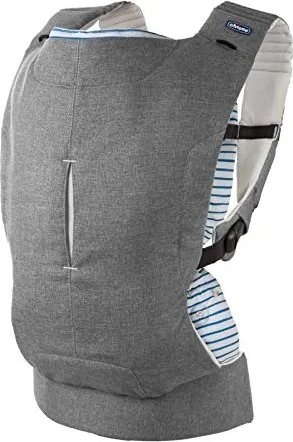
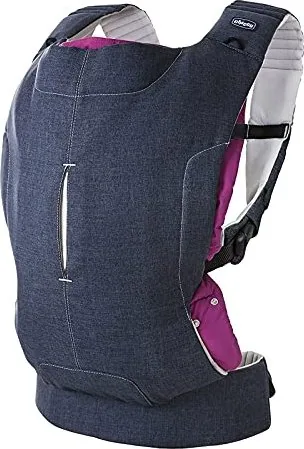
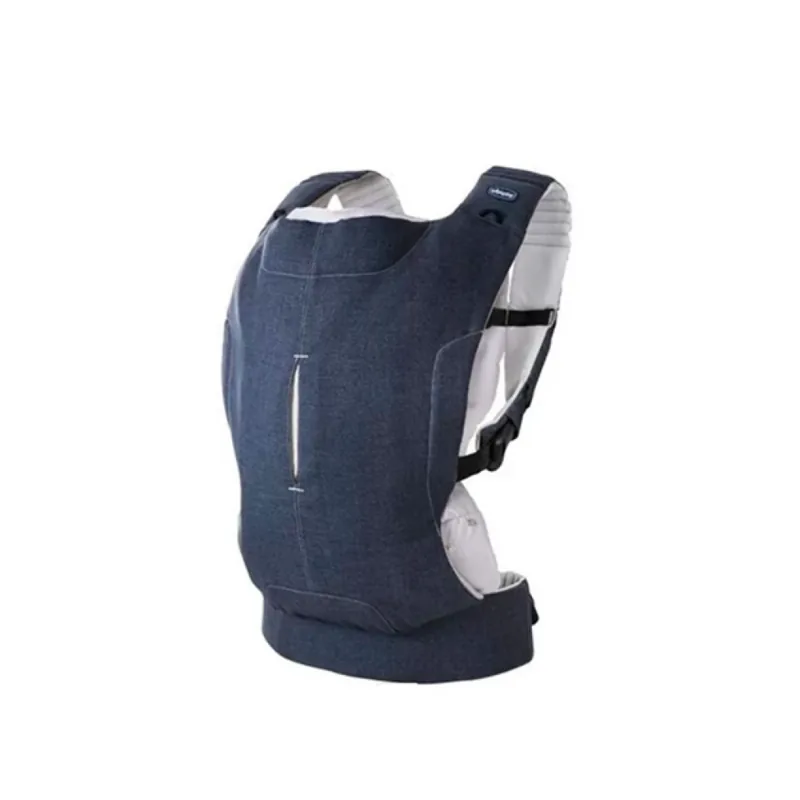
Chicco Myamaki Complete Baby Carrier

The Chicco Myamaki Complete Baby Carrier is designed for parents who want a practical, ergonomic way to keep their baby close from day one. Built to support the child’s natural posture, it combines comfort, adaptability, and everyday convenience in one thoughtfully structured carrier. The included multi-purpose reducer makes it especially versatile, helping newborns feel secure while also offering more support as they grow.

From birth up to 15 kg, this carrier adapts to different stages of early development. For the youngest babies, the front-facing parent position encourages closeness and gentle support, while the reducer helps create a snug, curved position that feels reassuring. As the child becomes stronger, the carrier can also be used on the hip or on the back, giving caregivers more flexibility for daily routines, short outings, and hands-free movement.

One of the most appealing aspects of the Chicco Myamaki Complete Baby Carrier Manual is how clearly it emphasizes safety and proper fit. The waist belt, shoulder straps, and padded seat are all adjustable, making it easier to distribute weight comfortably for the adult while keeping the baby secure. The hood on the reducer adds a useful layer of protection during naps or changing weather, and the design encourages close monitoring of the child at all times.

Comfort is a major theme throughout the product. The reducer can be configured in different ways depending on age, and the padded seat is meant to respect the baby’s body position without being too loose or too tight. This makes the carrier feel supportive rather than bulky. For caregivers, the structured fit helps reduce strain during use, especially when the straps are adjusted correctly.

Care and maintenance are straightforward as well. The carrier is meant to be hand washed in cold water, with gentle handling recommended to preserve the fabric and stitching. Regular checks for wear, loose seams, or missing parts are also advised, which is important for long-term reliability.

Notes

  • Best suited for everyday babywearing, not sports or vehicle use.
  • Always ensure the baby has enough airflow around the face.
  • Use the reducer for extra support, especially for newborns.
  • Follow the carrying stage that matches your child’s age and head control.

Overall, this carrier stands out as a flexible babywearing solution that balances comfort, ergonomics, and safety. It is a strong choice for parents looking for a dependable companion through the earliest months and beyond.

M: OA-GPT-54-NAN

© Copyright 2026 Manual.ly