
Char-Broil Performance Pro Manual
PDF manual · 156 Pages
English



Quick check
Incorrect answer, please try again.
Chat with your Char-Broil Performance Pro manual using AI
Get instant AI answers from your Char-Broil Performance Pro manual
Ask anything about the Char-Broil Performance Pro. Answers come from this manual, with the pages they are based on.
Performance Pro Maintenance Schedule
Conduct a leak test on valves, hose, and regulator at least once a year, before first use, and every time the cylinder is changed or disconnected.
Inspect hoses to ensure they are not cut, worn, or kinked. Replace damaged hoses before using the appliance.
Remove and empty the grease cup after each use. Do not remove until the appliance has completely cooled down.
Remove food particles from the grate and inside of the grill using a brush once the grill has cooled down.
Check burner flames regularly to ensure proper operation and safety.
Periodic cleaning is necessary to prevent grease fires. Clean interiors with detergent solution and plastic parts with warm soapy water.
Free maintenance reminders
Timed to your purchase date. Always free, unsubscribe anytime.
Ask a Question
Do you recommend Performance Pro?
Yes NoFrequently Asked Questions
The Performance Pro model described has four main gas burners. This layout lets you manage separate cooking zones, making it easier to combine high-heat searing with gentler indirect cooking.
Is this answer helpful?
Yes. The grill includes a dedicated sear burner with its own ignition procedure. It is intended to provide concentrated high heat for foods such as steaks, burgers, chops, and vegetables.
Is this answer helpful?
The CLEAN setting uses high burner heat to reduce remaining food debris to ash. After grilling, run the main burners on CLEAN for about 12 to 15 minutes, turn them off, let the grill cool, then brush out the ash.
Is this answer helpful?
Perform a leak test before first use, at least once a year, and every time the gas cylinder is changed or disconnected. Apply a half-soap, half-water solution to connections and watch for growing bubbles.
Is this answer helpful?
Turn the burner controls off, wait five minutes, and repeat the lighting procedure with the lid open. Check the gas supply, battery, wiring, electrode, and burner spark. Match lighting can be used if necessary.
Is this answer helpful?
No. It is for outdoor use only in a well-ventilated location. Keep it away from walls, flammable materials, ignition sources, garages, covered patios, and other enclosed or overhead spaces.
Is this answer helpful?
Advantages and Disadvantages
Advantages

- Four main burners allow separate heat zones for direct and indirect grilling.
- Dedicated sear burner provides an extra high-heat area for browning and searing.
- Electronic ignition and match-lighting backup support practical burner startup.
- CLEAN setting turns residue to ash in about 12 to 15 minutes for easier cleanup.
- Supports butane, propane, or approved mixtures when matched with the correct regional setup.
Disadvantages

- Outdoor use only; it cannot be used in garages, enclosed patios, or indoor spaces.
- Regular cleaning is necessary to reduce grease-fire risk and maintain performance.
- Venturi tubes and burners require inspection after extended storage to prevent insect blockages.
- Gas cylinder, regulator, and hose must meet specific compatibility and placement requirements.
- If ignition fails within five seconds, users must wait five minutes before trying again.
Product Specification
Type
Grill cart
Grill attachments
Grill grate (cast iron, nonstick), grill plate (cast iron, removable), warming rack (removable), grill lid with thermometer
Product Description
Char-Broil Performance Pro Manual: Four-Burner Outdoor Grilling
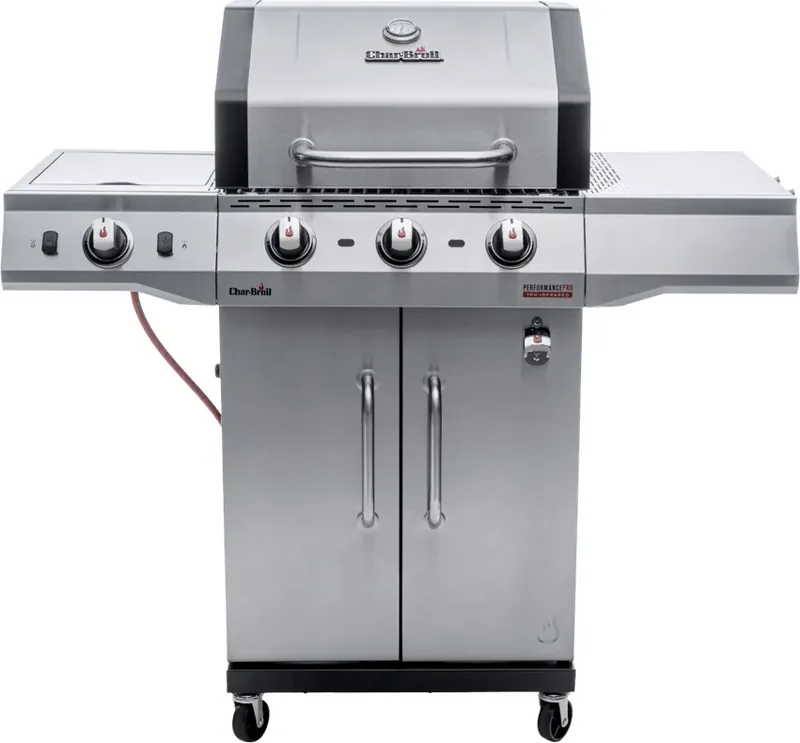
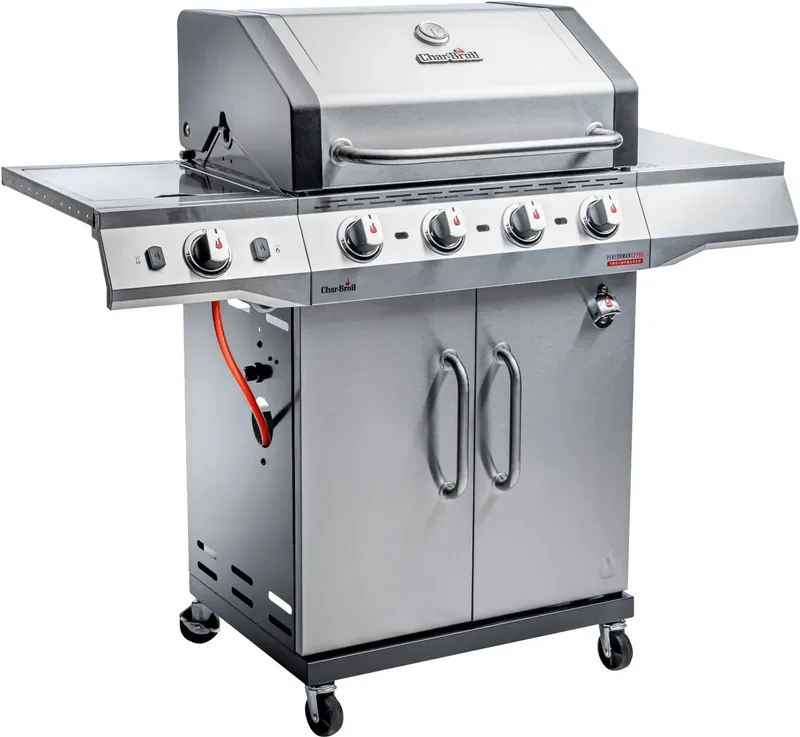
The Char-Broil Performance Pro is a four-burner gas grill designed for cooks who want flexible heat control for everyday outdoor meals and larger gatherings. Its main cooking system uses four burners, allowing users to light and adjust sections independently for direct and indirect cooking. A dedicated sear burner adds another high-heat zone for building a flavorful crust on steaks, burgers, chops, and vegetables.
Cooking Control and Everyday Convenience
Electronic ignition helps start the burners quickly with the lid open, while a match-lighting option provides a practical backup. The grill is built for use with butane, propane, or approved gas mixtures, depending on the regional model and regulator setup. With a total nominal heat input of 11.90 kW, the Performance Pro is equipped for dependable heat across its main burners and sear burner.
The Char-Broil Performance Pro Manual highlights the importance of lighting burners in sequence, checking flame performance regularly, and allowing enough time for preheating. These habits help create a more consistent grilling experience, whether cooking a few quick weeknight portions or preparing several dishes at once.
Cleaning Features and Ongoing Care
One standout feature is the CLEAN setting. After cooking, users can set the main burners to CLEAN for roughly 12 to 15 minutes. The high heat reduces leftover food residue to ash, making the cooled grill easier to brush out afterward. Regular cleaning of the grates, grease cup, firebox, burners, and venturi tubes is essential for reliable operation and for reducing the risk of grease fires.
The grill's maintenance routine also addresses common outdoor issues. Insects and spiders can obstruct venturi tubes and burners during long storage periods, which may lead to weak flames or flashback. Cleaning these parts before use after storage supports safe ignition and even gas flow. Burner tubes must also be correctly aligned with valve openings after maintenance.
Safe Outdoor Setup
This model is intended for outdoor use only in a well-ventilated area. Keep it at least 1 meter from walls or surfaces and 3 meters from ignition sources or flammable objects. Do not cover cooking grates with foil, use charcoal in the gas grill, or move the unit while it is operating. Before the first use, after changing a cylinder, and at least annually, perform a leak test using a soap-and-water solution.
Notes
- Use only an approved regulator and hose compatible with the local gas type.
- Turn off the gas supply at the cylinder after grilling.
- Empty the grease cup only after the grill has completely cooled.
- Store a connected cylinder outdoors in a ventilated location, away from children.
Search for 67,706 Manuals online


Type-in Brand or Model