Manual.ly Logo

Cameo NanoBeam 600 Manual

0.0 · 0 Ratings

PDF manual · 60 Pages

English

M: QW-35-FL
page

/ 60

Loading...
d2e8693645882e14bd335bcca725faace1a0 page 3
3
DMX
DEUTSCHFRANCAIS
ESPAÑOL
ENGLISH
ITALIANO POLSKI
ENGLISH
YOU‘VE MADE THE RIGHT CHOICE!
We have designed this product to operate reliably over many years. Please read this User‘s Manual carefully, so that you can begin making
optimum use of your Cameo Light product quickly. Learn more about Cameo Light on our website WWW.CAMEOLIGHT.COM.
PREVENTIVE MEASURES
1. Please read these instructions carefully.
2. Keep all information and instructions in a safe place.
3. Follow the instructions.
4. Observe all safety warnings. Never remove safety warnings or other information from the equipment.
5. Use the equipment only in the intended manner and for the intended purpose.
6. Use only sufficiently stable and compatible stands and/or mounts (for fixed installations). Make certain that wall mounts are properly
installed and secured. Make certain that the equipment is installed securely and cannot fall down.
7. During installation, observ e the applicable safety regulations for your country.
8. Never install and operate the equipment near radiators, heat registers, ovens or other sources of heat. Make certain that the equipment is
always installed so that is cooled sufficiently and cannot overheat.
9. Never place sources of ignition, e.g., burning candles, on the equipment.
10. Ventilation slits must not be blocked.
11. This appliance is designed exclusively for indoor use, do not use this equipment in the immediate vicinity of water (does not apply
to special outdoor equipment - in this case, observe the special instructions noted below). Do not expose this equipment to flammable
materials, fluids or gases.
12. Make certain that dripping or splashed water cannot enter the equipment. Do not place containers filled with liquids, such as vases or
drinking vessels, on the equipment.
13. Make certain that objects cannot fall into the device.
14. Use this equipment only with the accessories recommended and intended by the manufacturer.
15. Do not open or modify this equipment.
16. After connecting the equipment, check all cables in order to prevent damage or accidents, e.g., due to tripping hazards.
17. During transport, make certain that the equipment cannot fall down and possibly cause property damage and personal injuries.
18. If your equipment is no longer functioning properly, if fluids or objects have gotten inside the equipment or if it has been damaged in
another way, switch it off immediately and unplug it from the mains outlet (if it is a powered device). This equipment may only be repaired
by authorized, qualified personnel.
19. Clean the equipment using a dry cloth.
20. Comply with all applicable disposal laws in your country. During disposal of packaging, please separate plastic and paper/cardboard.
21. Plastic bags must be kept out of reach of children.
FOR EQUIPMENT THAT CONNECTS TO THE POWER MAINS:
22. CAUTION: If the power cord of the device is equipped with an earthing contact, then it must be connected to an outlet with a protective
ground. Never deactivate the protective ground of a power cord.
23. If the equipment has been exposed to strong fluctuations in temperature (for example, after transport), do not switch it on immediately.
Moisture and condensation could damage the equipment. Do not switch on the equipment until it has reached room temperature.
24. Before connecting the equipment to the power outlet, first verify that the mains voltage and frequency match the values specified on the
equipment. If the equipment has a voltage selection switch, connect the equipment to the power outlet only if the equipment values and the
mains power values match. If the included power cord or power adapter does not fit in your wall outlet, contact your electrician.
25. Do not step on the power cord. Make certain that the power cable does not become kinked, especially at the mains outlet and/or power
adapter and the equipment connector.
26. When connecting the equipment, make certain that the power cord or power adapter is always freely accessible. Always disconnect the
equipment from the power supply if the equipment is not in use or if you want to clean the equipment. Always unplug the power cord and
power adapter from the power outlet at the plug or adapter and not by pulling on the cord. Never touch the power cord and power adapter
with wet hands.
27. Whenever possible, avoid switching the equipment on and off in quick succession because otherwise this can shorten the useful life of
the equipment.
28. IMPORTANT INFORMATION: Replace fuses only with fuses of the same type and rating. If a fuse blows repeatedly, please contact an
authorised service centre.
29. To disconnect the equipment from the power mains completely, unplug the power cord or power adapter from the power outlet.
30. If your device is equipped with a Volex power connector, the mating Volex equipment connector must be unlocked before it can be re-
moved. However, this also means that the equipment can slide and fall down if the power cable is pulled, which can lead to personal injuries
and/or other damage. For this reason, always be careful when laying cables.
31. Unplug the power cord and power adapter from the power outlet if there is a risk of a lightning strike or before extended periods of disuse.
32. The device must only be installed in a voltage-free condition (disconnect the mains plug from the mains).
33. Dust and other debris inside the unit may cause damage. The unit should be regularly serviced or cleaned (no guarantee) depending on
ambient conditions (dust etc., nicotine, fog) by qualified personnel to prevent overheating and malfunction.
34. Please keep a distance of at least 0.5 m to any combustible materials.
35. Power cables to power multiple devices must have a cross-section of at least 1.5 mm². Within the EU, the cables must correspond to
H05VV-F, or similar. Suitable cables are offered by Adam Hall. With these cables, you can connect multiple devices via the power OUT
connection to the power IN connection of an additional device. Make sure that the total current consumption of all connected devices does not
exceed the specified value on all connected devices (label on the device). Make sure to keep power cable connections as short as possible.

Chat with your Cameo NanoBeam 600 manual using AI

Get instant AI answers from your Cameo NanoBeam 600 manual

Ask anything about the Cameo NanoBeam 600. Answers come from this manual, with the pages they are based on.

NanoBeam 600 Maintenance Schedule

Regularly
Service or clean the unit to remove dust and debris

Dust and debris can cause damage. The unit should be regularly serviced or cleaned by qualified personnel depending on ambient conditions to prevent overheating.

Before cleaning
Disconnect equipment from power supply before cleaning

Always disconnect the equipment from the power supply if you want to clean it. Use a dry cloth for cleaning.

M: qwen/qwen3.8-flash

Ask a Question

0/1000

Do you recommend NanoBeam 600?

Yes No

Frequently Asked Questions

A

The device supports five distinct DMX modes ranging from three channels up to fourteen channels depending on the specific control requirements.

Is this answer helpful?

A

No, the device is designed exclusively for indoor use and should not be exposed to water or outdoor conditions.

Is this answer helpful?

A

Use the menu system to select Sound Mode then Sound Sensitivity, adjusting the value between zero and ninety-nine using UP and DOWN buttons.

Is this answer helpful?

A

This device is designed for use at altitudes up to two thousand meters above sea level maximum.

Is this answer helpful?

A

Yes, a suitable IEC mains power cable is included in the product package for immediate connection.

Is this answer helpful?

A

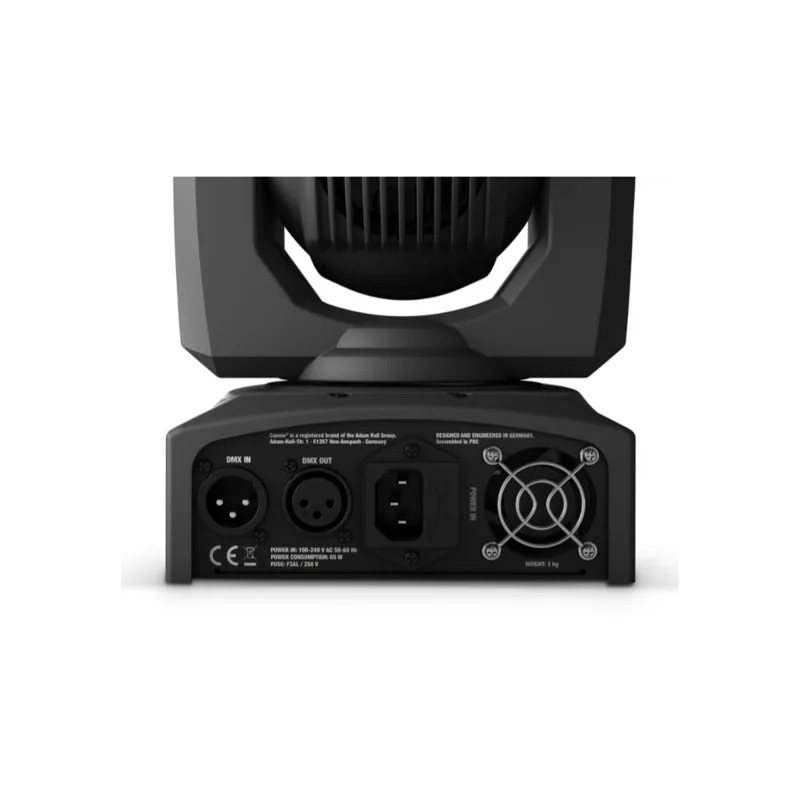
Connect DMX OUT of the first device to DMX IN of the next device until all units are linked serially.

Is this answer helpful?

A

Yes, you can invert the display orientation in Advanced Settings for ceiling or overhead installation scenarios.

Is this answer helpful?

M: QW-35-FL

Advantages and Disadvantages

Advantages

  • Powerful 60 W RGBW quad LED system delivers intense light output for events.
  • Compact moving head design offers wide pan and tilt capability for versatility.
  • Built-in microphone enables automatic movement control via sound sensitivity.
  • Five distinct DMX modes provide flexibility for various lighting control needs.
  • Includes Omega bracket and securing lug for easy and safe installation.
VS

Disadvantages

  • Overhead mounting requires extensive experience and professional structural calculation.
  • Unit designed strictly for indoor use and not suitable for outdoor weather.
  • DMX chain is limited to thirty-two units for signal stability.
  • Fuse replacement requires exact type and rating matching specifications.
  • Fan noise may be noticeable in very quiet acoustic environments.
M: QW-35-FL

Product Specification

Beam Pattern

Beam

Light Source

LED

Power Consumption

60W

Beam Angle

5°

PAN Angle

540°

TILT Angle

240°

Color Mixing

LED (RGBW)

Effects

Dimmer, Strobe

Control

DMX (14 Channels), Music Control, Master/Slave

Dimensions

5.71x9.45x6.10in (WxHxD)

Weight

6.61lbs

M: QW-35-FL

Product Description

Discover the Power of the Cameo NanoBeam 600

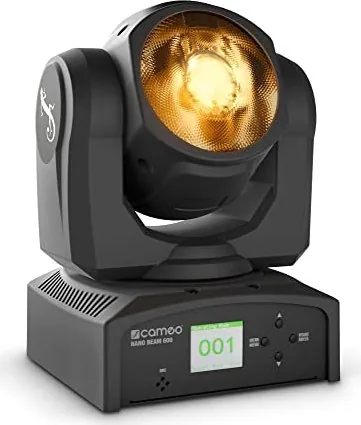
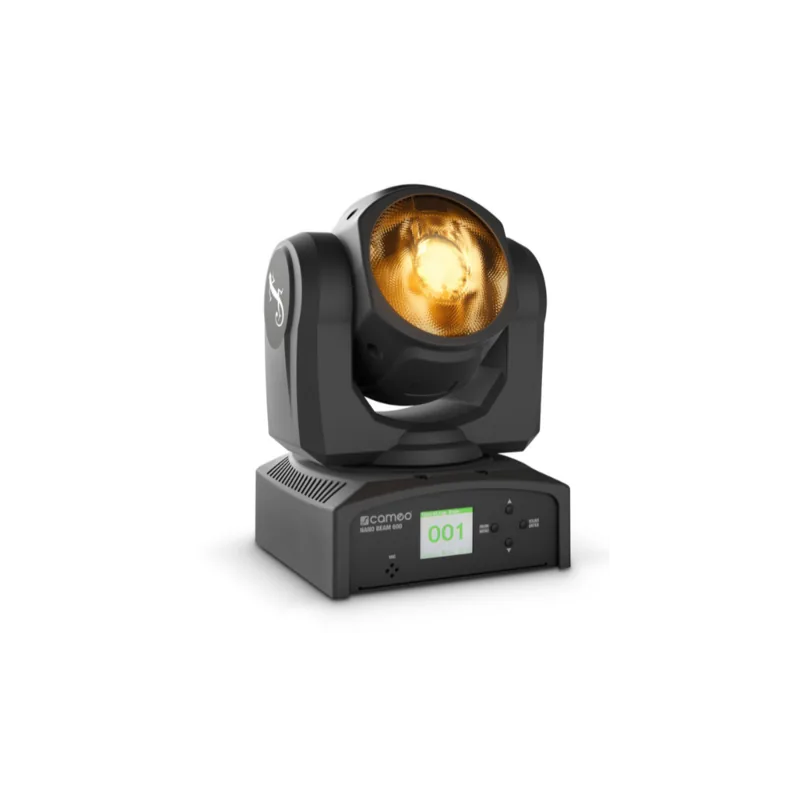
Lighting professionals and enthusiasts know reliability and performance are paramount. The Cameo NanoBeam 600 stands out as a compact solution for stage lighting. This moving head light features a robust 60 W RGBW quad LED system that delivers intense output. It provides 140,000 lx at one meter, ensuring visibility across large venues. With a tight beam angle of 4.6 degrees, it creates sharp beams perfect for accent lighting needs. The device is designed for indoor use and operates within a wide voltage range of 100 to 240 V AC.

Operation and Control

Mastery of this equipment is essential for optimal use. Owners should familiarize themselves with the physical controls located on the housing. The LC display provides clear feedback on active modes and full system information available. Staff can navigate through menu settings using dedicated buttons for value changes. DMX-512 control allows seamless integration into complex lighting setups. There are five distinct DMX modes available for flexibility during shows. They range from three channels up to fourteen channels depending on control granularity. Master and slave operations enable synchronized shows without complex consoles. Standalone programs run pre-configured color and motion sequences automatically.

Safety and Maintenance

Proper setup ensures longevity and protects the investment. The unit includes a low-noise fan for cooling during operation. Ventilation slits must never be blocked to prevent overheating. Keep the device away from water sources and flammable materials. Installation requires stable mounting hardware to hold weight securely in place. Use the included Omega bracket for traverse mounting on stages. Always secure the unit with a safety cable to prevent falls. Never operate the device without checking cables for damage. Disconnect power before cleaning or internal maintenance.

Getting Started and Installation

To fully utilize the product effectively, understanding the core settings is key for all new users. You can adjust DMX start addresses easily via the menu system. Sound control via a built-in microphone adds dynamic movement based on bass signals. Advanced settings allow reversing pan or tilt directions for custom mounting. Display orientation can be inverted for overhead mounting scenarios. Always adhere to the strict safety guidelines found when you access the Cameo NanoBeam 600 Manual online today. This ensures safety and maximizes lifespan of your investment in technology. Remember to check local voltage requirements carefully before connecting to power mains. This step prevents damage from incorrect input voltage. Finally, keep packaging to protect during transport. Weight is under three kilograms making it portable.

M: QW-35-FL

© Copyright 2026 Manual.ly