
Brother MFC-L8340CDW Manual
PDF manual · 2 Pages
English



Quick check
Incorrect answer, please try again.
Chat with your Brother MFC-L8340CDW manual using AI
Get instant AI answers from your Brother MFC-L8340CDW manual
Ask anything about the Brother MFC-L8340CDW. Answers come from this manual, with the pages they are based on.
Ask a Question
Do you recommend MFC-L8340CDW?
Yes NoFrequently Asked Questions
Remove all packaging materials and blue tape, confirm the toner and drum assemblies are installed, load paper without exceeding the maximum mark, and connect the power cable. Record the serial number for registration, warranty, and support needs.
Is this answer helpful?
Find the SSID and network key on your wireless access point or router. On the device, open the Wi-Fi network search option, select the correct SSID, and enter the network key. A successful setup shows a connected status on the display.
Is this answer helpful?
Restart the Brother device and the wireless access point or router, then repeat the wireless setup process. Verify that the selected SSID and entered network key are correct. If issues continue, consult Brother support troubleshooting resources.
Is this answer helpful?
Yes. Connect a telephone cable if you intend to use fax functions. If faxing is not needed, skip the telephone connection and continue with the computer, USB, wired network, or wireless setup steps.
Is this answer helpful?
Use a USB 2.0 Type A/B cable that is no longer than two meters for a direct USB connection. Depending on the package and connection method, the cable may need to be purchased separately.
Is this answer helpful?
Changing the default password helps protect device settings and network access from unauthorized users. The factory password is marked on the device, and it should be replaced with a strong, unique password during initial setup.
Is this answer helpful?
Advantages and Disadvantages
Advantages

- CMYK toner and drum assemblies support full-color output management.
- Guided setup covers unpacking, paper loading, language selection, and software installation.
- Wireless setup lets users connect by selecting an SSID and entering the network key.
- Supports printing and scanning after computer or mobile device connection.
- MFC fax setup is available when a telephone line is connected.
Disadvantages

- Wireless setup requires access to the correct SSID and network password.
- A failed connection may require restarting the printer and router before retrying.
- USB and network cables may need to be purchased separately.
- Included components and available interfaces can vary by country or configuration.
- The default administrator password should be changed immediately for better network security.
Product Specification
Format
A4 (printing), A4 (scanning)
Type
Printer/Scanner/Copier/Fax
Color system
4-color, 4 individual toner cartridges
Consumables
TN-248, TN-248XL, TN-249, DR-248CL, BU-229CL, WT-229CL
Printing
600 x 600 dpi - 30/30 ppm (A4) (ISO)
Scanning
1200 x 1200 dpi (CIS) - 27/21 ppm (A4)
Copying
600 x 600 dpi (A4) (ISO)
Paper input
280 sheets (1 x 250 sheets + 1 x 30 sheets), ADF (50 sheets), duplex unit
Memory
512 MB (RAM)
Ports
1 x USB-B 2.0, 1 x USB-A 2.0 (host), 1 x fax (RJ-11)
Network
Wi-Fi 4 (WLAN 802.11b/g/n), WPS, AirPrint, Cloud Print, Mobile Print, Mopria, Universal Print (Azure Cloud Print)
Display
Color, 3.46 in, touchscreen
Power consumption
620 W (maximum), 70 W (standby), 10 W (sleep), 0.04 W (off), TEC: 0.48 kWh/week
Sound pressure level
48 dB(A)
Emulation
PCL 6, PCL 5e, PCL 5c, PostScript 3, PDF 1.7
Case color
Black
Dimensions
19.57 x 20.98 x 22.95 in
Weight
47.62 lb
Special features
USB direct scan, OCR software, Direct Print, Blue Angel
Manufacturer warranty
3 years in Austria/Germany/Poland (on-site service after registration), 1 year in the UK
Product Description
Brother MFC-L8340CDW Laser Color Manual: Setup and Everyday Use
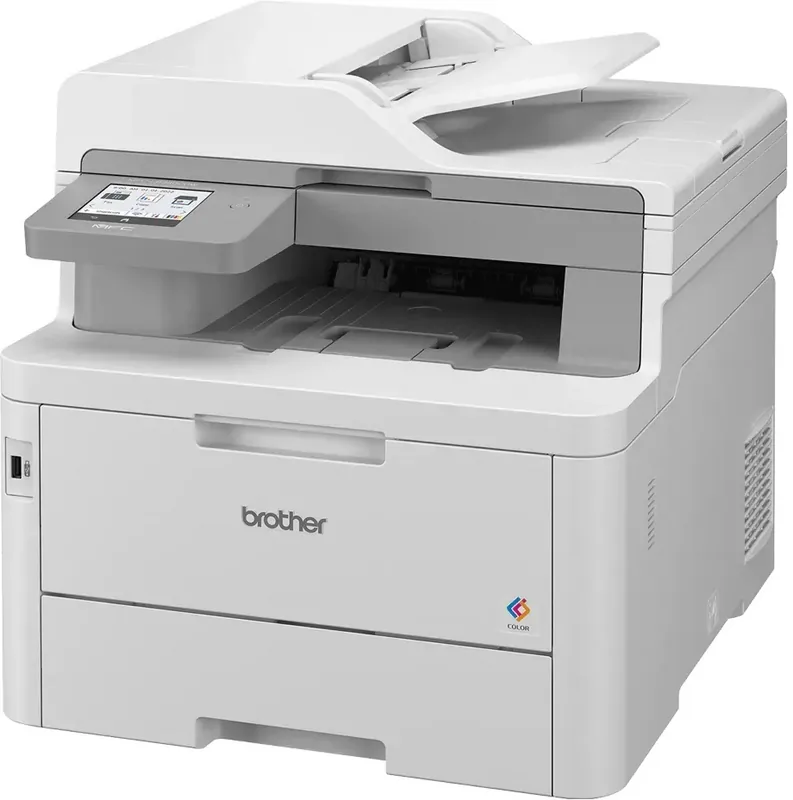
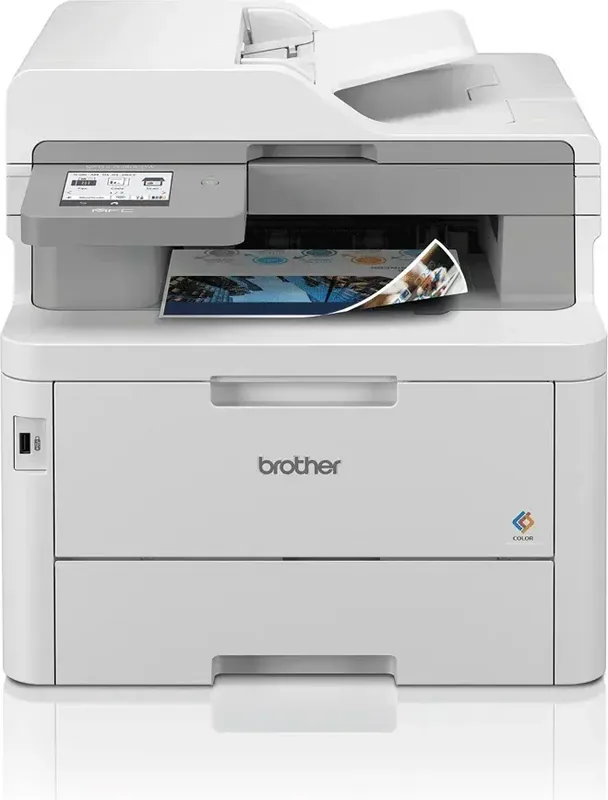
The Brother MFC-L8340CDW Laser Color is a color multifunction device designed for practical office and home-office workflows. It uses separate black, cyan, magenta, and yellow toner and drum combinations, giving users a clear way to manage color printing supplies. The included setup materials focus on getting the machine ready quickly, from unpacking and paper loading to connecting a computer or mobile device.
Straightforward first-time setup
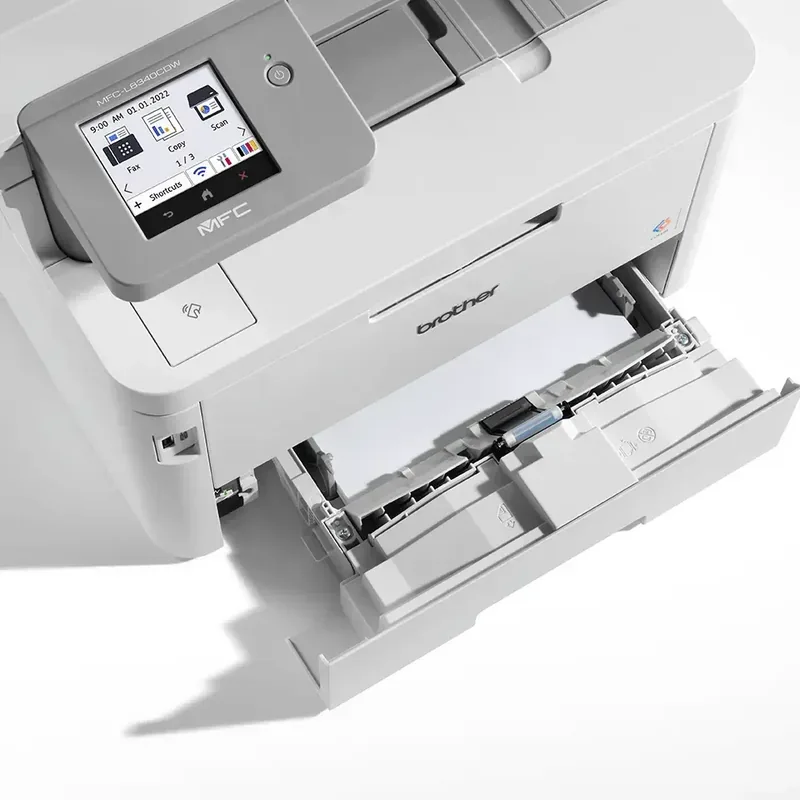
Before use, remove all protective packaging and blue tape, then check that the toner and drum assemblies are firmly installed. The paper tray includes adjustable guides, helping keep sheets aligned and supporting cleaner feeding. Do not load paper above the indicated maximum mark. After connecting the power cable and turning the unit on, the display may request a country, language, or other initial settings.
The Brother MFC-L8340CDW Laser Color Manual keyword is useful for users looking for guidance on these early steps, including display language selection, software installation, and connection troubleshooting. Keep the product serial number available, as it can help with registration, warranty, and support requests.
Flexible connection options
This model can be connected during setup through the available connection methods. Brother software can be downloaded from the official setup service, where on-screen prompts guide the installation. Once connected, the device is ready for printing and scanning tasks.
For wireless setup, select the correct Wi-Fi network name, also called the SSID, and enter its network key. If the wireless process does not finish successfully, restart both the device and wireless access point or router, then try again. For a wired connection, use an appropriate network cable where supported. A USB 2.0 Type A/B cable no longer than two meters is recommended for direct USB connections.
Fax-ready capability and maintenance awareness
As an MFC model, the Brother MFC-L8340CDW Laser Color can also be connected to a telephone line when fax functionality is needed. Users who do not plan to use fax can continue with computer or mobile connection setup instead. The device's supply arrangement includes toner and drum components for four colors, while transfer and waste toner parts are installed in the machine.
Network security deserves attention during installation. The default administrator password is identified on the unit and should be changed promptly to reduce the risk of unauthorized access. Checking for firmware updates after setup is also a sensible step for ongoing reliability.
Notes: Confirm your Wi-Fi name and password before beginning wireless setup. Connection interfaces and included items may vary by country or configuration. Use Brother support resources for the latest software, firmware, and product-specific assistance.
Search for 67,706 Manuals online


Type-in Brand or Model