
Bosch DIY UniversalSander 18V-10 Manual
PDF manual · 221 Pages
English



Quick check
Incorrect answer, please try again.
Chat with your Bosch DIY UniversalSander 18V-10 manual using AI
Get instant AI answers from your Bosch DIY UniversalSander 18V-10 manual
Ask anything about the Bosch DIY UniversalSander 18V-10. Answers come from this manual, with the pages they are based on.
UniversalSander 18V-10 Maintenance Schedule
Remove the battery from the tool before any maintenance work or transport to prevent accidental starting.
Keep the power tool and ventilation slots clean to ensure safe operation and prevent electrical hazards from dust accumulation.
Empty the dust box in good time and tap the filter element to loosen dust. Clean filter flaps with a soft brush to ensure optimum dust extraction.
Ask a Question
Do you recommend UniversalSander 18V-10?
Yes NoFrequently Asked Questions
The sander is intended for dry sanding and polishing of wood, paint, filler, varnished surfaces, plastics and metal. It’s suitable for profiles, corners and hard-to-reach areas using the appropriate sanding sheets or attachments.
Is this answer helpful?
Some packages include a Bosch PBA 18V battery; Bosch also sells the tool as a 'solo' product without battery. Check the packaging or product listing. Use only recommended chargers; certain older Bosch chargers are incompatible with some PBA batteries.
Is this answer helpful?
Use the integrated microfilter dust box and clean the filter regularly; for best results connect an external vacuum via the extraction adapter and hose. For hazardous or carcinogenic dusts wear a P2 respirator and use a dedicated extraction vacuum.
Is this answer helpful?
The sander uses hook-and-loop sanding sheets. Align the punched holes with the plate holes for dust extraction. Release or lock the sanding plate with the SDS slider to remove or fit two-piece or rectangular plates; special accessories mount the same way.
Is this answer helpful?
Safety features include temperature-dependent overload protection, a battery charge/temperature indicator, insulated grip, ventilation slots, and instructions to remove the battery before maintenance. Users should wear eye, hearing and dust protection.
Is this answer helpful?
No. The tool is designed for dry sanding only—exposure to water increases the risk of electric shock and damages the tool and battery.
Is this answer helpful?
Protect the Li‑ion battery from moisture, extreme heat and damage. Store between −20 °C and +50 °C. When shipping, ensure the housing is undamaged, tape exposed contacts and follow applicable transport regulations for lithium batteries.
Is this answer helpful?
Advantages and Disadvantages
Advantages

- Cordless 18V operation for portable sanding without tethering to mains.
- Adjustable orbital stroke rate and small 1.6 mm orbit for versatile material removal and finishing.
- Interchangeable two-piece and rectangular sanding plates plus specialized attachments for hard-to-reach areas.
- Built-in microfilter dust box and external extraction adapter for effective dust control.
- Temperature-dependent overload protection and battery charge indicator for safer, reliable operation.
Disadvantages

- Battery and charger compatibility limitations; some chargers are not supported.
- Limited dust-box capacity requires frequent emptying during heavy use.
- Performance may be reduced at temperatures below 0 °C.
- Sanding dust (especially from certain woods or paints) can be hazardous without proper extraction and PPE.
- Some accessories are sold separately; standard supply may be limited.
Product Specification
Type
Multi-sander
Battery
18V, Li-Ion
No-load speed
5500-11000/min
No-load stroke rate
11000-22000/min
Orbital diameter
0.06 in
Tool mounting
Quick change system (SDS), Hook-and-loop fastening
Features
Speed control, Stroke rate control, Soft grip, Dust extraction, Overload protection
Scope of delivery
without charger and battery, incl. dust collection box
Product Description
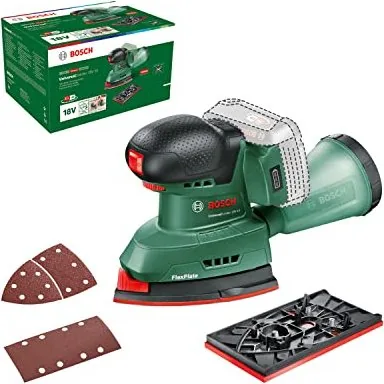
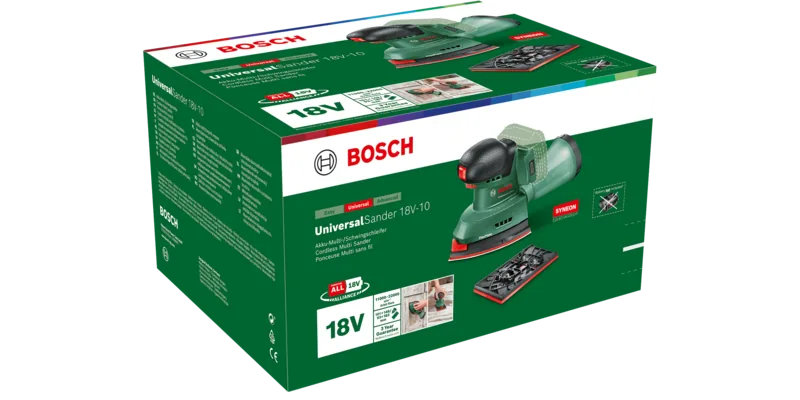
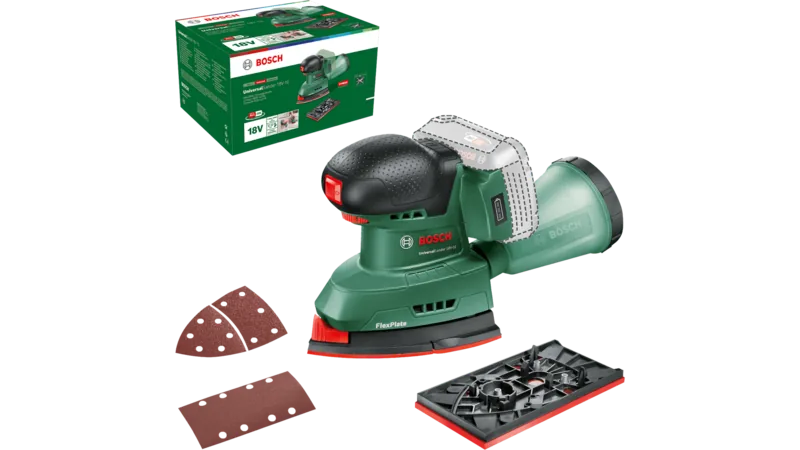
Bosch DIY Universal Sander 18V-10 Battery Multi-Sander solo Manual
The Bosch DIY Universal Sander 18V-10 is a compact cordless multi-sander designed for do-it-yourselfers and professionals who need a versatile, mobile sanding solution. Powered by an 18V Bosch PBA battery (sold separately in some packages), this multi-sander combines orbital sanding with a variety of attachments to tackle wood, painted surfaces, plastics, metals, fillers and varnishes. Its small orbit diameter (1.6 mm) and adjustable orbital stroke rate (5,500–11,000 rpm no-load; 11,000–22,000 oscillations/min) let you tune aggressiveness and finish quality for rough stock removal or fine finishing.
Ergonomics and handling are central to this tool: a comfortable insulated grip, lightweight construction (approx. 1.3–1.7 kg depending on battery) and an SDS plate-change slider make accessory swaps fast and safe. The tool includes a two-piece sanding plate and accepts a rectangular plate as well as specialized attachments such as a louvre (lamella) sanding pad and flat or oval sanding tongues for narrow gaps and curves. Hook-and-loop sanding sheets attach quickly, and matching holes provide effective dust extraction.
Dust management is built in: a transparent Microfilter dust box and replaceable filter element collect debris for safer indoor use; the sander also supports external vacuum extraction via an adapter and hose. Bosch provides guidance on safe handling of hazardous dust, recommending proper extraction and a P2 mask when needed.
Battery features include a three-LED charge indicator showing remaining capacity and temperature/overload warnings. The tool’s electronics include temperature-dependent overload protection that temporarily shuts the sander down if the battery or tool overheats. Bosch gives recommended charging and battery types and warns against incompatible chargers.
Safety and maintenance are emphasized throughout: wear eye, hearing and dust protection; avoid wet sanding; empty the dust box regularly; keep air vents clean; and disconnect or remove the battery before servicing. The manual covers transportation, disposal and recycling rules for Li-Ion batteries and the sander, and offers service and spare-part support contact points.
Overall, the Universal Sander 18V-10 is a nimble, battery-driven solution for a wide range of sanding tasks—ideal where portability, accessory flexibility and dust control matter.
Notes:
- Use only recommended Bosch PBA batteries and compatible chargers; some chargers are not compatible with certain PBA cells.
- For hazardous dusts (e.g., oak/beech, lead paint), use appropriate extraction and respiratory protection (P2 filter class).
- Keep ventilation slots clear and clean the microfilter regularly to maintain performance.
Search for 67,706 Manuals online


Type-in Brand or Model
Kornelia Jakubowski
8 months ago
Does it still work effectively at the lowest speed, and how long does one battery charge last for larger furniture like a cabinet?
Manual.ly
8 months ago
Yes. Reviews indicate it can make good progress even on the lowest setting when used with the appropriate sandpaper/grit. For example, one customer sanded a large cabinet successfully using the lowest level and the right sanding paper. They reported that a single battery charge (2.5Ah) was sufficient to complete the entire cabinet. For best results, match the sanding paper to your material and the finish you want, and keep a steady, even pressure.