
Bosch DIY AdvancedOrbit 18 Manual
PDF manual · 204 Pages
English



Quick check
Incorrect answer, please try again.
Chat with your Bosch DIY AdvancedOrbit 18 manual using AI
Get instant AI answers from your Bosch DIY AdvancedOrbit 18 manual
Ask anything about the Bosch DIY AdvancedOrbit 18. Answers come from this manual, with the pages they are based on.
AdvancedOrbit 18 Maintenance Schedule
Empty the dust box in good time and clean the filter element regularly with a soft brush to ensure optimum dust extraction.
Occasionally clean the venting slots of the battery using a soft, clean and dry brush.
Ask a Question
Do you recommend AdvancedOrbit 18?
Yes NoFrequently Asked Questions
It is designed for dry sanding wood, plastic, metal, filler, and coated surfaces. With the right polishing accessory, it can also be used for polishing tasks.
Is this answer helpful?
Yes. By using a finer sanding sheet and lowering the orbital speed, it works well for smoothing surfaces, preparing finishes, and refining coatings.
Is this answer helpful?
Yes. It has an integrated dust box with a microfilter system and can also be connected to an external vacuum hose for improved dust collection.
Is this answer helpful?
Yes, but only with suitable polishing accessories. It is intended for light polishing jobs such as refreshing worn paint or removing minor marks.
Is this answer helpful?
Choose the grit based on the task. Coarser grits remove material faster, while finer grits are better for smoothing, finishing, and preparing surfaces for coating.
Is this answer helpful?
The auxiliary handle improves grip, comfort, and pressure distribution. It is especially helpful when removing more material or working for longer periods.
Is this answer helpful?
Advantages and Disadvantages
Advantages

- Cordless 18V design offers easy movement and no cable clutter.
- Variable orbital speed supports both rough sanding and fine finishing.
- Dust box and vacuum connection help keep the work area cleaner.
- Auxiliary handle improves comfort and control during longer jobs.
Disadvantages

- Solo version may require a separate battery and charger.
- Best suited for dry sanding only, not wet applications.
- Dust box needs regular emptying for top performance.
- Battery runtime can be limited for heavy, continuous sanding.
Product Specification
Type
Random orbital sander
Battery
18V, Li-Ion
No-load speed
3000-12000/min
Disc diameter
4.92 in
No-load stroke rate
6000-24000/min
Orbit diameter
0.13 in
Tool attachment
Hook and loop
Features
Speed control, Stroke rate control, Charge level indicator, Softgrip, Auxiliary handle, Dust extraction
Weight
3.09 lb (without battery)
Scope of delivery
without charger and battery, incl. dust collection box
Product Description
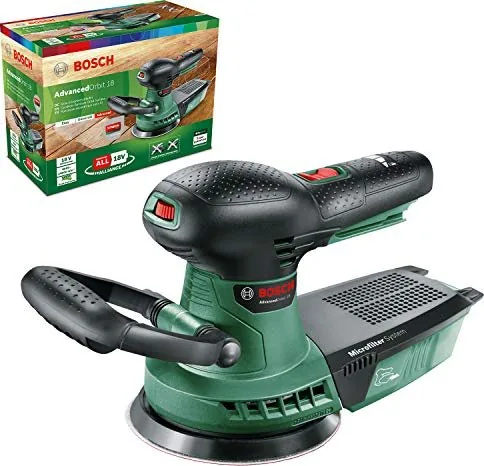
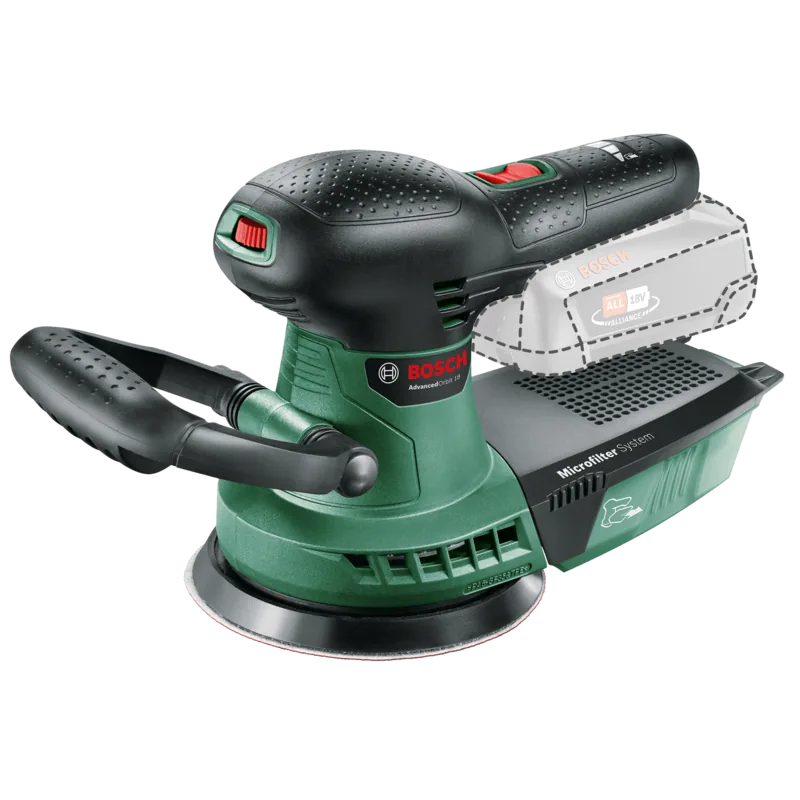
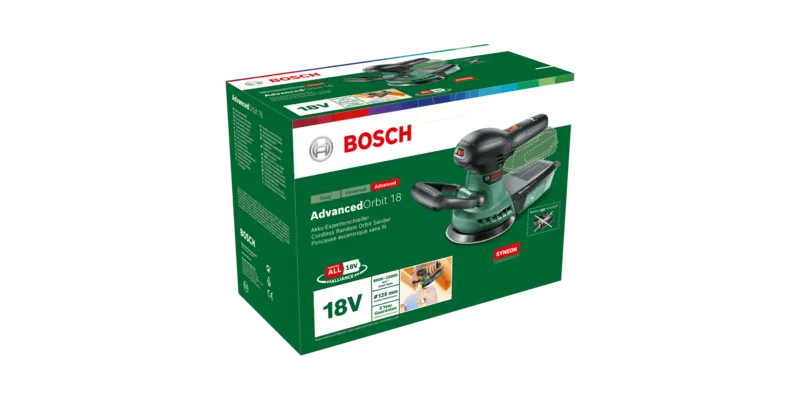
Bosch DIY AdvancedOrbit 18 Cordless Random Orbital Sander Solo
The Bosch DIY AdvancedOrbit 18 Cordless Random Orbital Sander solo is built for clean, flexible sanding without the hassle of a cord. It is designed for everyday DIY users who want a tool that feels balanced in the hand and adapts well to different finishing tasks. According to the Bosch DIY AdvancedOrbit 18 Cordless Random Orbital Sander solo manual, the tool is suitable for dry sanding wood, plastic, metal, filler, and coated surfaces, and it can also be used for polishing when paired with the right accessory.
One of its biggest strengths is control. The variable orbital speed lets you shift from aggressive material removal to finer finishing simply by adjusting the setting. That makes it useful for stripping old paint, smoothing rough timber, cleaning up filler, or preparing surfaces before a new coat of varnish. For more delicate work, a finer sanding sheet and lower speed help reduce the risk of overworking the surface.
The cordless 18V design adds real convenience, especially when working in tight corners, on stairs, or away from a power outlet. Bosch also includes practical features that help keep the job tidy, such as the dust box with Microfilter system and the option to connect a vacuum hose for external extraction. Better dust control not only improves visibility but also supports a cleaner workspace.
Comfort matters during longer projects, and this sander is shaped with that in mind. The auxiliary handle helps distribute pressure more evenly, while the insulated grip surfaces improve handling confidence. A correctly fitted sanding sheet and an appropriate sanding plate also help reduce vibration and improve the quality of the finish. For best results, Bosch recommends using original sanding accessories matched to the material and task.
In use, the AdvancedOrbit 18 feels like a versatile all-rounder rather than a specialist machine. It is especially appealing for home workshops, furniture refresh projects, and surface prep before painting or sealing. With the right grit, it can move from rough sanding to a clean, refined finish with very little setup time.
Notes
- Use the dust box or a vacuum for cleaner sanding.
- Empty dust regularly to maintain extraction performance.
- Choose grit carefully for the best finish and tool life.
- The solo version may not include battery or charger.
Search for 67,706 Manuals online


Type-in Brand or Model
Sofia Lange
9 months ago
Is this product really good value for the price? I want something reliable, not just cheap.
Manual.ly
9 months ago
Yes. Based on customer feedback, the device offers excellent value for money, combining solid performance with reliable day-to-day use. Reviewers specifically highlight the price-to-quality ratio and say they would recommend it to others. If you are looking for a dependable option that feels like a fair deal, it appears to fit that expectation well.