
Bosch DIY AdvancedImpact 900 Manual
PDF manual · 106 Pages
English



Quick check
Incorrect answer, please try again.
Chat with your Bosch DIY AdvancedImpact 900 manual using AI
Get instant AI answers from your Bosch DIY AdvancedImpact 900 manual
Ask anything about the Bosch DIY AdvancedImpact 900. Answers come from this manual, with the pages they are based on.
AdvancedImpact 900 Maintenance Schedule
Empty the dust box after approximately 25 holes in masonry or when full. Remove by pressing unlocking buttons and pull down.
Inspect the dust protection ring for wear, especially with large drill bits. Replace if damaged to maintain function.
Ask a Question
Do you recommend AdvancedImpact 900?
Yes NoFrequently Asked Questions
It is designed for impact drilling in brick, concrete, and stone, and for standard drilling in wood, metal, ceramic, and plastic. It also supports screwdriving when used in the proper mode.
Is this answer helpful?
Yes. It includes Kickback Control, which switches the tool off if it suddenly rotates around the drilling axis. This helps improve control and reduce the risk of injury during binding or overload.
Is this answer helpful?
Yes. The drill supports screwdriving, especially when set to drilling mode and used with a suitable bit holder and screwdriver bit. Right/left rotation also helps with driving and removing screws.
Is this answer helpful?
The Drill Assistant helps set drilling depth more accurately and can be paired with a dust collection device. It is especially useful for repeated hole drilling in masonry, such as when installing wall plugs.
Is this answer helpful?
No. The dust box is mainly intended for concrete and stone. It is not recommended for wood or metal chips, which can clog it, and it should not be used on metallic materials because of fire risk.
Is this answer helpful?
Yes. The keyless chuck is designed for quick bit changes by hand. It locks automatically when tightened, making tool swaps faster and more convenient without a separate wrench.
Is this answer helpful?
Advantages and Disadvantages
Advantages

- 900 W motor with strong output for common DIY drilling tasks.
- Two gears and variable speed provide better control across materials.
- Kickback Control improves safety if the bit suddenly binds.
- Drill Assistant helps with depth accuracy and cleaner masonry drilling.
Disadvantages

- Corded design limits mobility compared with cordless drills.
- Dust collection is mainly intended for concrete and stone, not wood or metal.
- With the Drill Assistant attached, the tool becomes heavier and bulkier.
- The dust box has size limits and works only with certain drill bit dimensions.
Product Specification
Type
Impact drill
Power
900 W
No-load speed
50-1120/50-2850/min
No-load impact rate
19040/48450/min
Drilling capacity
Wood 1.57 in, Steel 0.51 in, Concrete 0.71 in
Torque
247.82/646.59 in-lb soft/hard
Tool holder
0.06-0.51 in keyless chuck, spindle lock
Features
Clockwise/counter-clockwise rotation, speed control, multi-gear, constant electronics, impact stop, soft grip, auxiliary handle, depth stop, dust extraction
Weight
5.73 lb
Scope of delivery
Case
Product Description
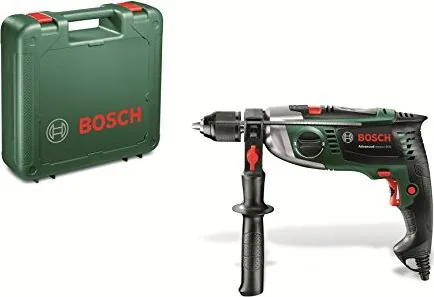
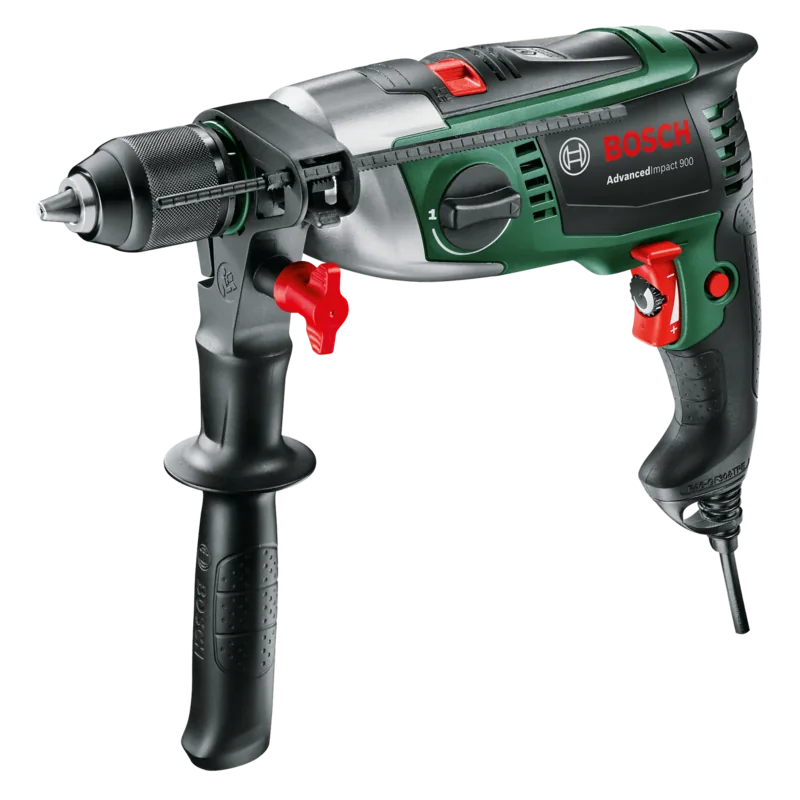
Bosch DIY AdvancedImpact 900 Electric Impact Drill incl. Case Manual
The Bosch DIY AdvancedImpact 900 is built for home users who want a dependable corded impact drill that can handle everyday drilling and light screwdriving with confidence. With a 900 W motor and a maximum output power of 1050 W, it offers enough strength for demanding DIY jobs while still staying practical for routine tasks around the house.
Designed for Versatility
This model is made to drill into brick, concrete, stone, wood, metal, ceramic, and plastic. It includes two mechanical gears, variable speed control, and right/left rotation, so it can adapt to different materials and tasks. For drilling, the machine reaches up to 2,850 rpm in the second gear, while the impact function provides the extra force needed for tougher masonry work.
Comfort, Control, and Safety
Bosch has added several details that make the tool easier to control during use. The auxiliary handle improves stability, while the keyless chuck helps change bits quickly without extra tools. The built-in Kickback Control is a useful safety feature because it shuts the drill off if it suddenly twists around the drill axis. That makes the drill feel more reassuring, especially for less experienced users.
Drill Assistant and Dust Collection
One of the standout features is the Drill Assistant. It helps users set drilling depth more precisely and includes a dust collection device for cleaner work in masonry and stone. The dust box is especially useful for repeated drilling tasks, although it is best suited to concrete and stone rather than wood or metal. For clean and accurate anchor holes, this is a smart addition. The Bosch DIY AdvancedImpact 900 Electric impact drill incl. case Manual package also makes storage and transport more convenient.
Practical Everyday Use
Thanks to constant electronic control, speed preselection, and a sturdy design, the AdvancedImpact 900 is a well-rounded DIY tool rather than a specialist-only machine. It weighs about 2.6 kg in the standard version and 2.8 kg with the Drill Assistant, which keeps it manageable for most household projects. The included case and manual complete the package, making it ready for organized storage and straightforward setup.
Notes
- Best suited for DIY drilling and light screwdriving tasks
- Dust collection works mainly with masonry and stone
- Exact depth control is especially helpful for wall plugs
- Kickback Control adds an extra layer of user protection
Search for 67,706 Manuals online


Type-in Brand or Model
TemporeAdipisci92
7 months ago
Is the AdvanceImpact900 powerful enough for drilling brick or even concrete for occasional DIY projects, and does the impact mode work well?
Manual.ly
7 months ago
Yes. The AdvanceImpact900 is aimed at home use and is powerful enough for masonry jobs like brick and, with reasonable effort, concrete. Users report that the impact (hammer drilling) mode becomes especially effective as material gets harder, and that the two gears plus adjustable speed help you find a suitable setting (for example, lower speed with impact for brick). For best results, use proper masonry drill bits, apply steady pressure, and let the tool do the work. Also note that some buyers find the depth stop can be inconsistent, so checking against the drill bit marking is often more reliable.