
BondTech DDG Ultimaker 3 Manual
PDF manual · 15 Pages
English



Quick check
Incorrect answer, please try again.
Chat with your BondTech DDG Ultimaker 3 manual using AI
Get instant AI answers from your BondTech DDG Ultimaker 3 manual
Ask anything about the BondTech DDG Ultimaker 3. Answers come from this manual, with the pages they are based on.
Ask a Question
Do you recommend DDG Ultimaker 3?
Yes NoFrequently Asked Questions
Its main benefit is stronger, more reliable filament feeding. The dual-drive design grips filament from both sides, which helps reduce slipping and improves extrusion consistency during printing.
Is this answer helpful?
It supports several Ultimaker models, including Ultimaker 2 with extrusion upgrade kit, Ultimaker 2 Extended, Ultimaker 2+, Ultimaker 2 Extended+, Ultimaker 3, and Ultimaker 3 Extended.
Is this answer helpful?
The mechanical installation is simple and only requires an M2.0 hex wrench. However, Ultimaker 3 owners also need a computer, SSH or Telnet access, and firmware-editing steps.
Is this answer helpful?
Yes, for a proper setup the printer must be configured to match the new feeder behavior. That includes updated extrusion values and lower loading and unloading speeds.
Is this answer helpful?
The loading speed is lowered to prevent the stepper motor from stalling. The dual-drive feeder provides more grip and needs settings that match its torque and movement characteristics.
Is this answer helpful?
Yes. Flexible materials often benefit from the extra grip and controlled feed path. Many users find filament loading and steady printing easier with this kind of feeder.
Is this answer helpful?
After a firmware update, you should enable developer mode again and repeat the configuration changes. The printer may need the custom values reapplied to work correctly with the upgrade.
Is this answer helpful?
Advantages and Disadvantages
Advantages

- Improves filament grip with dual-drive feeding for more reliable extrusion.
- Supports smoother loading and unloading, especially after proper calibration.
- Compatible with several Ultimaker models, including Ultimaker 3 variants.
- Can help with flexible or challenging materials by increasing control.
Disadvantages

- Ultimaker 3 setup requires firmware edits and SSH access, which adds complexity.
- Wrong firmware selection can cause serious printer positioning issues.
- Settings must be revisited after firmware updates or factory resets.
- Not a pure plug-and-play upgrade; careful configuration is required.
Product Specification
Type
Modification
Type
2x Extruder
Compatibility
Ultimaker 3
Weight
0.25 lb
Product Description
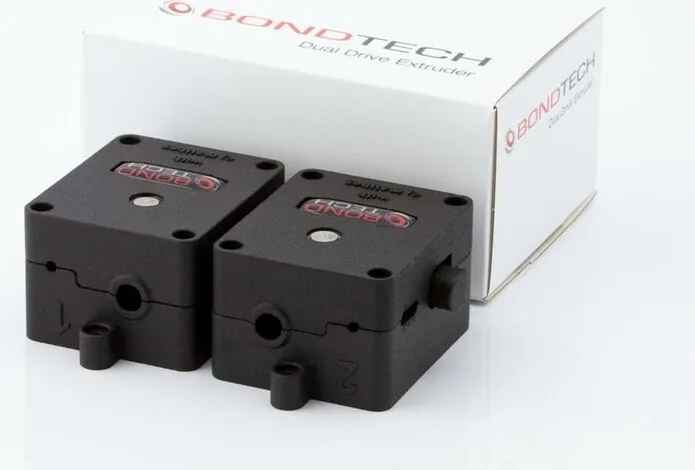
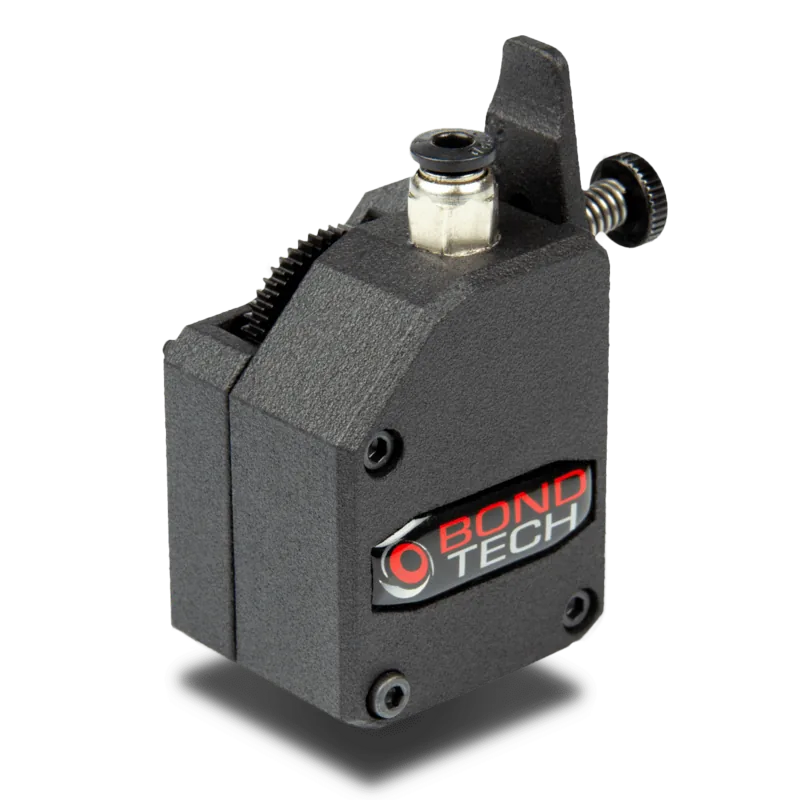
BondTech Ultimaker 3 DDG Extruder Upgrade Kit: Stronger Feeding, Better Prints
The BondTech Ultimaker 3 DDG Extruder Upgrade Kit Manual points to one clear goal: make extrusion more consistent, more powerful, and easier to trust during long print jobs. Built around BondTech’s Dual Drive concept, this upgrade is designed for users who want smoother filament handling and fewer feed-related interruptions while working with Ultimaker machines.
Why this upgrade stands out
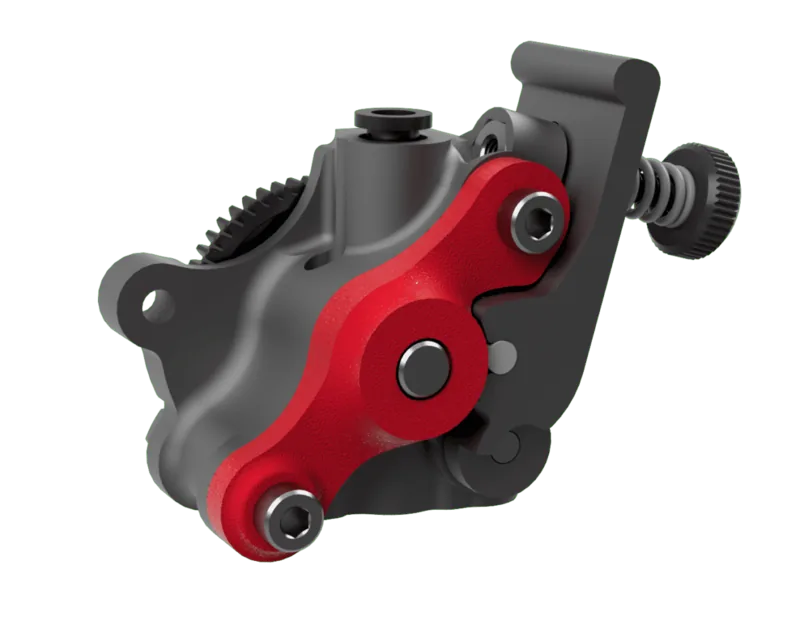
At the heart of the kit is a dual-grip feeding system that holds filament on both sides, helping reduce slippage and improving drive force. That extra control can make a noticeable difference when printing demanding parts, especially when accuracy and reliability matter. Whether you are prototyping, experimenting with different materials, or simply trying to keep prints running without constant adjustment, the upgrade aims to deliver a more stable extrusion experience.
The kit is also practical. Mechanical installation is straightforward and only requires a basic hex wrench, making the physical swap manageable for many makers. For Ultimaker 2+ and Ultimaker 2 Extended+ users, the process is relatively direct. For Ultimaker 3 owners, the setup goes further and includes firmware and software adjustments so the printer matches the new feeder’s behavior.
What users can expect
Once installed and configured, the feeder should offer better filament grip, improved loading behavior, and more dependable material control. The system is especially helpful for users printing with flexible or tricky filaments, since the stronger drive helps guide material more confidently into the PTFE path. In general, the upgrade can make filament loading feel easier and printing feel more predictable.
The manual also highlights an important detail: the printer settings must be aligned with the new extruder values. That means updated E-steps, adjusted loading speed, and, for Ultimaker 3 setups, careful firmware edits. These steps are essential for avoiding errors and keeping the printer calibrated properly after the hardware change.
Notes
- Check compatibility before installing.
- Use the correct firmware version for your printer model.
- Recalibrate after any firmware change or factory reset.
- Revisit tension settings depending on the filament type.
Overall, this upgrade is a smart choice for users who want a more capable feeder and better everyday print reliability.
Search for 67,706 Manuals online


Type-in Brand or Model