
Biohort NEO 3A Manual
PDF manual · 120 Pages
English



Quick check
Incorrect answer, please try again.
Chat with your Biohort NEO 3A manual using AI
Get instant AI answers from your Biohort NEO 3A manual
Ask anything about the Biohort NEO 3A. Answers come from this manual, with the pages they are based on.
NEO 3A Maintenance Schedule
Inspect all screw connections regularly.
Free maintenance reminders
Timed to your purchase date. Always free, unsubscribe anytime.
Ask a Question
Do you recommend NEO 3A?
Yes NoFrequently Asked Questions
Yes. Several size-dependent assembly steps require the assistance of one or two helpers. The manual highlights these steps and recommends at least one additional person for safe handling of large panels and alignment tasks.
Is this answer helpful?
The manual suggests multiple non-binding options: concrete foundations (with or without step), paving slabs, point foundations or gravel beds. Ensure rainwater cannot penetrate beneath floor profiles and place a strong plastic film (vapor barrier) under the foundation to prevent rising moisture and condensation.
Is this answer helpful?
To prolong EPDM life, place weights such as patio slabs (approximately 30x30 cm, 2–4 cm thick) after installation. Regularly remove leaves, check the roof gully and inspect for damage. Additional size-specific details are available in the EPDM FAQ at biohort.com.
Is this answer helpful?
Do not install damaged parts. Report any damage to Biohort before installation and include clear photos. If damaged parts are installed, they are considered accepted and may affect warranty claims, so pre-installation reporting is essential.
Is this answer helpful?
Nuts and screw connections should not be fully tightened until the end of assembly. This ensures correct alignment and prevents stress on profiles; only complete final torque settings after all components are positioned.
Is this answer helpful?
Yes. Doors can replace side wall elements and acrylic light panels can replace wall elements, but follow rules: always install wall elements left and right of a glass panel, and do not place glass panels directly next to corner elements or adjacent to each other.
Is this answer helpful?
Regular tasks include removing leaves from the roof, checking roof drainage, repairing deep scratches with the supplied touch-up paint, lubricating locks annually, cleaning glass elements with mild cleaner and water, and periodically checking screw connections.
Is this answer helpful?
Advantages and Disadvantages
Advantages

- Durable, corrosion-resistant construction with modular panels and precise profiles.
- Comprehensive assembly guidance with size-dependent steps and QR-linked videos.
- Clear foundation and roof recommendations (vapor barrier, XPS, EPDM care) for longevity.
- Optional accessories and acrylic light panels for customization and improved natural light.
- Maintenance guidance included: touch-up paint, annual lock lubrication, and roof care.
Disadvantages

- Some assembly steps require one or two helpers and at least 70 cm clearance around the foundation.
- Foundation responsibility lies with the customer; Biohort disclaims liability for poor foundations.
- EPDM roofing requires additional weighting to extend life, adding minor extra work and materials.
- Damaged parts must be reported before installation or they are considered accepted after fitting.
- Full tightening of fasteners must be deferred until the end of assembly, complicating interim stability.
Product Specification
Material
Steel sheet
Roof shape
Flat roof
Door
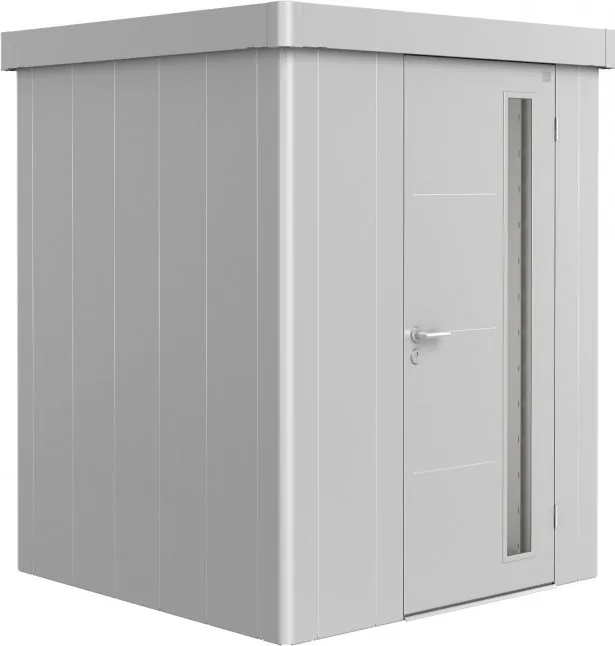
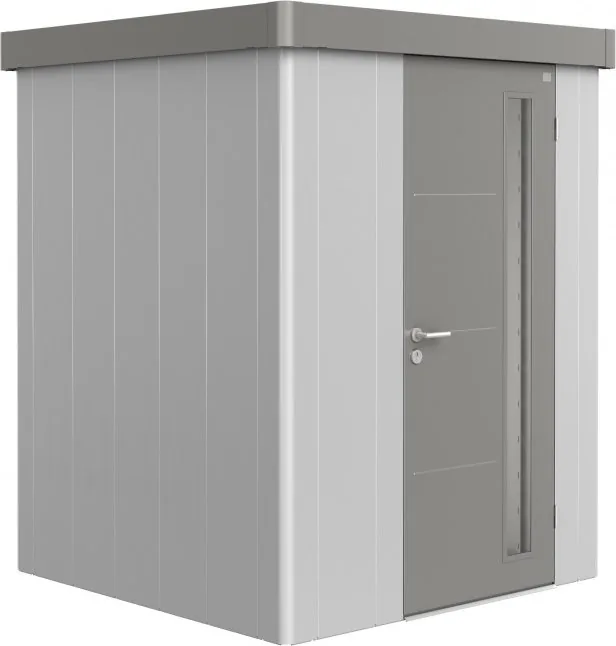
1x swing door (incl. light cutout)
Window
no
Special features
lockable, weatherproof, weather-resistant, UV-resistant
Base dimensions
68.11x112.20in (WxD)
Overall dimensions (incl. roof overhang)
70.87x87.40x114.96in (WxHxD)
Base area
53.07sq ft
Total area (incl. roof overhang)
56.62sq ft
Weight
587.97lb
Scope of delivery
Rain gutter (incl. downpipe), Roof covering
Product Description
Biohort Neo 3A Gerätehaus — Practical guide and overview
The Biohort Neo 3A Gerätehaus is a high-quality garden shed designed for durability, modular assembly and clean, secure storage. Constructed with corrosion-resistant metal panels, precision profiles and optional acrylic glass panels, the Neo series offers multiple size variants and accessories to adapt to different gardens and use cases. The Neo 3A combines robust construction with user-focused details such as storm-proof anchoring options, EPDM roof membrane recommendations and clearly defined foundation requirements.
Assembly is documented with step-by-step instructions and bilingual safety notes that stress wearing gloves, keeping small parts away from children and not installing in windy conditions. Several assembly steps are size-dependent and may require one or two helpers; the manual highlights these steps in red. Optional accessories and parts are identified with blue-framed steps. For complex steps, QR codes link to short how-to videos for visual guidance.
Foundation and installation are emphasized: the instructions provide non-binding foundation options (concrete, paving slabs, point foundations, gravel beds), recommended use of a vapor barrier (150 µm film) and XPS insulation boards, and require at least 70 cm clearance around the foundation for assembly. The manual warns to prevent rainwater ingress beneath floor profiles and to use strong plastic sheeting to avoid rising ground moisture and condensation.
Roof and weatherproofing guidance covers EPDM roofing membrane care — recommending weighting the membrane down with patio slabs to extend lifetime — and routine maintenance tasks: clear leaves, check roof gullies, touch up scratches with supplied paint, and oil locks annually. Glass or acrylic panels require gentle cleaning with a soft sponge, mild cleaner and drying with a lint-free cloth.
Parts handling and quality control are strict: do not install damaged parts — report them in advance with photos, otherwise installed parts are accepted. Screws and small parts are supplied with a foldable organizer in the box; fasteners generally should only be fully tightened at the end of assembly. The manual provides 1:1 scale drawings for screws to ensure correct usage.
Practical tips include child-safety reminders, avoiding storage of aggressive chemicals inside the shed, and precise guidance for installing doors or acrylic light panels (always flank a glass panel with wall elements; do not place panels next to corner elements or directly adjacent to each other). The documentation covers numerous size options and package contents, helping owners order or verify parts for different Neo models.
Notes
- The manual stresses storm-proof anchoring and locking doors; do not assemble in windy conditions.
- Use protective underlay during assembly to avoid scratches and handle panels with gloves.
- Report any transport damage before installation with photos to preserve warranty claims.
Search for 67,706 Manuals online


Type-in Brand or Model