
Biohort AvantGarde ECO Manual
PDF manual · 68 Pages
English



Quick check
Incorrect answer, please try again.
Chat with your Biohort AvantGarde ECO manual using AI
Get instant AI answers from your Biohort AvantGarde ECO manual
Ask anything about the Biohort AvantGarde ECO. Answers come from this manual, with the pages they are based on.
AvantGarde ECO Maintenance Schedule
Lubricate the lock and hinges once a year to ensure smooth operation.
Inspect screw connections regularly to ensure they remain secure.
Keep the roof free of leaves on a regular basis.
Inspect the roof gully regularly for blockages or damage.
Free maintenance reminders
Timed to your purchase date. Always free, unsubscribe anytime.
Ask a Question
Do you recommend AvantGarde ECO?
Yes NoFrequently Asked Questions
The AvantGarde ECO series is offered in sizes A1, A2, A3, A5, A6 and A7, with floor areas ranging approximately from 3.00 m² up to 6.45 m².
Is this answer helpful?
Yes. Several assembly steps require one or two helpers, and at least 70 cm of free space around the foundation is recommended to allow safe and efficient assembly.
Is this answer helpful?
The manual details multiple foundation types: gravel bed with floor frame, point foundations, paving-slab foundations or concrete (with/without step). Use a strong plastic vapour barrier under slabs or concrete to avoid rising moisture and ensure rainwater can't enter under floor profiles.
Is this answer helpful?
Do not fully tighten nuts or screw connections until the end of the entire assembly process. Once the structure is fully positioned and squared, tighten all fasteners securely as instructed.
Is this answer helpful?
Clean glass with a soft sponge and mild cleaner, rinse and dry with a lint-free cloth. Avoid abrasive chemicals; touch up deep scratches immediately with the provided paint to prevent corrosion.
Is this answer helpful?
Regularly remove leaves from the roof, check roof gully and screw connections, touch up paint for scratches, avoid storing aggressive chemicals inside, and lubricate locks and hinges once a year.
Is this answer helpful?
Do not install damaged parts. Report any damage to the supplier before installation and include clear photos. Installing damaged parts is considered acceptance and may invalidate claims.
Is this answer helpful?
Advantages and Disadvantages
Advantages

- Durable powder-coated steel construction built for outdoor longevity and low maintenance.
- Multiple sizes (A1–A7) and configurable options (single/double doors, floor frames, roof extensions).
- Clear assembly system with icons for size-dependent steps and optional accessories.
- Comprehensive foundation guidance (gravel, point, paving slab or concrete) to prevent moisture ingress.
- Practical maintenance advice: annual lock lubrication, immediate scratch touch-up, gentle cleaning of glass.
Disadvantages

- Some assembly steps require one or two helpers and at least 70 cm clearance around the foundation.
- Certain procedures and parts are size-dependent, increasing complexity for mixed configurations.
- Installation in windy conditions is prohibited; the unit must be firmly anchored for storm safety.
- Damaged parts must be reported before installation—fitting them voids acceptance and potential claims.
- Interior temperatures can become very high in summer, limiting storage of heat-sensitive items.
Product Specification
Material
Steel sheet
Roof shape
Lean-to roof
Window
Skylight
Special features
lockable, weatherproof, weather resistant, UV-resistant
Scope of delivery
Rain gutter
Product Description
Biohort AvantGarde ECO Manual — Compact Guide and Product Overview
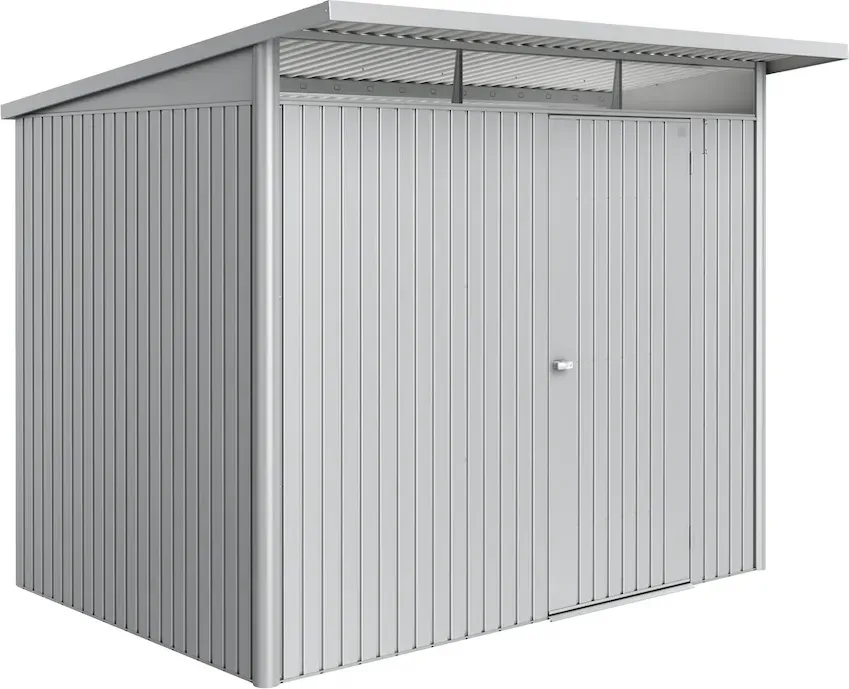
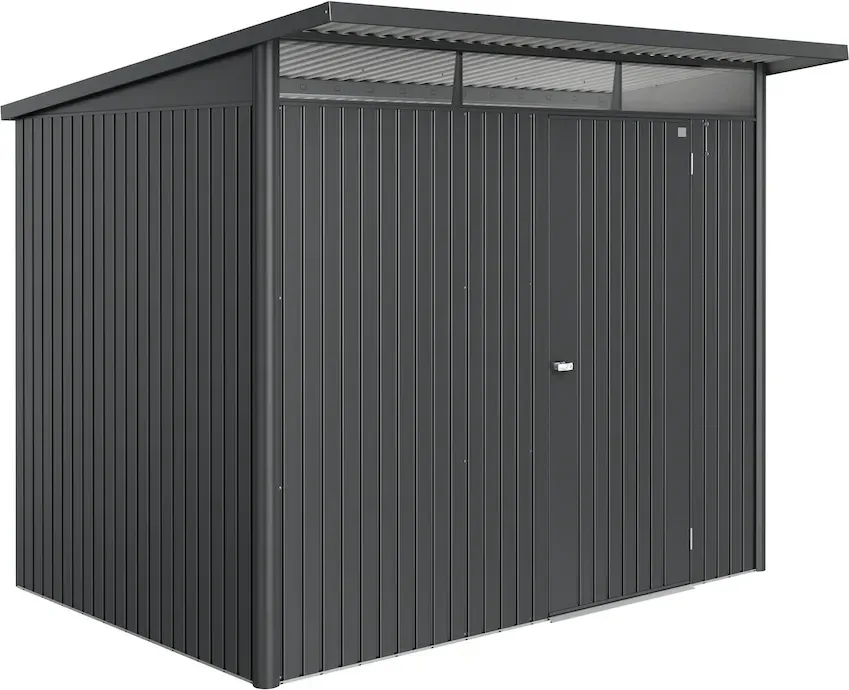
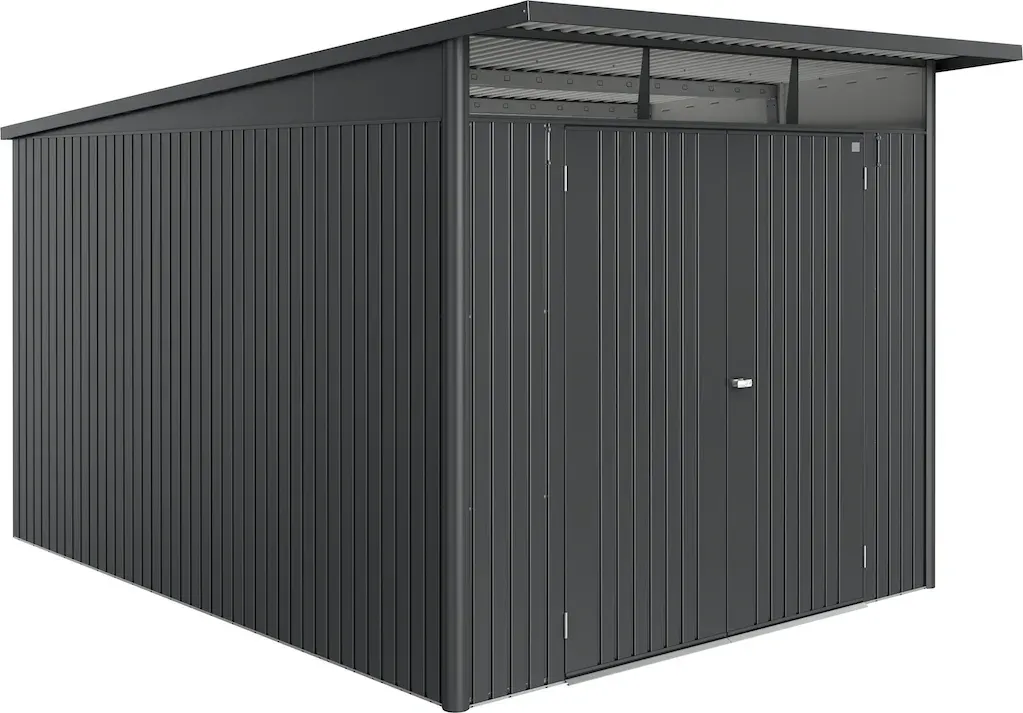
The Biohort AvantGarde ECO is a robust, low-maintenance garden shed series designed for durability, safety and tidy outdoor storage. Built from powder-coated steel panels and precise aluminium accessories, the AvantGarde ECO line offers multiple sizes (A1, A2, A3, A5, A6, A7) to suit small patios through larger garden plots. The product emphasizes storm-proof anchoring, modular assembly and optional accessories like aluminium floor frames, ramps, double doors and roof extensions to adapt the shed to varied site conditions and user needs.
Product features and assembly highlights
AvantGarde ECO combines weather‑resistant metal construction with a clear, step‑by‑step assembly approach. The manual focuses on safe handling—use gloves, protect surfaces, keep small parts away from children—and stresses that some assembly steps are size-dependent or intended only when optional accessories are ordered. Many steps require a helper or two, and nuts and bolts should only be tightened fully at the end of assembly. Specific foundation guidance is provided (gravel bed, point foundations, paving-slab or concrete options) plus recommendations to use a vapour barrier and ensure water cannot infiltrate beneath floor profiles.
The design supports configuration options: doors can be placed in alternative wall positions; single or double doors are available; an aluminium floor panel or frame is offered as an accessory. Critical symbols and instructions in the manual explain optional accessory steps (blue frames), size-dependent steps (red frames) and when to use a spirit level. Care instructions for glass, routine maintenance (remove leaves, touch up scratches, lubricate locks annually, avoid storing aggressive chemicals) and guidance for handling damaged parts complete the product stewardship information.
Safety, maintenance and site requirements
The manual repeatedly warns against assembling in windy conditions, and highlights anchoring the shed to a storm-proof foundation. It recommends keeping at least 70 cm clearance around the foundation for assembly and details multiple foundation variants and frost-depth considerations. Maintenance advice includes cleaning glass with mild cleaners, avoiding abrasive chemicals, protecting paintwork, checking screw connections regularly and annual lubrication of locks and hinges.
Notes
- Sizes A1–A7 provide floor areas from roughly 3.00 m2 to 6.45 m2.
- Several installation steps vary by model size—follow the size-specific notes.
- Optional accessories (ramp, aluminium floor panels, double doors, roof extension) change parts lists and certain steps.
Search for 67,706 Manuals online


Type-in Brand or Model