
Be Cool Hot Air Stop BC01AIRSTPFE Manual
PDF manual · 1 Pages
English


Quick check
Incorrect answer, please try again.
Chat with your Be Cool Hot Air Stop BC01AIRSTPFE manual using AI
Get instant AI answers from your Be Cool Hot Air Stop BC01AIRSTPFE manual
Ask anything about the Be Cool Hot Air Stop BC01AIRSTPFE. Answers come from this manual, with the pages they are based on.
Ask a Question
Do you recommend Hot Air Stop BC01AIRSTPFE?
Yes NoFrequently Asked Questions
The Be Cool Hot Air Window Stop fits casement windows, tilted windows, and skylights. The manual provides diagrams for open, tilted and skylight styles; non-standard windows may require measurement and adjustment.
Is this answer helpful?
Mark the middle of the window seal and the middle of the frame and casement first. Fasten side A then side B starting at the center and press outward, ensuring points A and B are directly opposite each other for a balanced seal.
Is this answer helpful?
Stick the roughly 1 cm wide Velcro tape to the front side of the casement or the inner surface where the window handle is mounted. Clean, dry surfaces improve adhesion and long-term hold.
Is this answer helpful?
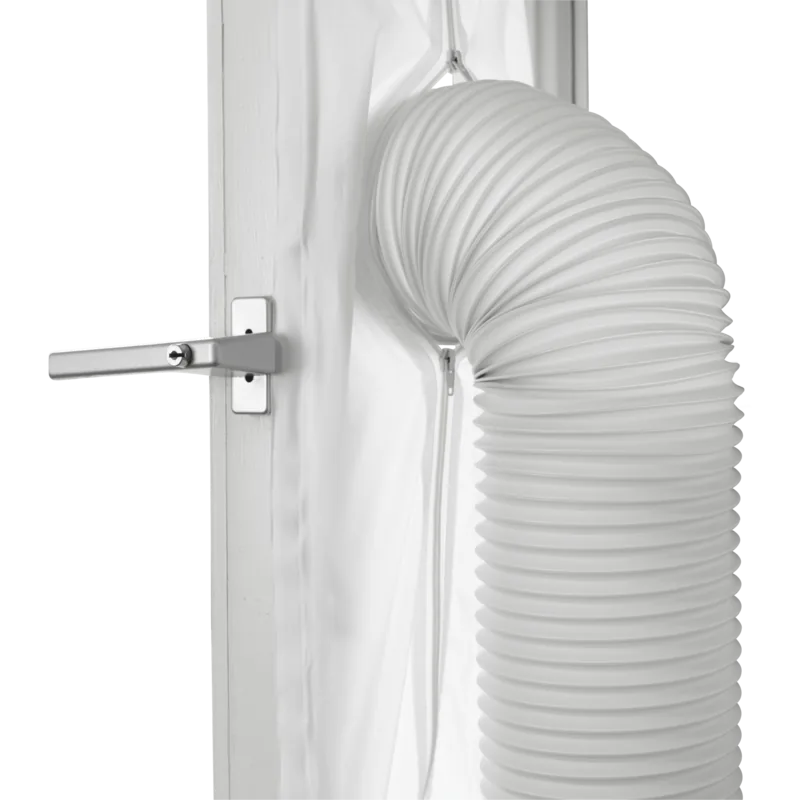
Open the zipper at positions marked “S” in the manual and insert the exhaust hose into the zippered outlet. This secures the hose without stretching the material and provides a neat, airtight connection.
Is this answer helpful?
When closing, make sure the seal isn’t trapped between the casement and frame. Pinching the seal can damage it or hinder window operation. Recheck alignment and Velcro adhesion before fully closing.
Is this answer helpful?
Yes. The product is designed to be removable and reusable. To maximize longevity, store it dry and clean between uses and avoid excessive stress on the zipper and Velcro fastenings.
Is this answer helpful?
Ensure the surface is clean, dry and free of dust or oils. On textured or uneven surfaces, consider additional adhesive-approved Velcro strips or temporary mounting solutions, while avoiding permanent alterations to the window.
Is this answer helpful?
Advantages and Disadvantages
Advantages

- Creates an airtight seal to reduce hot air infiltration and energy loss.
- Simple center-first installation that fits casement, tilt, and skylight windows.
- Velcro attachment near handle allows easy, damage-free mounting.
- Zippered outlet provides a secure, neat connection for exhaust hose.
- Reusable and removable without permanent modifications to the window.
Disadvantages

- Requires careful alignment of side A and B; misalignment reduces effectiveness.
- May not fit non-standard or very large window openings without adaptation.
- Velcro adhesion can weaken on dirty or textured surfaces.
- Incorrect closure can pinch the seal and damage it or the window hardware.
- Zipper or material may wear over time with frequent installation/removal.
Product Specification
Suitable for
mobile air conditioners
Product Description
Be Cool Hot Air Window Stop Window Seal for Portable Air Conditioners Manual
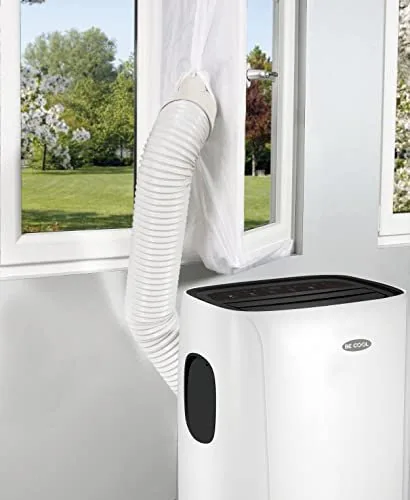
The Be Cool Hot Air Window Stop Window Seal for Portable Air Conditioners Manual outlines a simple, reliable method to seal windows when using a portable air conditioner. Designed to reduce hot air infiltration and create a neat, secure exhaust port, this window stop fits common casement and tilt-style windows as well as skylights. The manual emphasizes correct alignment and secure attachment to ensure an airtight fit and smooth operation of the window.
Quick Overview
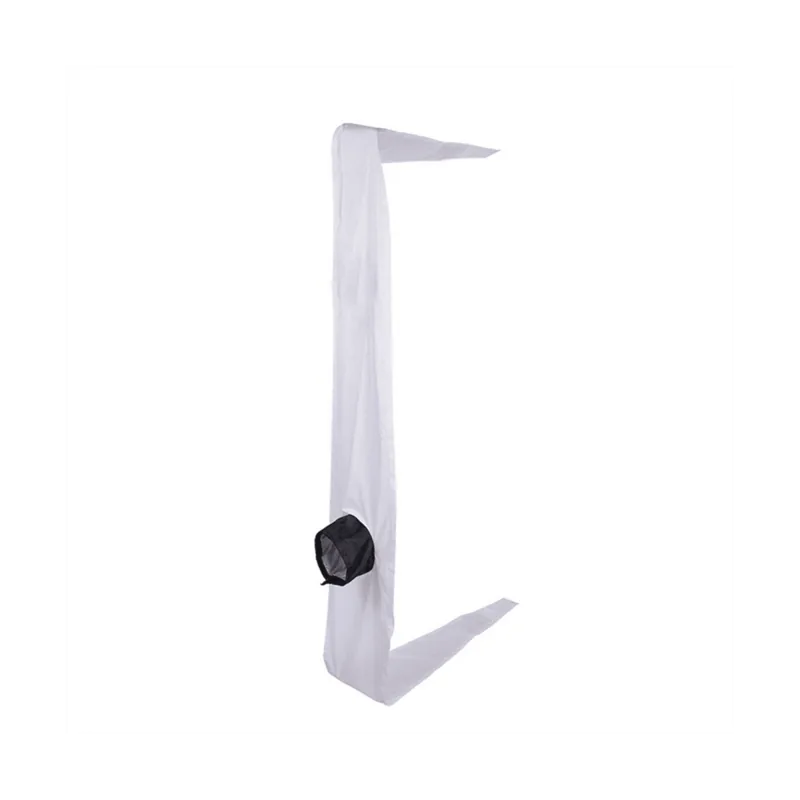
Begin by marking the middle point of the window seal and matching it to the center of the frame and casement. The instructions cover installation for open, tilted, and skylight-style windows, and recommend applying a narrow Velcro strip to the casement’s front or inner surface near the handle. Installation proceeds by attaching side A then side B from the center outward, ensuring both sides align precisely opposite each other. A zippered outlet—preferably opened at positions labeled “S”—accepts the portable AC exhaust hose.
Why it matters
A correctly installed Be Cool Hot Air Window Stop minimizes hot outdoor air entering the room and prevents conditioned air from escaping through the window opening. It protects the window hardware by advising against trapping the seal between the casement and frame and provides a stable, reusable mount for the exhaust hose.
Installation tips
- Mark the center points first to guarantee even placement.
- Use the recommended 1 cm Velcro tape for a secure hold near the handle area.
- Attach from the center to sides A and B, making sure A and B line up exactly across from each other.
- Open the zipper at the “S” markers to connect the exhaust hose without stressing the seal.
Final notes
Following the manual’s step-by-step approach preserves window functionality while delivering a secure, airtight connection for the portable AC exhaust. Proper alignment and attention to the zipper attachment points ensure a durable, efficient installation.
Notes:
- Suited for casement, tilt, and skylight windows.
- Use marked zipper positions to avoid straining material.
- Avoid pinching the seal when closing the window.
Search for 67,706 Manuals online


Type-in Brand or Model