
3Doodler Create+ Manual
PDF manual · 15 Pages
English



Quick check
Incorrect answer, please try again.
Chat with your 3Doodler Create+ manual using AI
Get instant AI answers from your 3Doodler Create+ manual
Ask anything about the 3Doodler Create+. Answers come from this manual, with the pages they are based on.
Create+ Maintenance Schedule
Power down and give the 3Doodler Create+ a 30-minute break after every 2 hours of continuous Doodling.
Cut off partially melted material from a removed plastic strand before re-feeding it to reduce blockages and clogging.
Ask a Question
Do you recommend Create+?
Yes NoVideo Manual
Handheld 3D Printer: WobbleWorks 3Doodler Create+
Frequently Asked Questions
You can switch between fast and slow speeds by pressing the corresponding speed buttons. The device allows you to select the flow rate based on your specific project requirements and the material type being used.
Is this answer helpful?
The device supports ABS, PLA, and Flexy filaments. Blue light indicates readiness for ABS or Flexible materials. Green light means the device is ready for PLA. Always use recommended material brands for best results.
Is this answer helpful?
A constant red light indicates the nozzle is heating up. Once the target temperature is reached, the light switches to blue or green. If it stays red for over ninety seconds, check the power connection.
Is this answer helpful?
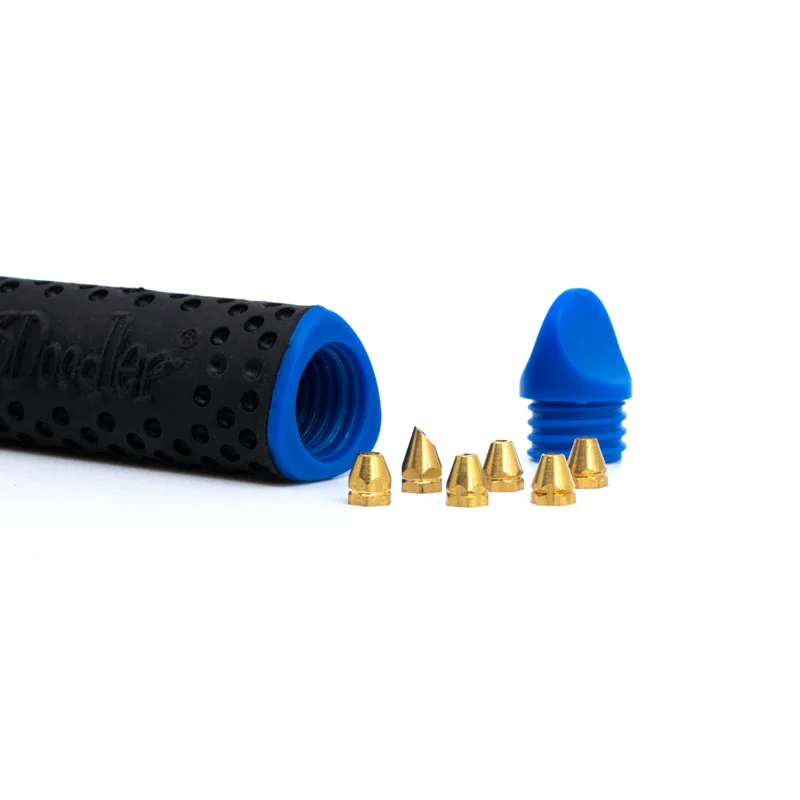
Clean the nozzle regularly using the included cleaning tool. Check for blockages before every session. Removing the nozzle requires the device to be hot and handled with a wrench. Always trim melted ends before reloading.
Is this answer helpful?
It is recommended to pause every two hours of continuous use. The device has an auto-off feature after five minutes of inactivity. This protects the heating element and reduces wear during extended creative sessions.
Is this answer helpful?
Yes, you can mix colors but it may cause blockages. It is best to flush the chamber when switching between ABS and PLA. Ensure the temperature matches the new filament type to avoid clogs.
Is this answer helpful?
Advantages and Disadvantages
Advantages

- Motorized extrusion ensures smooth and consistent plastic flow
- Double speed settings allow for precise control and project details
- Temperature light indicators provide clear safety status signals
- Compatible with multiple plastic types including ABS and PLA
- Includes essential maintenance tools for nozzle cleaning and care
Disadvantages

- Nozzle reaches high temperatures quickly and causes burn risks
- Requires cooling breaks every two hours of continuous use
- Plastic waste and spent materials need special disposal procedures
- Filament loading can be tricky for first time new users
- Not suitable for unsupervised children due to heat dangers
Product Specification
Type
3D Printing Pen, Set
Materials
2.85/3mm, ABS, PLA, Flex
Nozzle
Metal
Temperature
374-392/446-464°F
Power Supply
Barrel Jack (5V)
Dimensions
0.67x0.75x6.18in (LxWxH)
Weight
1.76 oz
Color
Black
Features
2 Speed Settings
Package Contents
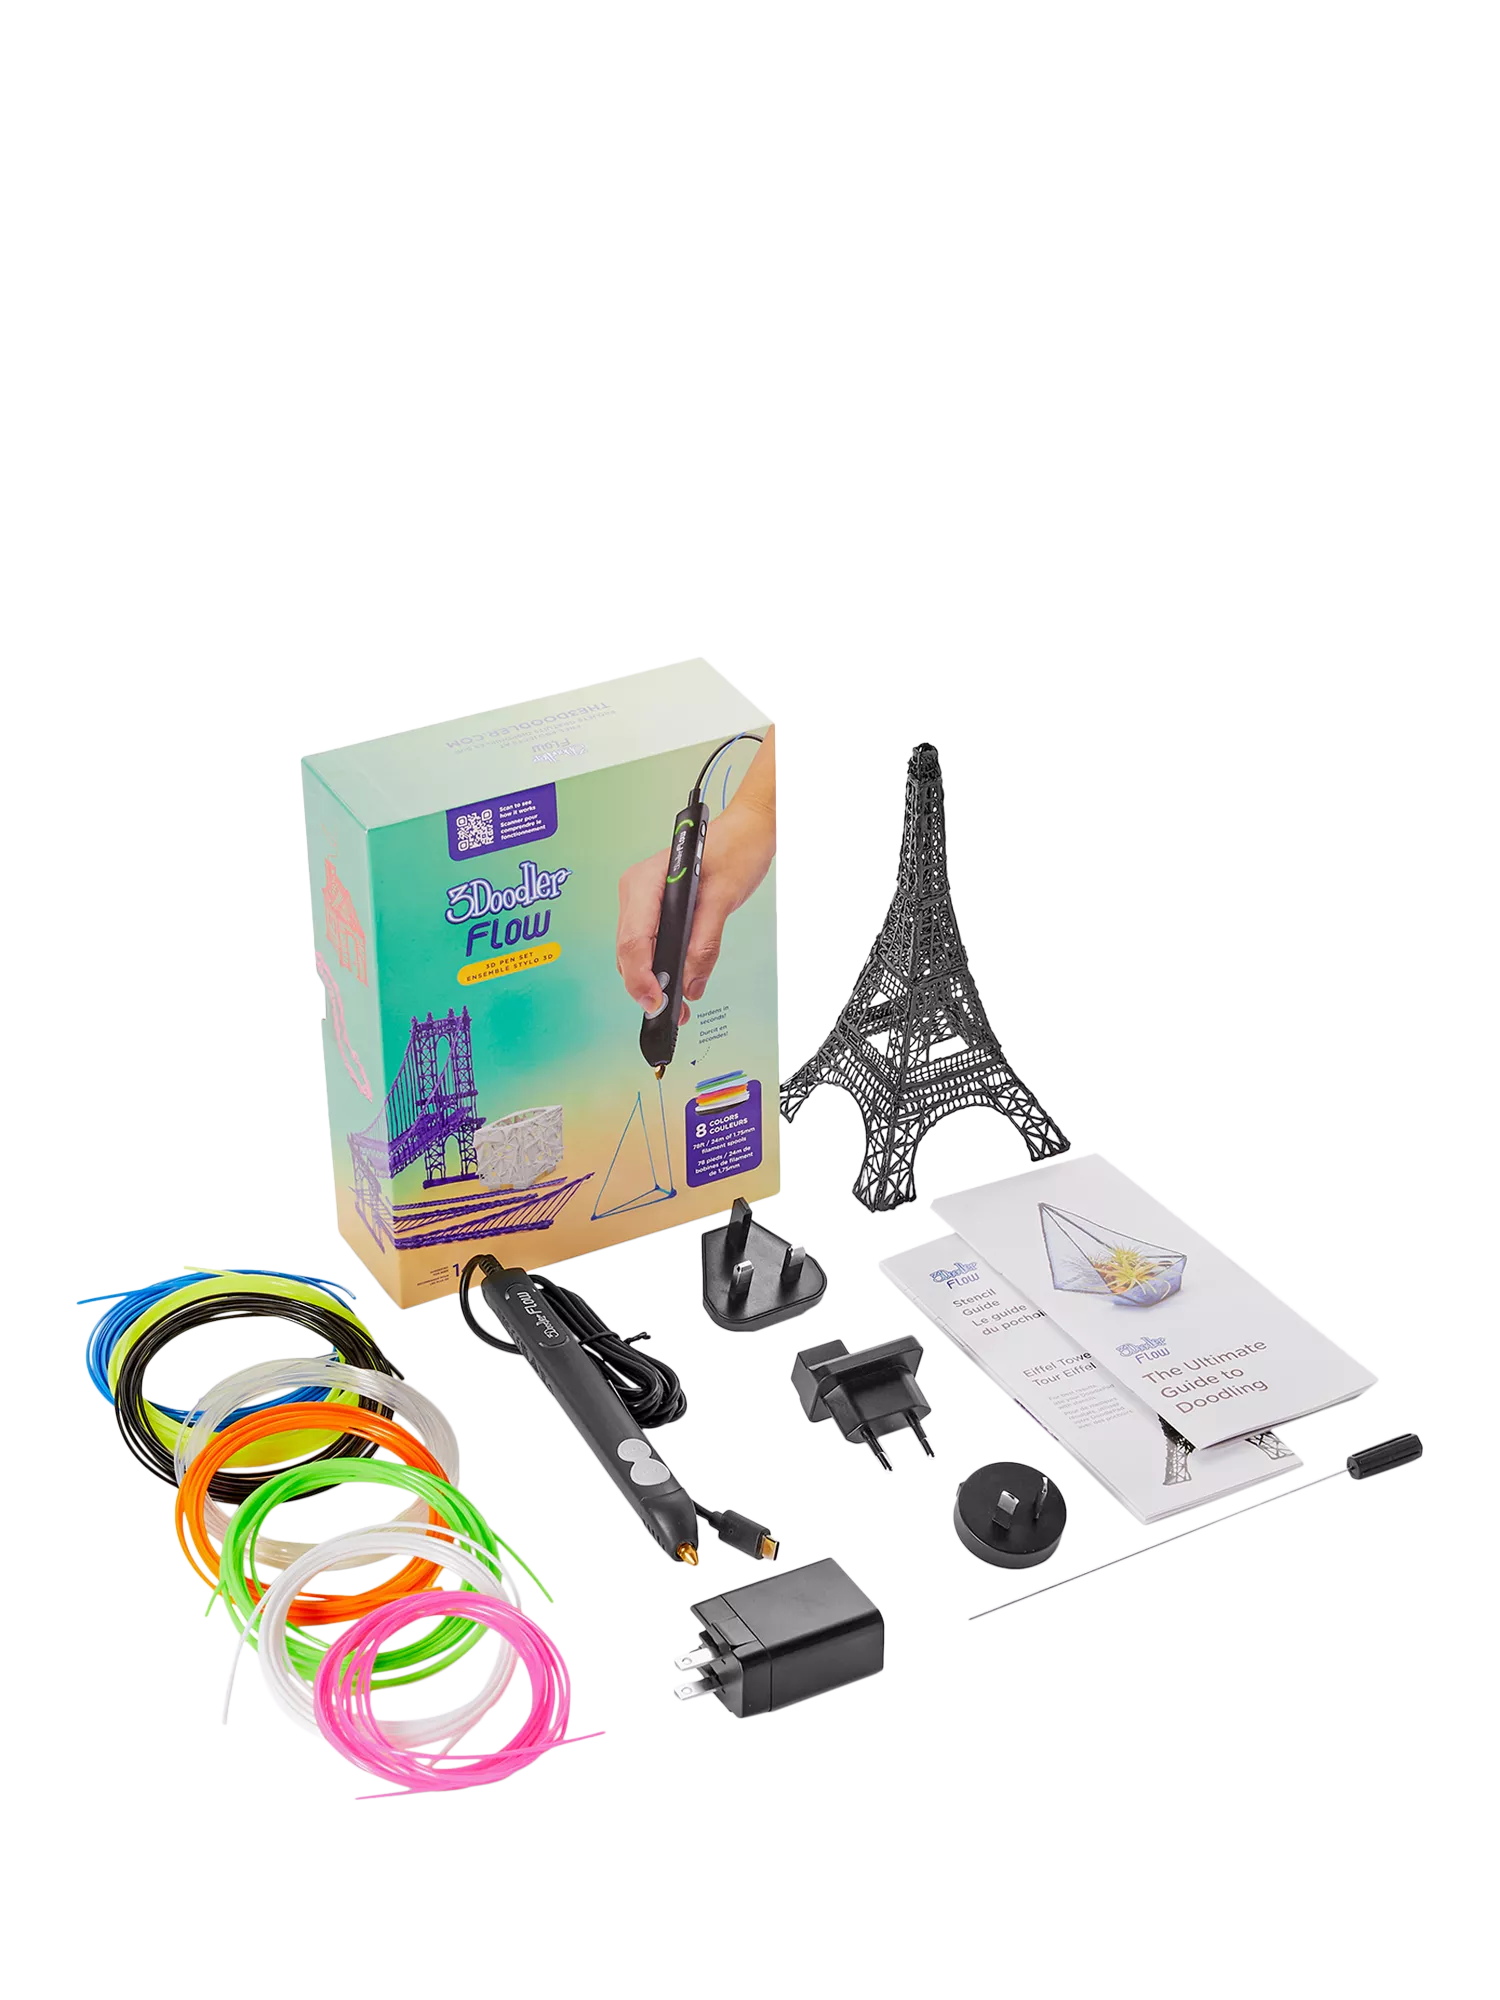
1x 3D Printing Pen, 1x Power Supply, 1x Cleaning Tool, 1x Nozzle Removal Tool, 25x 11.81in ABS Filament, 50x 11.81in PLA Filament
Warranty
One Year
Product Description
3Doodler Create+ Onyx Black Essentials Pen Set Manual
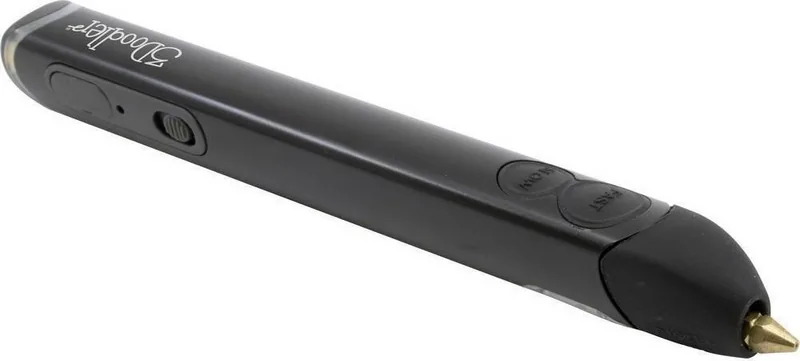
The 3Doodler Create+ Onyx Black Essentials Pen Set opens a new world of three-dimensional creativity for artists of all skill levels. This premium tool transforms standard plastic filaments into solid structures that float in mid air instantly. It is primarily designed for adults to explore artistic boundaries safely and effectively. Using the comprehensive guide included with the unit, new users learn how to load plastic filaments precisely and extrude them through a heated nozzle with ease. The onyx black finish provides a sleek, professional look for your desk or creative workspace.
How It Works
The device operates by melting plastic filaments and pushing them through a hot tip using a motorized gear system. This ensures consistent flow without manual effort compared to older versions. Users must follow safety steps carefully as the nozzle becomes very hot to the touch. Color coded lights indicate temperature readiness instantly. A blue light means ABS or flexible plastic readiness while a green signal indicates PLA material is ready. This system helps prevent burns and material jams during complex operation sessions.
Usage and Safety
Start by connecting the power adapter and waiting for the heat up cycle which takes about ninety seconds. Insert the filament into the back port and push until it extrudes smoothly from the front. You can doodle on paper to practice or create freehand shapes that stand in the air independently. Always wear safety gear if working with heated materials near flammable items. Adjust the speed control knob to switch between fast and slow extrusion based on your project needs. Clean the nozzle regularly using the small tools provided in the box to avoid blockages. Disconnect the power when not in use to prevent unnecessary overheating issues.
Maintenance Tips
Perform a pause every two hours of continuous use to let the device rest. Return remaining filaments to the storage to avoid waste or damage. If clogging occurs unexpectedly, use the cleaning tool provided in the box while the unit is warm. Check that the power supply is functioning if the light does not turn on at all. Follow local laws for electronic waste disposal at end of life to protect the environment.
Final Thoughts
This pen set is a robust entry point into additive technology for home or school use. With the right instructional understanding, artists can sculpt complex geometries without a computer. The versatility of materials allows for both hard and flexible projects using specific temperature settings. Remember to keep the work area clear of children due to heat risks. Enjoy the process of building real world objects layer by layer with confidence.
Note: Ensure all users follow the included safety guidelines at all times during operation.
Search for 67,706 Manuals online


Type-in Brand or Model