Manual.ly Logo

Steinbach Slim Line Duo solar garden shower Manual

0

PDF manual · 32 Pages

English

page

/ 32

Search
Loading...
1405-steinbach-slim-line-duo-manual page 6
6
A49048_049049_V1910
Preface
Many thanks for purchasing this Steinbach product. We continually de-
velop and enhance our items, however, should this product be faulty, we
apologise for any inconvenience and politely ask you to get in contact
with our service centre.
Read operating manual and store safely
Instruction manual for Steinbach solar shower Slim Line Duo
This instruction manual belongs to the product mentioned above. It
contains important information on starting your product for the fi rst time
and how to operate it. Carefully read through the instruction manual -
particularly the safety instructions - before using this product. Non-com-
pliance with this instruction manual may lead to major injuries or dama-
ge to your product. The instruction manual is based on standards and
regulations applicable within the European Union. If the product is being
used abroad, please follow any country-specifi c guidelines and laws.
Store the instruction manual in a safe location for later consultation and
submission to third parties, where applicable.
Intended use
This product is solely intended for private use and is not suitable for
commercial use. The solar shower is designed exclusively for outdoor
showering. Additionally, a cold water tap is available at the base tank,
where you can intake non-potable water (e.g. for watering cans). Only
use the product as described in this instruction manual. Any other use is
considered improper use and may lead to personal injury or damage to
property. This item is not a toy. The manufacturer or retailer assumes no
liability for damage resulting from improper or incorrect use.
Warnings and safety instructions
Read and observe all instructions. Non-compliance with these
warnings and instructions may result in damage to property,
severe personal injury or even death. These product warnings,
instructions and safety regulations are extensive but cannot cover
all potential risks and dangers and are thus not to be considered
exhaustive. Please be cautious and assess potential dangers
appropriately. Incorrect use/handling of the product can lead to
life-threatening situations.
Caution! Leave repairs to experts in order to prevent hazards.
Consult a specialist workshop. Liability is waived and warranty
claims expire if repairs are carried out independently of if the pro-
duct is improperly installed or used incorrectly. Only original parts
corresponding to the original product specifi cations may be used
during repairs.
WARNING! Hazards for children and persons with reduced phy-
sical, sensory or mental capabilities or lack of experience and
knowledge. Children must not be allowed to play with this product.
Cleaning may not be performed by children and persons with
reduced physical, sensory or mental abilities.
NOTE! Risk of damage! This product may be damaged through
improper use.
Check scope of delivery
NOTE! Risk of damage! The product may be damaged if you open the
packaging with a sharp knife or other sharp objects without due care
and attention. Please open the packaging very carefully.
Remove the product from the packaging.
Check that all included items have been delivered in full. Sketch/
photo L1.
Check whether the item, or parts thereof, exhibit damage. If there
is damage, do not use the product. Get in contact with the service
address stated at the end of the manual.
We recommend the installation of the solar shower to a solid surface to
ensure stability and safety.
Mounting
Concrete/Masonry Installation
1. Choose a location for the shower that receives the most direct sun-
light.
2. The solar shower is xed to the oor with the integrated base plate
(fi gure 1).
3. You will need a drill for the mounting screws supplied. Mark the po-
sition of the mounting holes according to the holes in the base of the
solar shower. For a suffi cient fi xation in concrete or stone the drilling
depth should be at least 45 mm.
4. After pre-drilling the holes for the dowels, insert the dowels into drilled
holes.
5. Then place the lower tube over the holes and secure to the surface
with bolts provided.
When using tools, please ensure that the surface of the parts is not
damaged.
Assembling
Attach the garden hose to the inlet port of the shower. The max. opera-
ting pressure for the solar shower is 3 Bar.
Ensure that the hose is properly attached, so there is no danger.
Initial Setup:
Connect the water hose to the shower. Filling tube with valve in “hot”
position ensures no air pockets are trapped in the shower.
The fi lling of the water tank will take about 4 to 6 minutes. If water runs
evenly out of the shower head, close the tap, because now the tank is
completely fi lled.
Use
Caution: Due to the solar radiation, the water in the solar tank can get
hot. We recommend opening the handle in the middle position between
hot and cold, then setting to desired temperature.
1. Lift the handle to its ON position and you are ready to enjoy your
solar heated water! Note: The water supply must be turned on for the
shower to run!
2. Turn off the water supply to shower when done.
If the shower has not been used for more than three days, we recom-
mend running the solar shower for 2 minutes to remove stagnant water.
Stagnant water in a warm environment can provide a growth environ-
ment for hazardous bacteria. Stagnant water in the tank has no drinking
water quality anymore!
Important Notes
After closing the tap, the shower still may run. This is not a defect,
but technically conditioned!
This solar shower is not a closed system. If hot water is required, cold
water is admitted by actuating the tap at the bottom of the tank and the
warm water already heated in the upper area is pressed out of the tank.
The entire body of the shower is fi lled with water and works much like
an electric boiler. Any pressure caused by heating in the tank can thus
escape through the shower head.
Off Season - Disassembly
During winter the water has to be removed from the solar shower
completely. Furthermore the solar shower has to be knocked down in
winter and stored in a dry place. Failure to follow these instructions may
cause frost damage on material. Frost damage will not be recognized
as a claim.
1. Turn off and disconnect the garden hose.
2. Open the handle and allow shower to drain (approximately 2 minutes).
3. Unscrew the mounting screws in the ground and pour the remaining
water out of the unit (this is absolutely essential).
EN

Advantages and Disadvantages

Advantages

  • Solar heating delivers free, eco-friendly warm water
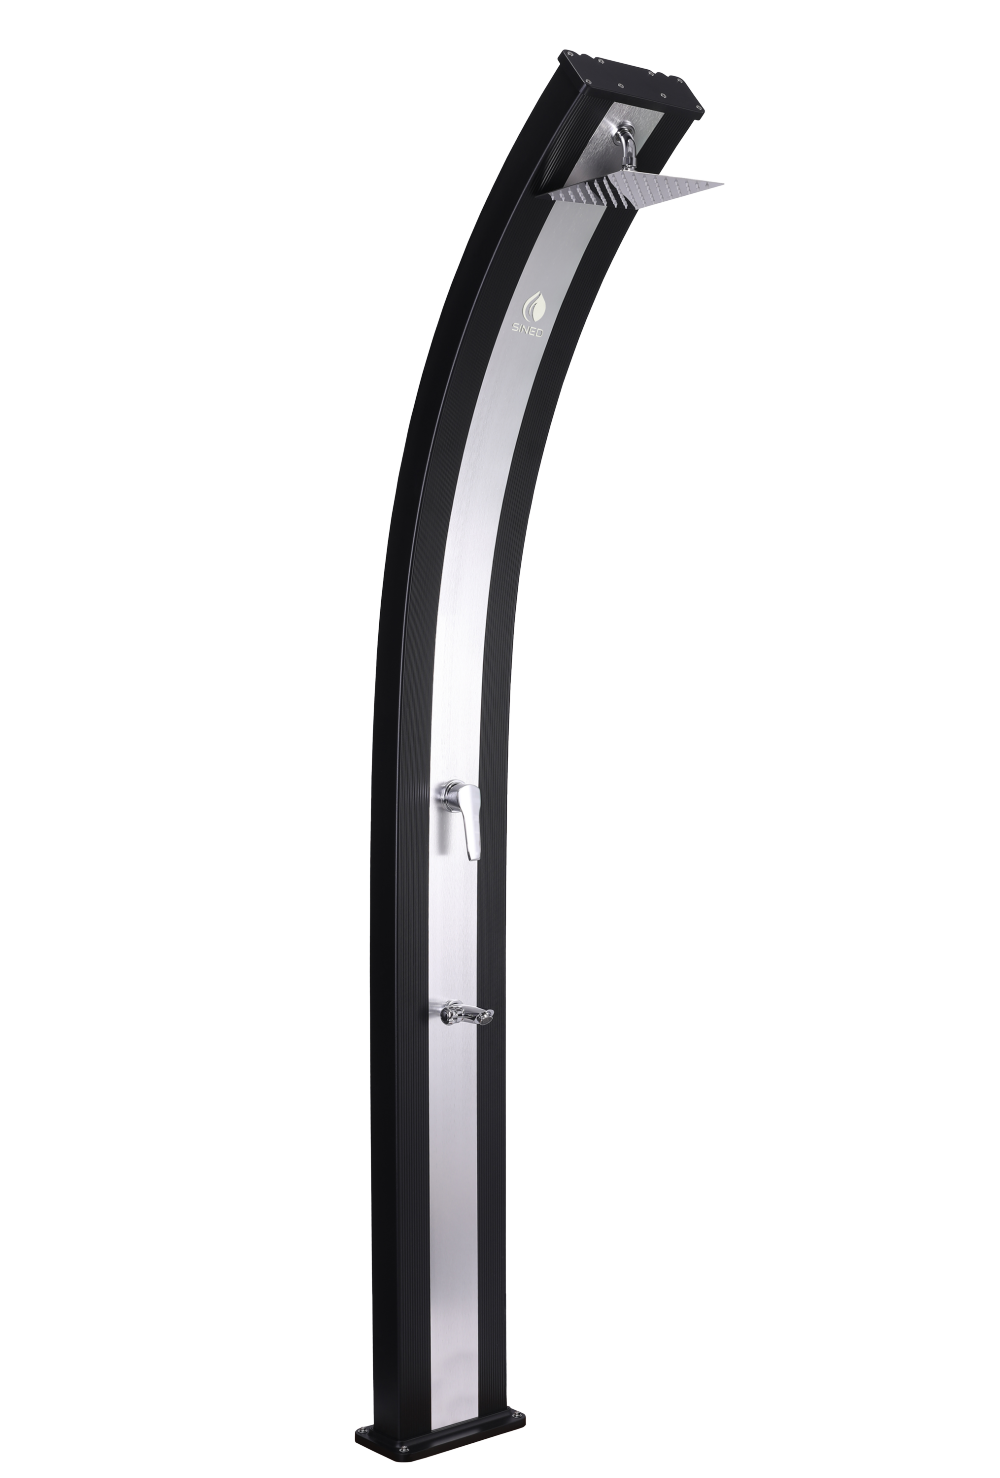
  • Clean, slim design with stable base plate mounting
  • Single-lever mixer enables precise temperature control
  • Includes base cold-water tap for utility use
  • Simple setup using a standard garden hose
VS

Disadvantages

  • Not suitable for commercial use or indoor installation
  • Slight run-on after closing tap may occur
  • Requires full winter draining and storage
  • Max operating pressure limited to 3 bar
  • Avoids abrasive cleaners; maintenance care needed

Ask a Question

Manual.ly information here
0/1000

Do you recommend Slim Line Duo?

Frequently Asked Questions

A

Mount the shower on a solid surface, connect a garden hose, set the mixer to hot, and let the tank fill for 4–6 minutes. When water flows evenly from the head, close the tap and adjust the temperature as desired.

Is this answer helpful?

A

This is normal. The system isn’t fully closed, so thermal expansion and residual pressure can vent through the shower head briefly after closing. It’s a technical characteristic, not a defect.

Is this answer helpful?

A

The maximum operating pressure is 3 bar. Ensure the hose connection is secure and within this limit for safe and reliable performance.

Is this answer helpful?

A

No. Before freezing temperatures, fully drain the unit, remove mounting screws, tilt to empty the base, and store dry in a frost-free place (5–8°C) to avoid freeze damage.

Is this answer helpful?

A

If unused for 24 hours or more, run the shower for at least two minutes before use to replace stagnant water, which can harbor bacteria in warm conditions.

Is this answer helpful?

A

Use conventional, non-abrasive cleaning agents and soft cloths. Do not use solvent-based or scouring cleaners, hard sponges, or brushes to protect surfaces.

Is this answer helpful?

A

Yes. A cold-water tap at the base tank allows quick access to non-potable water for tasks like filling watering cans or rinsing tools.

Is this answer helpful?

Product Description

Product pic

Steinbach Slim Line Duo Solar Garden Shower Manual

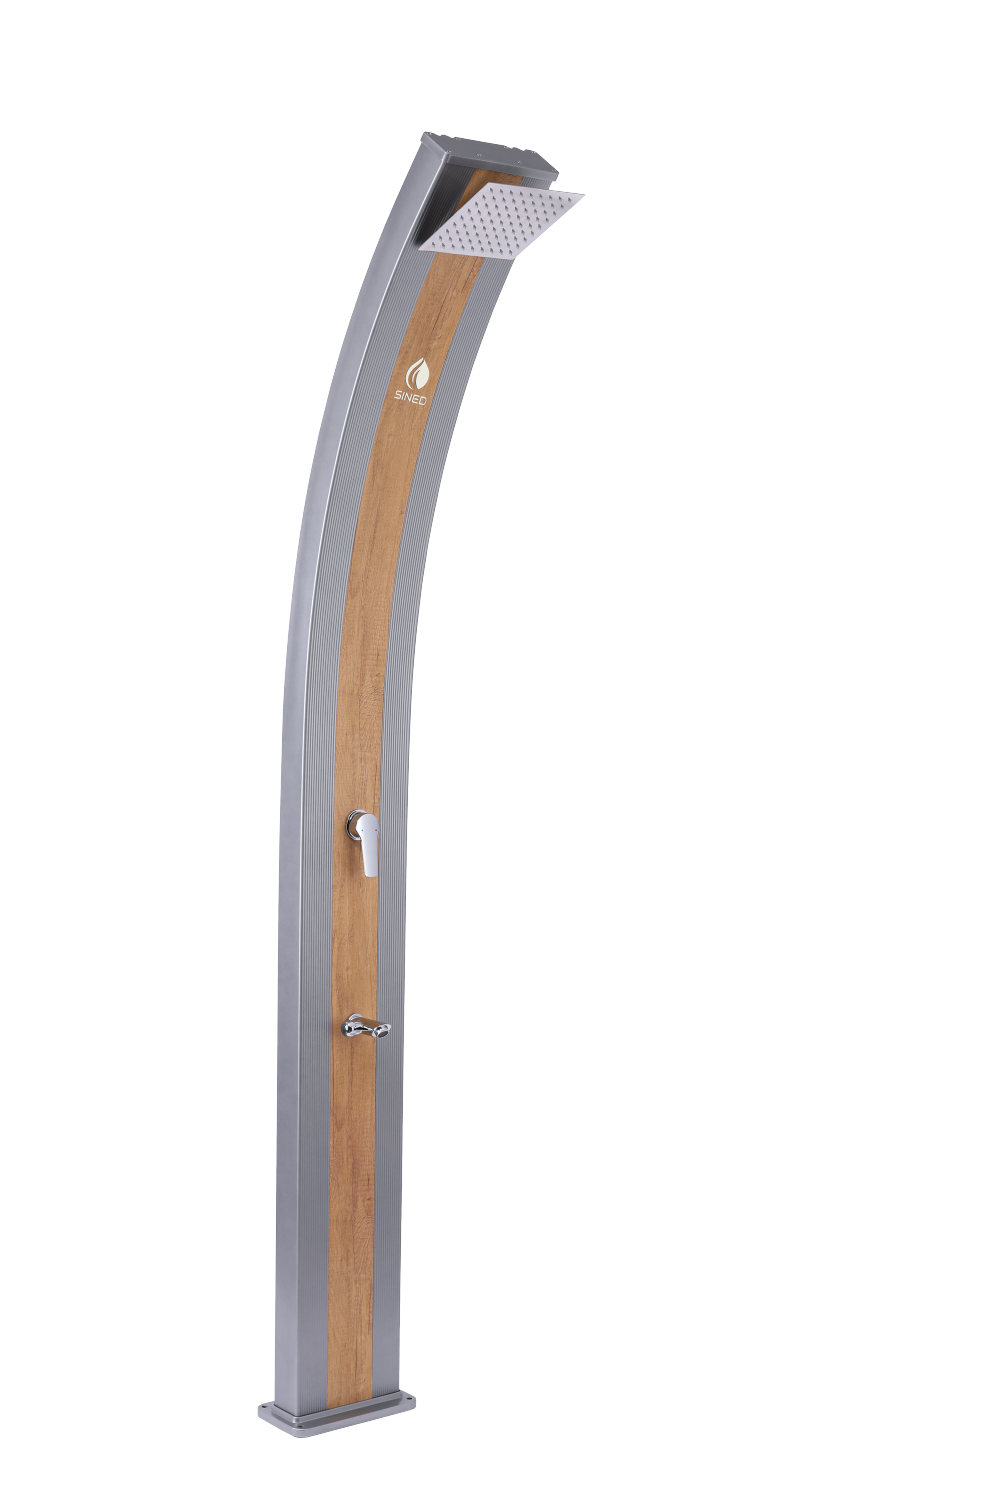
A sleek, sun-powered upgrade for outdoor comfort

Why this shower stands out

The Steinbach Slim Line Duo solar garden shower blends minimalist design with practical performance, delivering warm, sun-heated water for refreshing rinses by the pool, patio, or garden. Built for private outdoor use, it features a sturdy base plate for secure mounting on solid ground, a single-lever mixer for precise temperature control, and a handy cold-water tap at the base tank for utility tasks like filling watering cans.

Harnessing solar energy, the shower’s body acts as a heat reservoir: connect a standard garden hose, let the tank fill (about 4–6 minutes), and enjoy naturally heated water. For first-time setup, set the mixer to “hot” to prevent air pockets, then adjust to the ideal temperature. The unit supports up to 3 bar operating pressure and is engineered for stable, everyday outdoor use.

Daily operation is simple: open the water supply, lift the handle to ON, and fine-tune warmth. Because the system is not fully closed, slight run-on after closing the tap is normal—thermal pressure vents via the shower head. For hygiene, run the shower for about two minutes if unused for 24 hours or more to replace stagnant water. Cleaning requires only standard, non-abrasive agents; avoid solvents and harsh pads.

Seasonal care is straightforward. Before winter, drain all water, remove mounting screws, carefully tilt to empty the base, and store the unit dry in a frost-free place (5–8°C). This prevents freeze damage, which isn’t covered under warranty. With proper installation, mindful operation, and seasonal maintenance, the Steinbach Slim Line Duo provides years of eco-friendly comfort and utility in your outdoor space.

Notes:

  • Private, outdoor use only; not a toy.
  • Use original-spec parts for any repairs.
  • Follow local regulations for disposal and recycling.\nWell-crafted and robust in build, the solar shower presents a sturdy, substantial presence that suggests durability over time. The design feels clean and attractive, balancing practicality with a contemporary aesthetic that stands out without being flashy. Materials and construction appear solid, giving confidence in daily outdoor use and weather exposure. In use, the unit conveys a sense of reliability, with fittings and joints that feel secure and purposeful. Value is a notable strength: the balance between quality and cost makes it appealing for those seeking a dependable solution without premium pricing. The overall impression is of a thoughtfully made product where form meets function—streamlined, unobtrusive, and designed to integrate well into a garden or poolside setting. Its mass and finish contribute to a premium feel, while the emphasis on solar functionality aligns with efficient, low-maintenance operation. Taken together, it offers an effective combination of durability, pleasing design, and strong price-to-performance, making it a compelling addition to outdoor spaces where simplicity and resilience are priorities.

© Copyright 2024 Manual.ly