Audiolab Manuals
Manuals
Categories

Audiolab Manuals
Overview
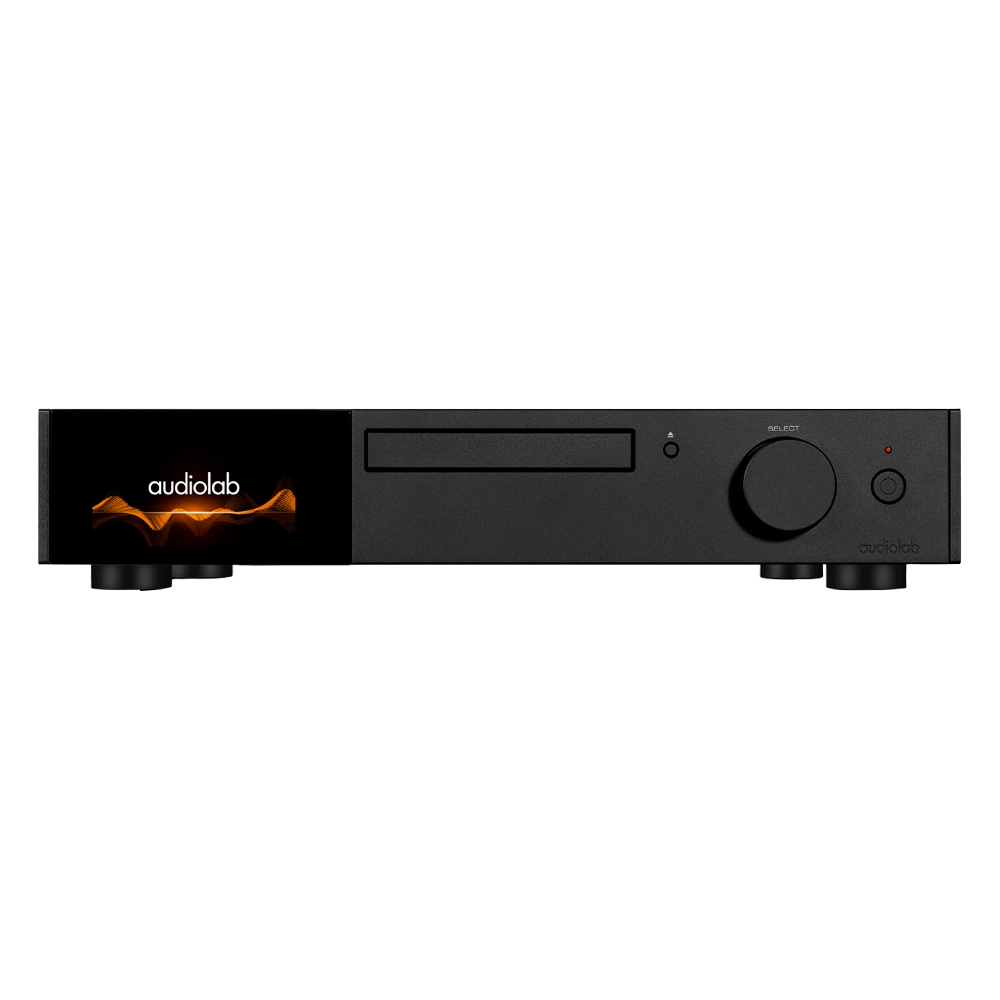
Audiolab manuals are comprehensive guides designed to help you get the best performance, reliability, and longevity from Audiolab audio components. Whether you own an integrated amplifier, a DAC, a CD transport, a network-enabled unit, or an all-in-one system, the manuals provide step-by-step setup instructions, detailed connectivity diagrams, safety guidance, configuration tips, and troubleshooting procedures. While model features differ across ranges and generations, the core principles and conventions in Audiolab documentation make it straightforward to understand signal flow, select inputs, optimize digital filters, and configure options like home-theater bypass or auto-standby.
What an Audiolab Manual Includes
- Safety and compliance information covering ventilation, mains voltage, and grounding
- Unboxing and inventory checks to confirm accessories such as remote, batteries, and antennas
- Placement and installation advice to minimize interference and maximize heat dissipation
- Connection diagrams for analog and digital sources, speakers, subwoofers, and network gear
- Control and menu navigation for front panels, displays, and remote functions
- Feature explanations such as DAC filter selection, phono stage options, and trigger control
- Firmware update instructions, when supported by the model
- Technical specifications and a glossary of common audio terms
- Troubleshooting tips for no sound, distortion, hum, dropouts, pairing problems, and more
Finding the Right Manual for Your Model
Audiolab has multiple series and models that may share design language but differ in features:
- 6000 series examples: integrated amplifiers, CD transports, and DACs targeted at value and performance
- 8300 series examples: higher power amplification and advanced DAC features
- 9000 series examples: flagship components with refined control menus, high-resolution displays, and expanded I O
- Omnia and other all-in-one or streaming-capable units with network and app integration
To ensure accuracy, match the model number printed on the rear panel or front display with the exact manual revision. Manuals are often available in multiple languages and may be updated after release to reflect firmware changes. If your unit supports firmware updates, verify the manual matches or is newer than your installed firmware to avoid menu mismatches.
Safety and Installation Essentials
- Mains voltage and fuses: Confirm your unit’s rated voltage and fuse rating. Use only the supplied power cord or a compatible equivalent.
- Ventilation: Leave generous space above and around the chassis. Do not block vents. Avoid stacking on heat-generating devices unless the manual explicitly permits it.
- Grounding and hum: Connect to grounded outlets where required. Use a single power strip for all audio gear to reduce ground loops. Try cheater plugs only when allowed by local regulations.
- ESD and handling: Power down and unplug before connecting or disconnecting cables. Avoid touching metal contacts.
- Power sequencing: Switch on source components first, then preamp or integrated, and finally the power amplifier or active speakers. Reverse the order when powering down.
Unboxing and Setup Checklist
- Verify accessories: remote control, batteries, antennas for Bluetooth or Wi-Fi (if applicable), rack ears or feet, and documentation.
- Placement: Choose a stable, vibration-resistant surface. Keep digital and power cables away from analog signal cables to minimize interference.
- Speaker connections: Observe polarity. Use appropriate gauge wire for run length. Tighten binding posts firmly but avoid over-torque.
- Source connections: Connect digital sources via coaxial, optical, or USB. For analog, use line-level RCA or balanced XLR where provided. If your turntable lacks a built-in phono stage, connect to the dedicated phono input only.
- Initial power-on: Set volume to minimum before first power-up. Select the correct input and gradually raise volume to test each source.
Connectivity and Signal Flow
Analog
- Line inputs: Use RCA or, on some models, XLR for balanced connections. Input sensitivity varies; consult the manual for exact figures and recommended source levels.
- Phono MM or MC: Some Audiolab models include a moving magnet stage, and select models may support moving coil. Enable or select the correct phono mode as indicated. Use the ground screw to reduce hum.
- Pre-out and main-in: Many integrated amplifiers offer a pre-out to feed a subwoofer or external power amp. If your unit includes main-in or HT bypass, follow the manual’s instructions for fixed-level routing to an external processor.
Digital
- S PDIF coaxial and optical: Ideal for CD transports, streamers, and TVs. Check maximum supported sample rates; optical can be limited on some devices.
- USB audio: On macOS and most Linux distributions, class-compliant drivers work out of the box. On Windows, install the Audiolab recommended USB driver for high-sample-rate PCM and DSD support.
- Bluetooth: Pairing steps are outlined per model. Some units support aptX or AAC. Keep the antenna attached and maintain line of sight when possible.
- Network and streaming: All-in-one models provide Ethernet or Wi-Fi and app control. Follow the manual for network setup, firmware updates, and service login.
Special Paths
- Home-theater bypass: Routes a fixed-level signal directly to the power stage. Calibrate levels using your AV processor. Always confirm the bypass status to prevent sudden high volume.
- DAC filters: Many Audiolab DACs provide multiple reconstruction filters. Options often include fast or slow roll-off, minimum phase, and other profiles. Use listening tests with familiar material to choose the most natural presentation for your system and room.
Controls, Menus, and Remote
- Front panel: Typically includes a volume encoder, input selector, display controls, and sometimes a menu button. The manual explains how to access setup menus, rename inputs, and adjust brightness.
- Remote control: Learn power, transport, and menu navigation keys. Some remotes support multiple Audiolab units and can control CD transports and amplifiers together.
- Input renaming and trimming: Rename inputs for clarity and adjust input gain where supported to match source levels and avoid sudden volume jumps.
- Auto-standby and triggers: Enable auto-standby to save energy. Use 12 V trigger in out ports to sync power with other components.
Calibration and Best Sound
- Gain staging: Keep digital sources near full output and adjust volume at the amplifier to optimize signal-to-noise ratio.
- Speaker matching: Confirm amplifier power relative to speaker sensitivity and impedance. Avoid driving very low-impedance loads at high volume.
- Subwoofer integration: If using pre-out, start with low crossover frequency, moderate level, and correct phase. Fine-tune using room measurements or test tracks.
- Digital filter selection: Fast filters often emphasize precision, while slow or minimum-phase can sound smoother. There is no universally best option; let your ears decide.
Firmware and Updates
- Checking version: The manual explains how to display firmware versions in the setup menu or via the app for network models.
- Update process: Some models update via USB drive, others via network. Do not interrupt power during updates. Use the exact file from the official source and follow the instructions verbatim.
- Post-update steps: Settings can reset after an update. Reconfirm input names, filter selections, and network credentials.
Maintenance and Care
- Cleaning: Use a soft, dry cloth. Avoid solvents and aerosols. For persistent marks, a slightly damp cloth is acceptable if you unplug first.
- Ventilation check: Periodically ensure vents are dust-free. Consider gentle vacuuming with a brush attachment.
- Cable integrity: Inspect interconnects and speaker cables for oxidation or stress. Replace damaged cables promptly.
- Long-term storage: Cover the unit to reduce dust, disconnect from mains, and store in a dry, temperature-stable environment.
Troubleshooting Guide
- No sound: Check input selection, volume, and mute. Verify cable connections. Test with headphones if available. For digital inputs, confirm sample rate compatibility.
- Distortion or clipping: Lower the source output if adjustable. Ensure speakers are within amplifier load specs. Listen for distortion only at higher volumes to differentiate between source and amp issues.
- Hum or buzz: Use a single power strip. Connect the phono ground. Try isolating cable TV grounds using an approved isolator. Re-route cables to reduce loops.
- USB audio dropouts: Increase buffer size in your playback app. Use the certified driver on Windows. Avoid USB hubs and try a shorter cable.
- Bluetooth pairing issues: Clear the pairing list, reset the Bluetooth module per the manual, and re-pair with the antenna attached. Minimize interference from nearby devices.
- CD transport read errors: Inspect discs for scratches and fingerprints. Use high-quality discs. Avoid recordable media with poor reflectivity. Confirm that the transport uses an external DAC, as transports output digital only.
- Overheating: Provide more ventilation. Reduce load by avoiding extremely low-impedance speakers. If thermal protection engages repeatedly, consult service.
Specifications and Terminology
Audiolab manuals list key specs to help you match components:
- Power output: Stated per channel into 8 ohms and sometimes 4 ohms. Continuous power is more meaningful than peak figures.
- THD plus N and SNR: Lower total harmonic distortion and higher signal-to-noise ratio suggest cleaner amplification and conversion.
- Input sensitivity: Indicates how much source voltage achieves full power. Helpful when pairing with high-output DACs or phono stages.
- Supported sample rates and bit depth: Confirm PCM and DSD capabilities for each input. Some inputs may cap at specific rates.
- Output impedance and damping: Lower amplifier output impedance can improve speaker control, particularly in the bass.
- Phono parameters: Gain and loading values for MM and MC help with cartridge matching.
Where to Get Manuals and Support
- Official website: Visit the Audiolab support or downloads section, then select your exact model and language.
- QR codes and inserts: Some packaging includes a quick-start guide or QR link to the full manual.
- Authorized dealers: Dealers often keep manuals and can advise on setup specifics and compatible accessories.
- Firmware and drivers: Only download from official sources. Third-party repositories may host outdated or altered files.
Practical Tips and Good Habits
- Label everything: Rename inputs in the menu and label cables to simplify future changes.
- Keep a setup record: Note filter choices, distances, and crossover settings for quick restoration after updates or resets.
- Power integrity: Use quality surge protection or a line conditioner if your mains power is noisy. Avoid overloading power strips.
- Test methodically: When something goes wrong, change one variable at a time and keep notes. The troubleshooting section in the manual is structured to support this approach.
Frequently Asked Questions
- Can I bridge my integrated amplifier: Audiolab integrated models are generally not designed for bridging. Use pre-out to add an external power amplifier instead.
- Can I use a turntable without a phono input: You need an external phono preamp if your amplifier lacks a phono stage or if your cartridge type is not supported natively.
- Do I need a special driver for USB audio: macOS and many Linux systems do not. Windows typically requires the Audiolab-supplied driver for high-rate PCM and DSD.
- How do I use home-theater bypass safely: Set your AV processor to calibrate levels with the integrated amplifier in bypass mode. Warn other users that the volume is fixed when bypass is active.
- Which DAC filter is best: It depends on your system and taste. Try a few with familiar recordings and pick the one that sounds most natural.
Conclusion
Audiolab manuals distill complex audio engineering into clear, actionable steps. From safe installation and connection diagrams to nuanced features like DAC filters, gain tuning, and trigger control, each manual is a roadmap to extracting dependable performance. If you follow the recommended sequencing, match components thoughtfully, keep firmware up to date, and use the troubleshooting flowcharts when needed, your Audiolab system can deliver consistent, refined sound for years. When in doubt, consult the latest manual for your exact model and firmware, and rely on authorized support for questions beyond the scope of the guide.
Search for 1 Mio. Manuals online

Type-in Brand or Model